Newberry Gate Hardware Kit
ZP19082v4
ZP19082 Newberry Gate Hardware Kit
Newberry Gate Hardware Kit
Finger length: 4.8in; Assembled height: 2.8in
Newberry Gate Hardware Kit

ZP19082
Approximate assembly time for 30 min
Click here to watch an installation video
Introduction
General Information
Important Safety Notes:
- Always install your gate between two fence panels for proper stability.
- Never install a gate off the last fence panel to avoid excessive strain on the ground stake.
- Ensure the gate panel is level before fully tightening hardware.
- We recommend two people for a smoother and safer installation.
Returns:
If you wish to return your product, please contact us first — we can often help resolve the issue right away.
If a return is still necessary, it must be initiated with the retailer where the product was purchased.
Need Help or Replacement Parts?
Although great care has been taken to ensure proper packaging and handling of this product, occasional issues can occur.
If you need replacement parts, assembly assistance, or have questions about the product, our customer service team is ready to help:
- Website: https://parts.nychbrands.com
- Email: support@zippity-outdoor.com
- Phone: 704-892-5222 or 877-234-6196
Customer service agents are available 9am–5pm EST, Monday–Friday.
For Quick Assistance:
- Have reference item number ZP19082
- Provide the affected part letter
Product Specifications
Product Specifications:
- Compatible with Zippity Newberry fence panels
- Designed for conversion of a ZP19075 Newberry Fence Panel (purchase separately) into a functional gate
- Includes latch, stopper, and mounting hardware
- Intended for in-ground fence installations only
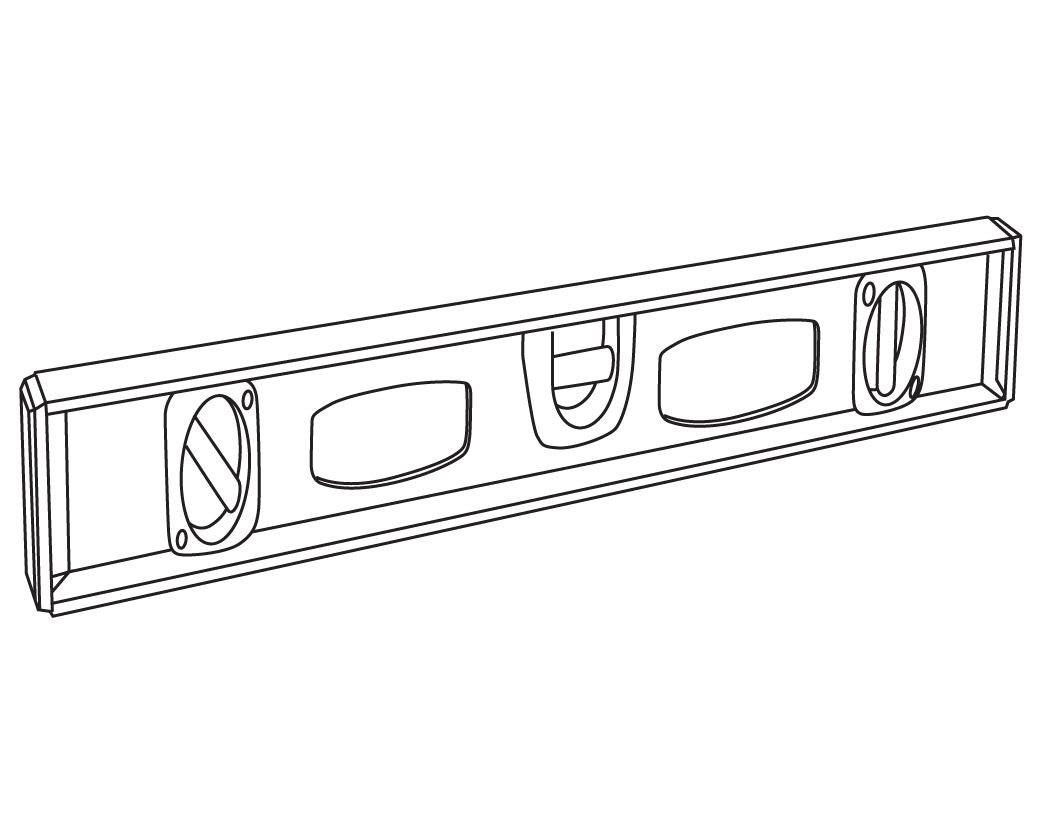
Recommended Tools (Not Included)
Drill with Phillips Bit
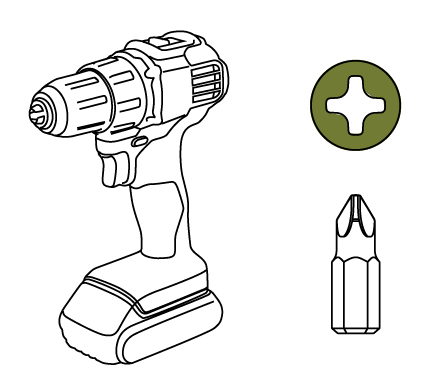
Level
We recommend 2 people for a smoother assembly
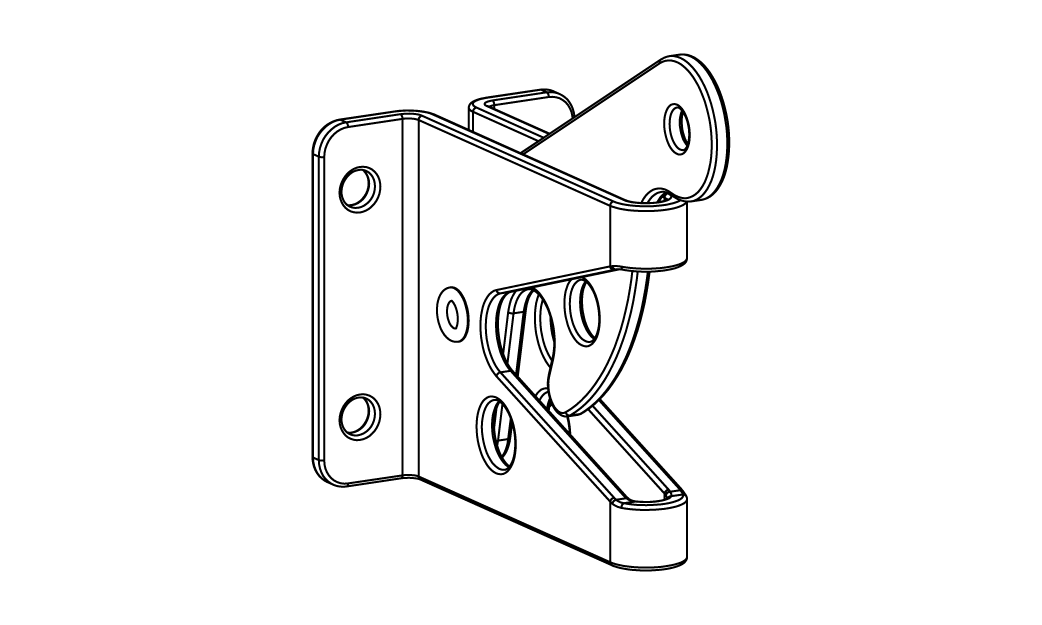
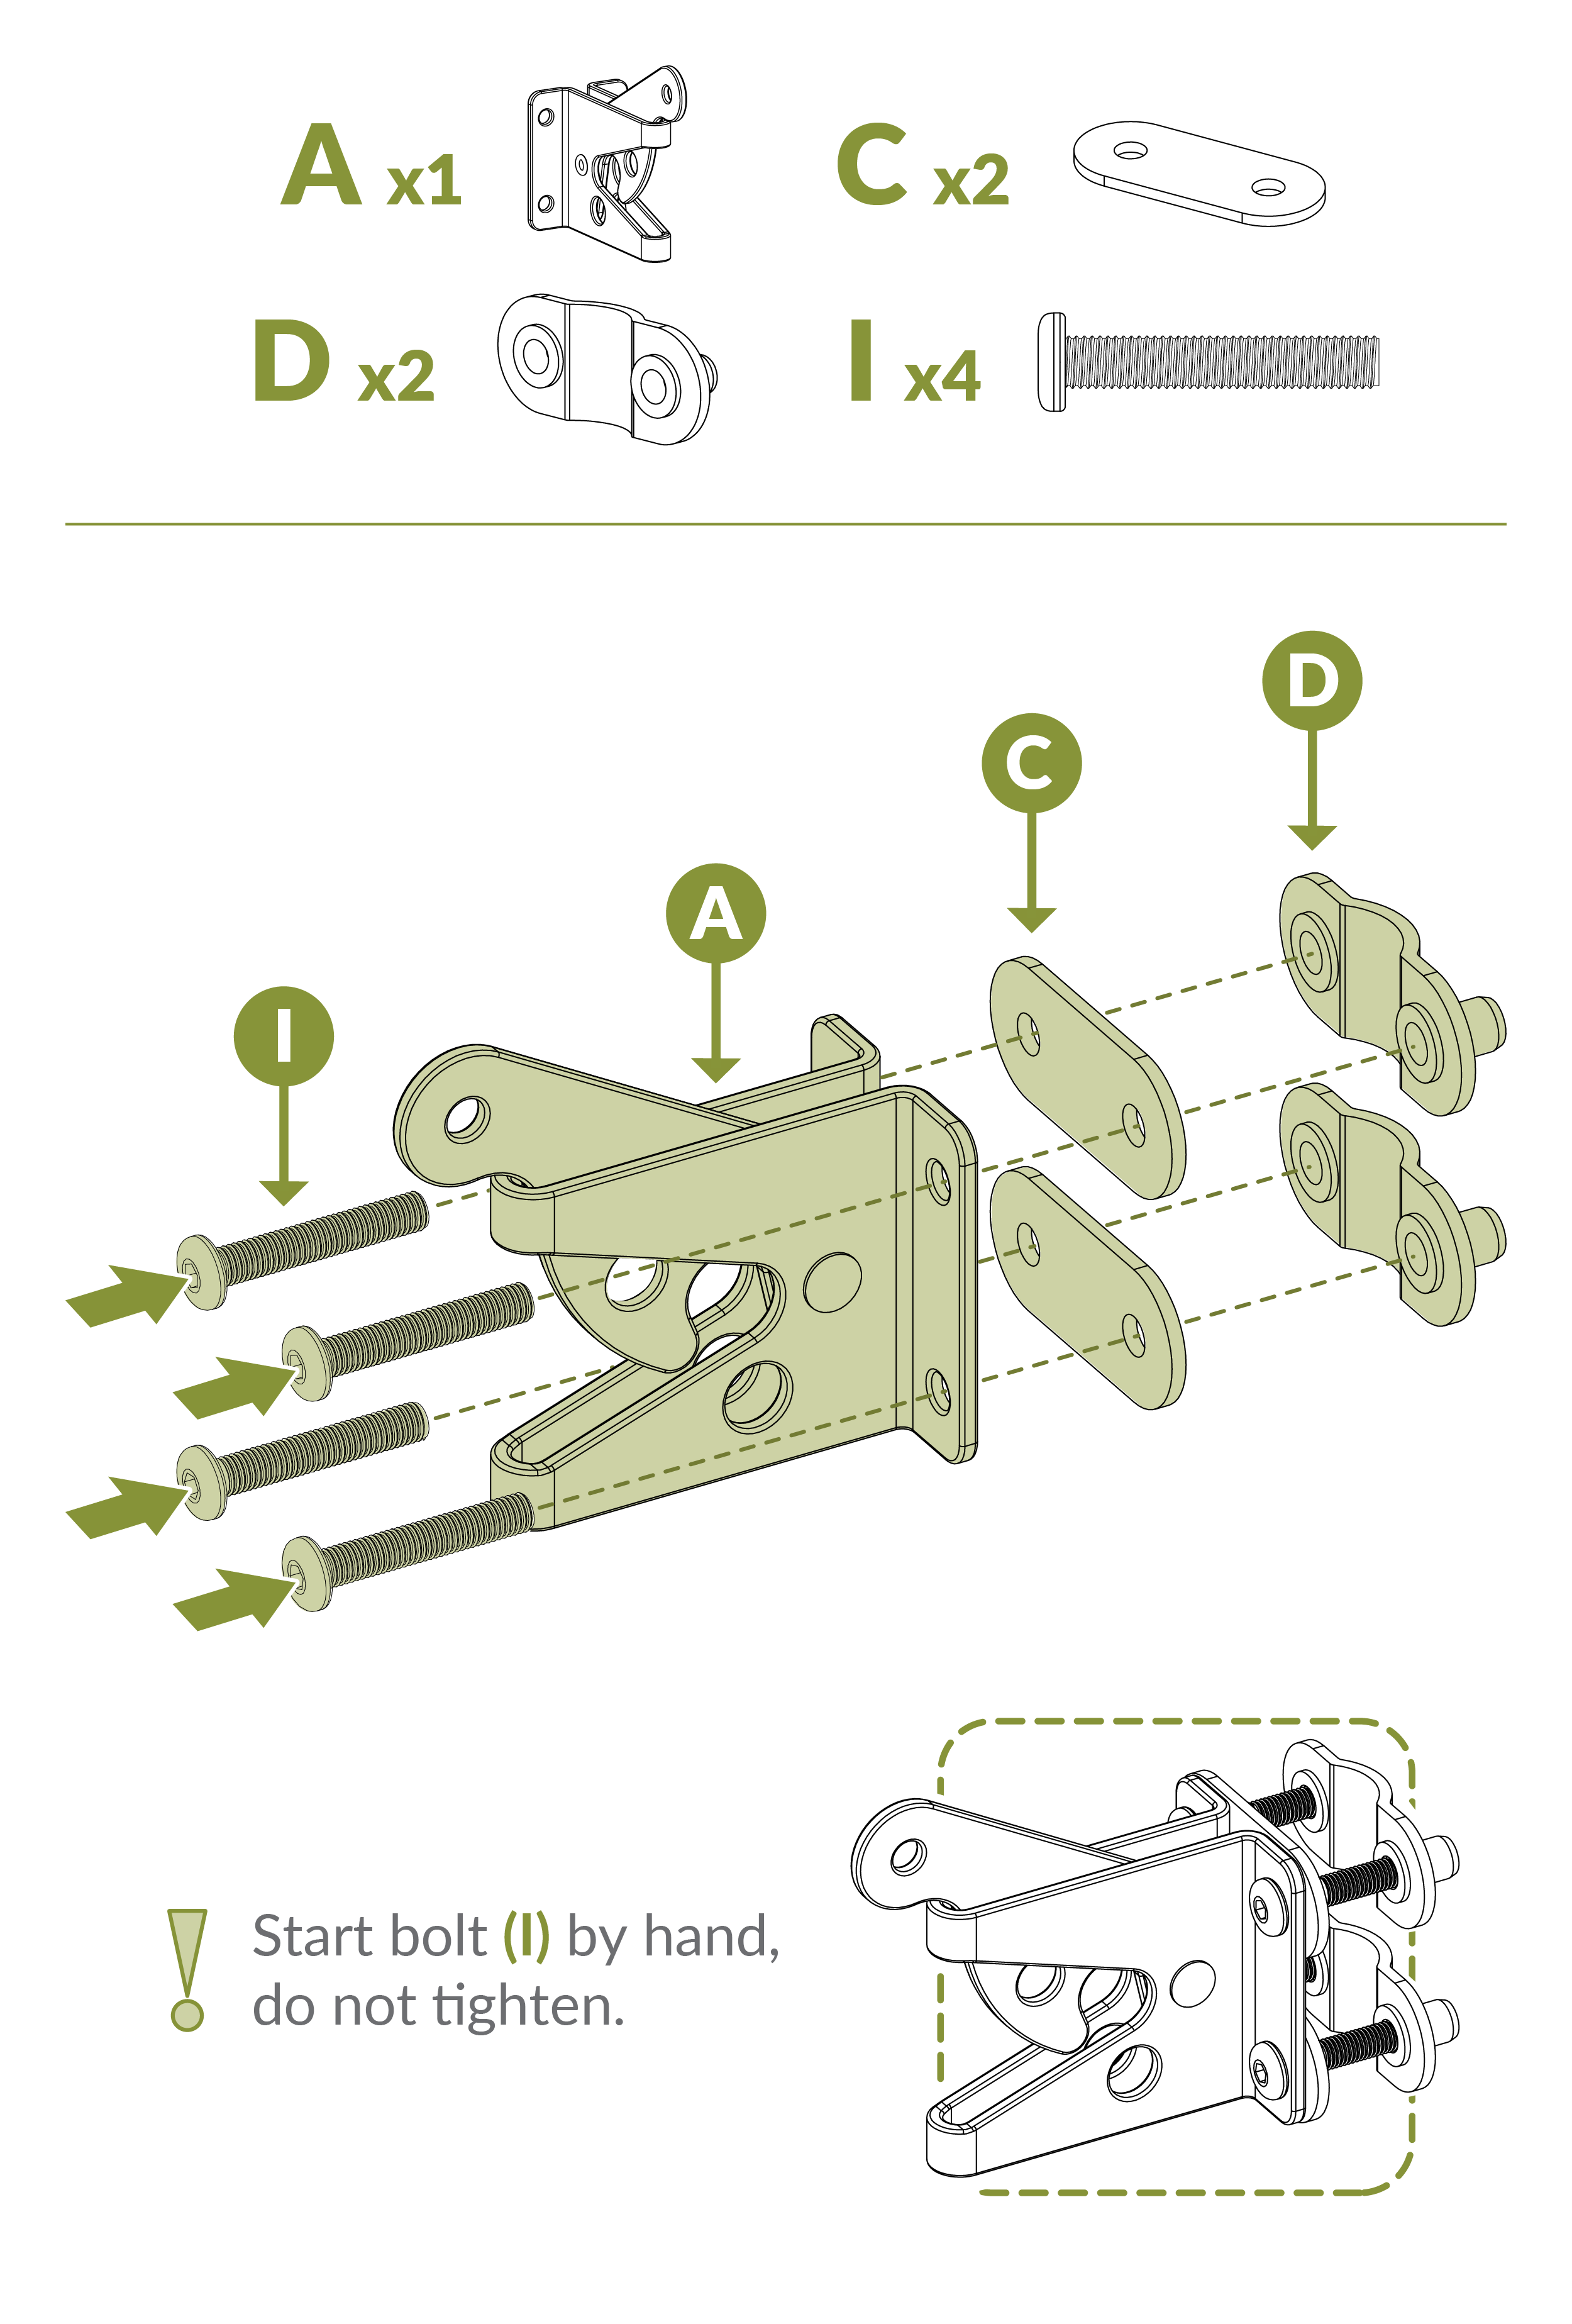
Lay Out Materials
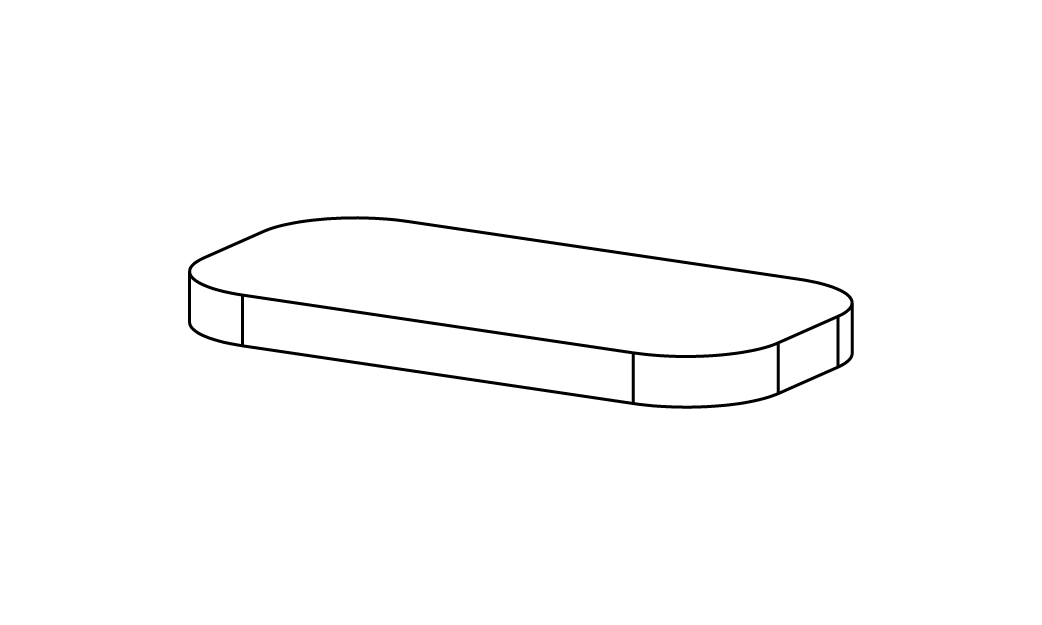
A — Latch Catch (1)
B — Latch Finger (1)

C — Latch Spacer (2)

D — Back Plate (2)
E — Adhesive Rubber Pad (1)
F — Gate Stopper (1)

G — Low Friction Washer (2)

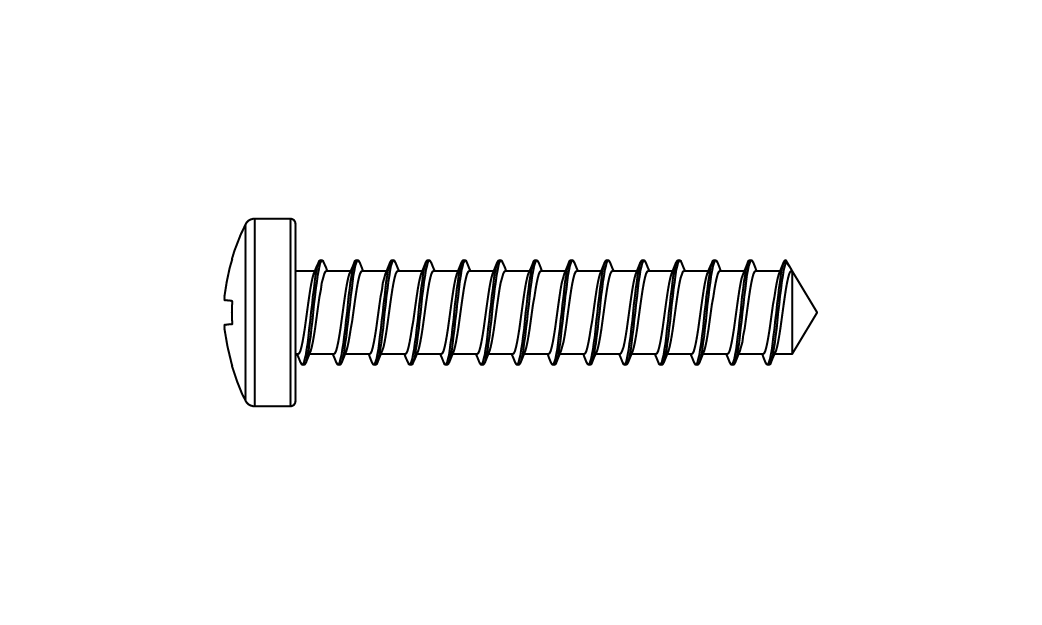
H — Screw (4)
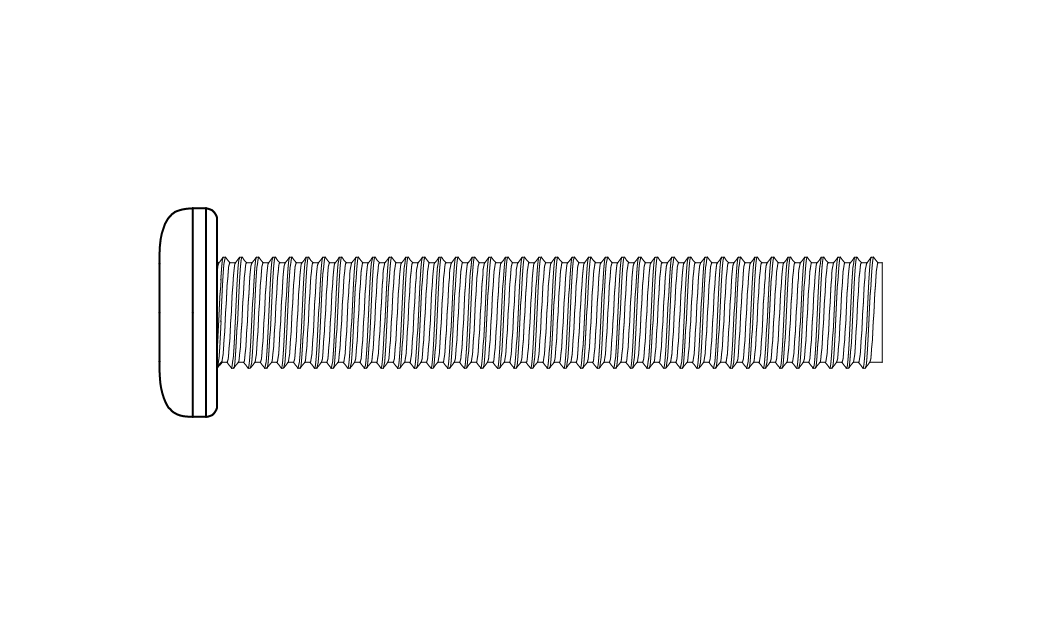
I — 1¼ in Bolt (4)
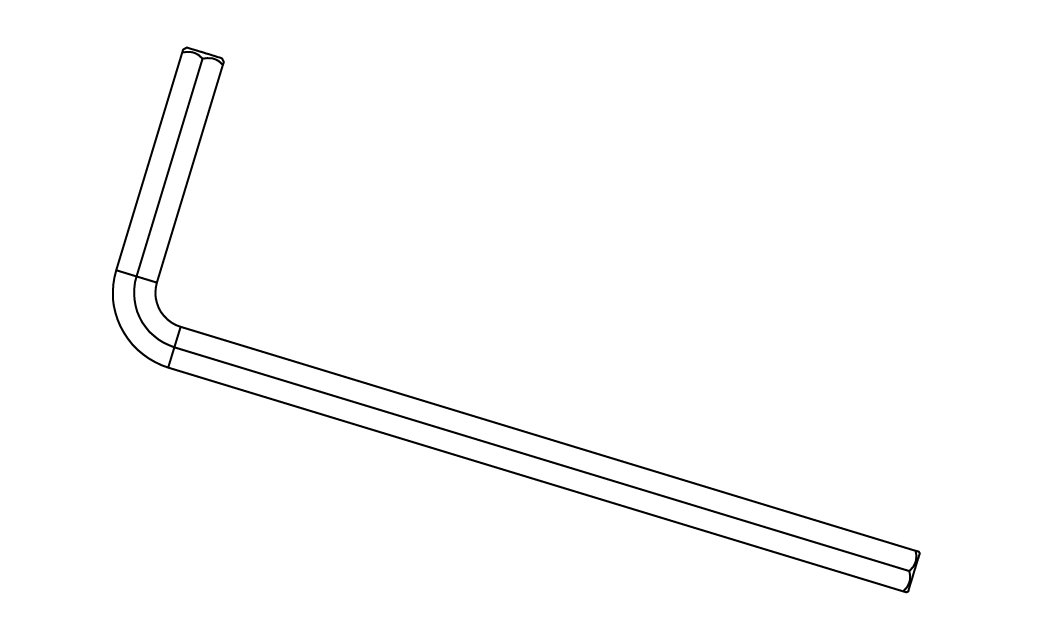
J — Hex Key (1)
Before You Begin

- Always install the gate between two fence panels to ensure stability and prevent excessive strain on the ground stake
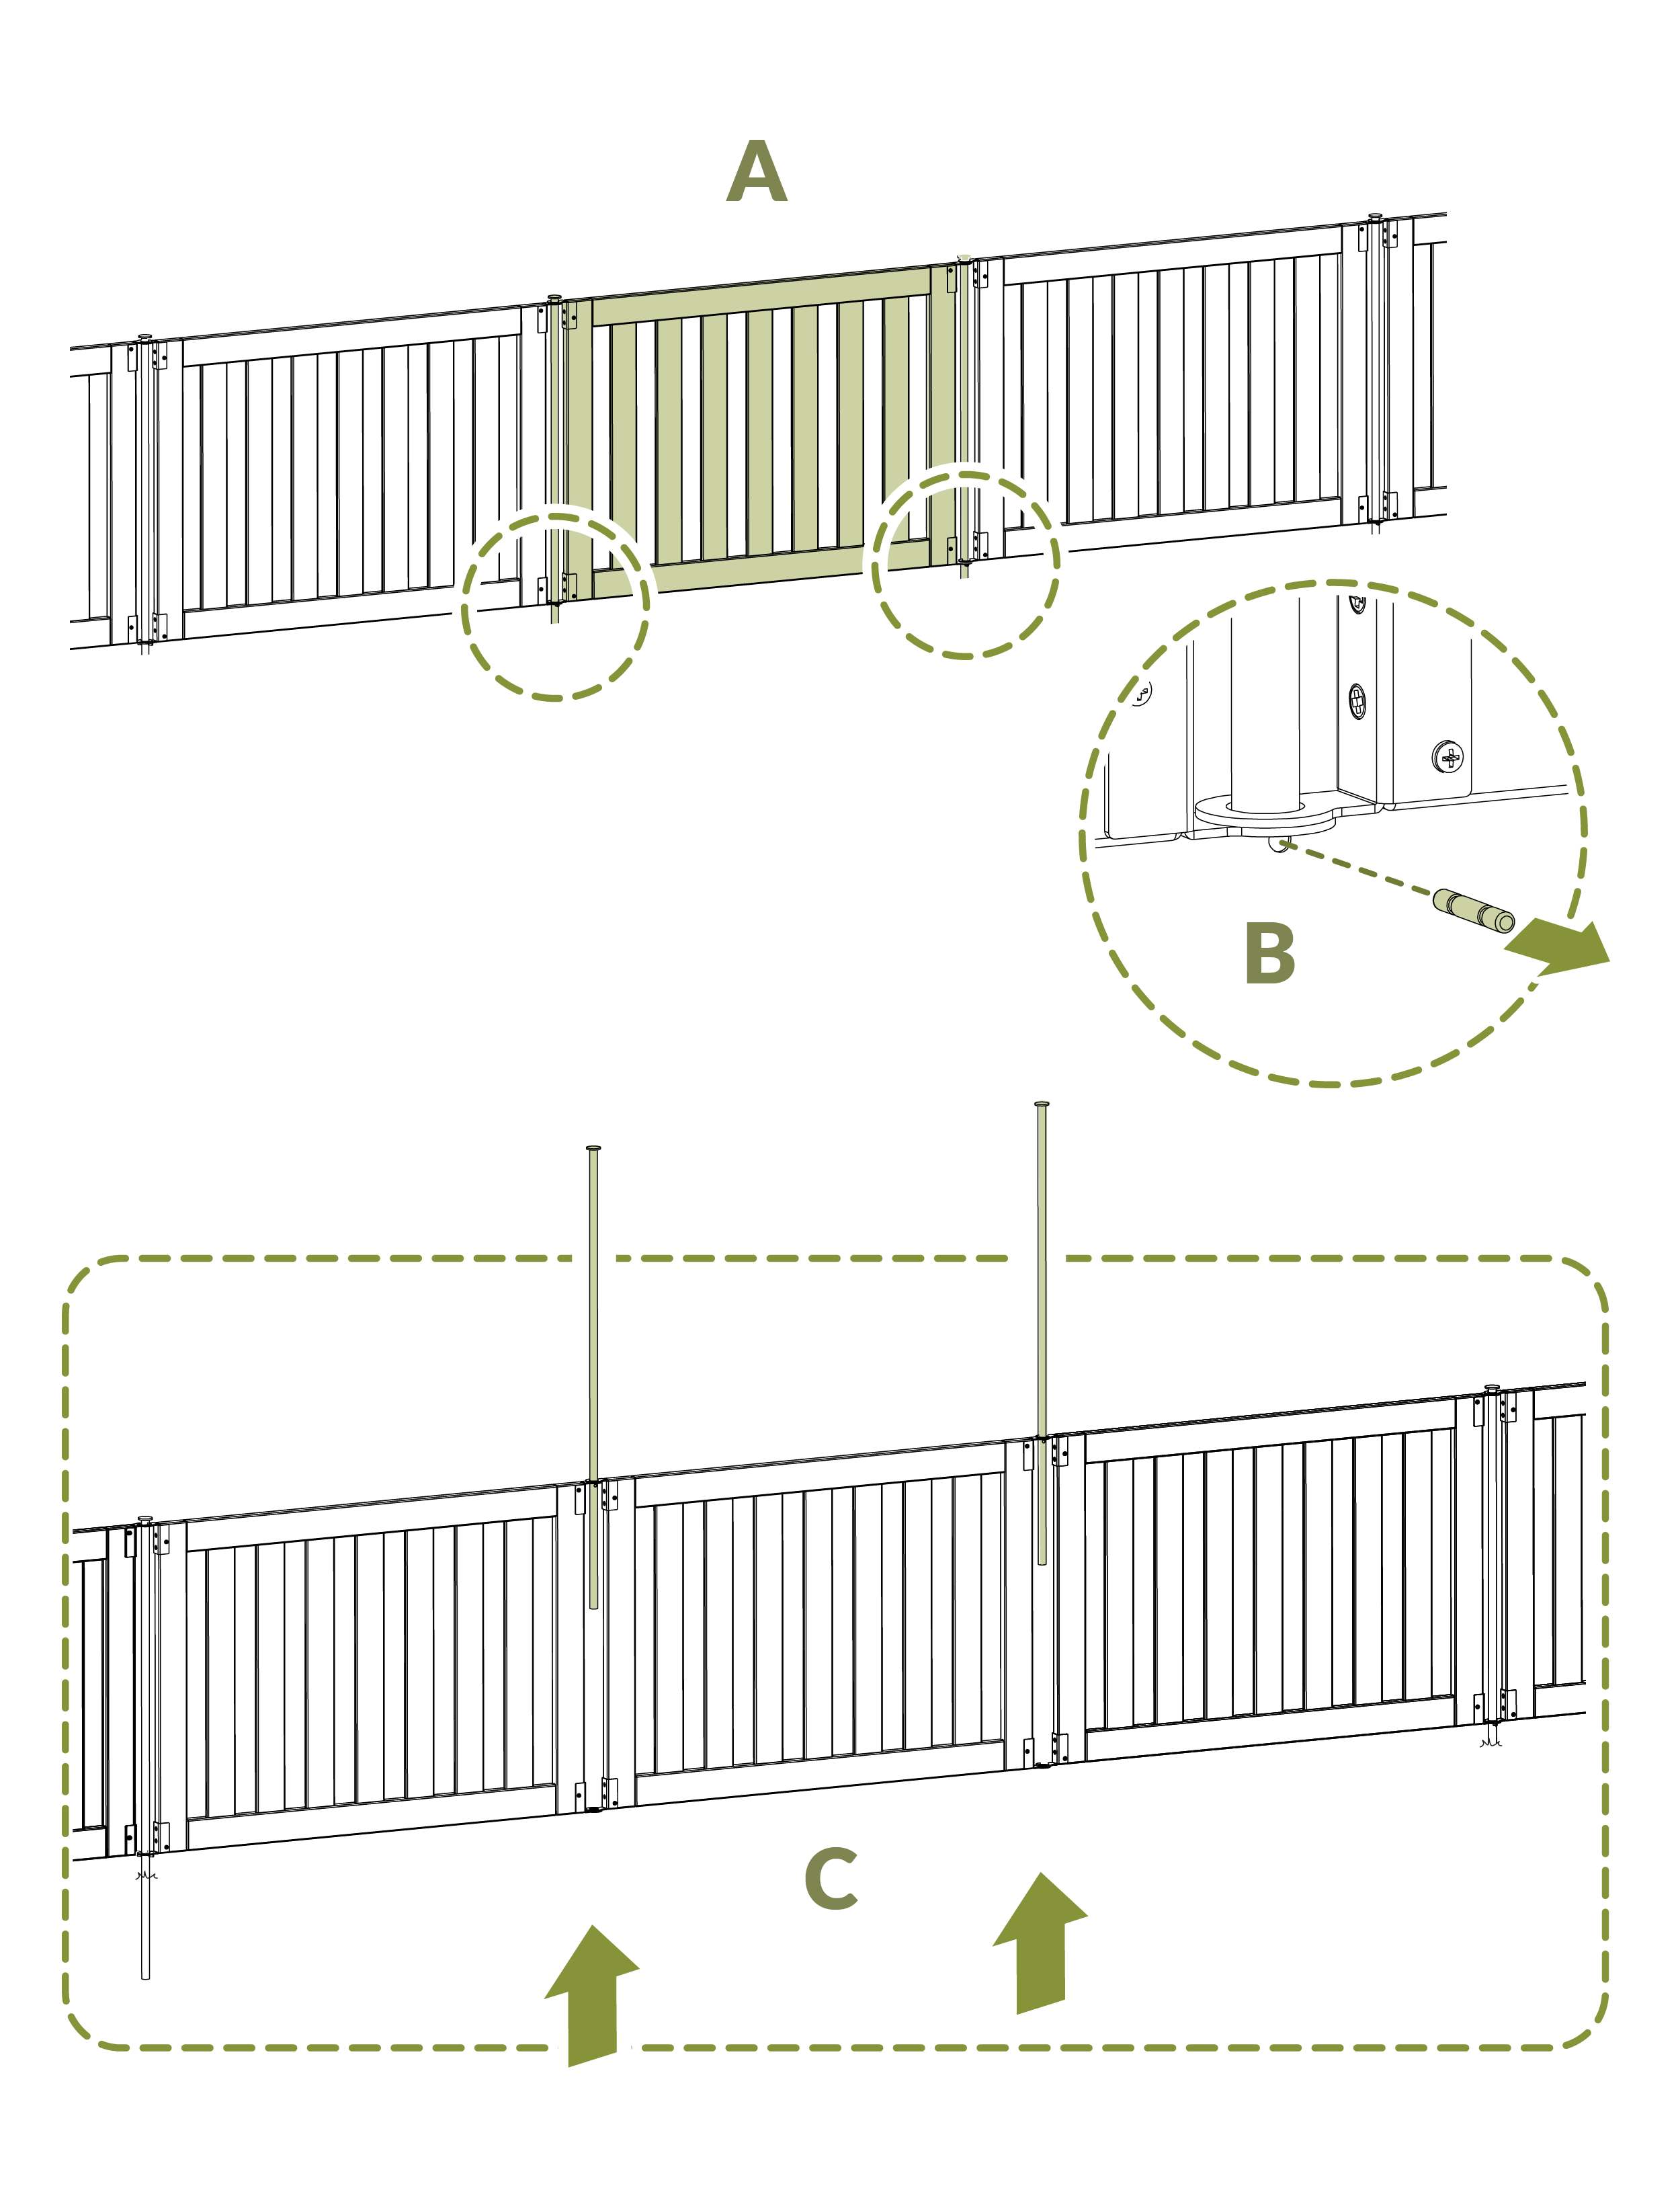
- A) Determine which fence panel will be converted into a gate
- B) Remove stake pegs from the left and right stakes
- C) Remove both stakes from the selected panel.
Step 1
- From one side of the loose panel, start unscrewing the top and bottom brackets
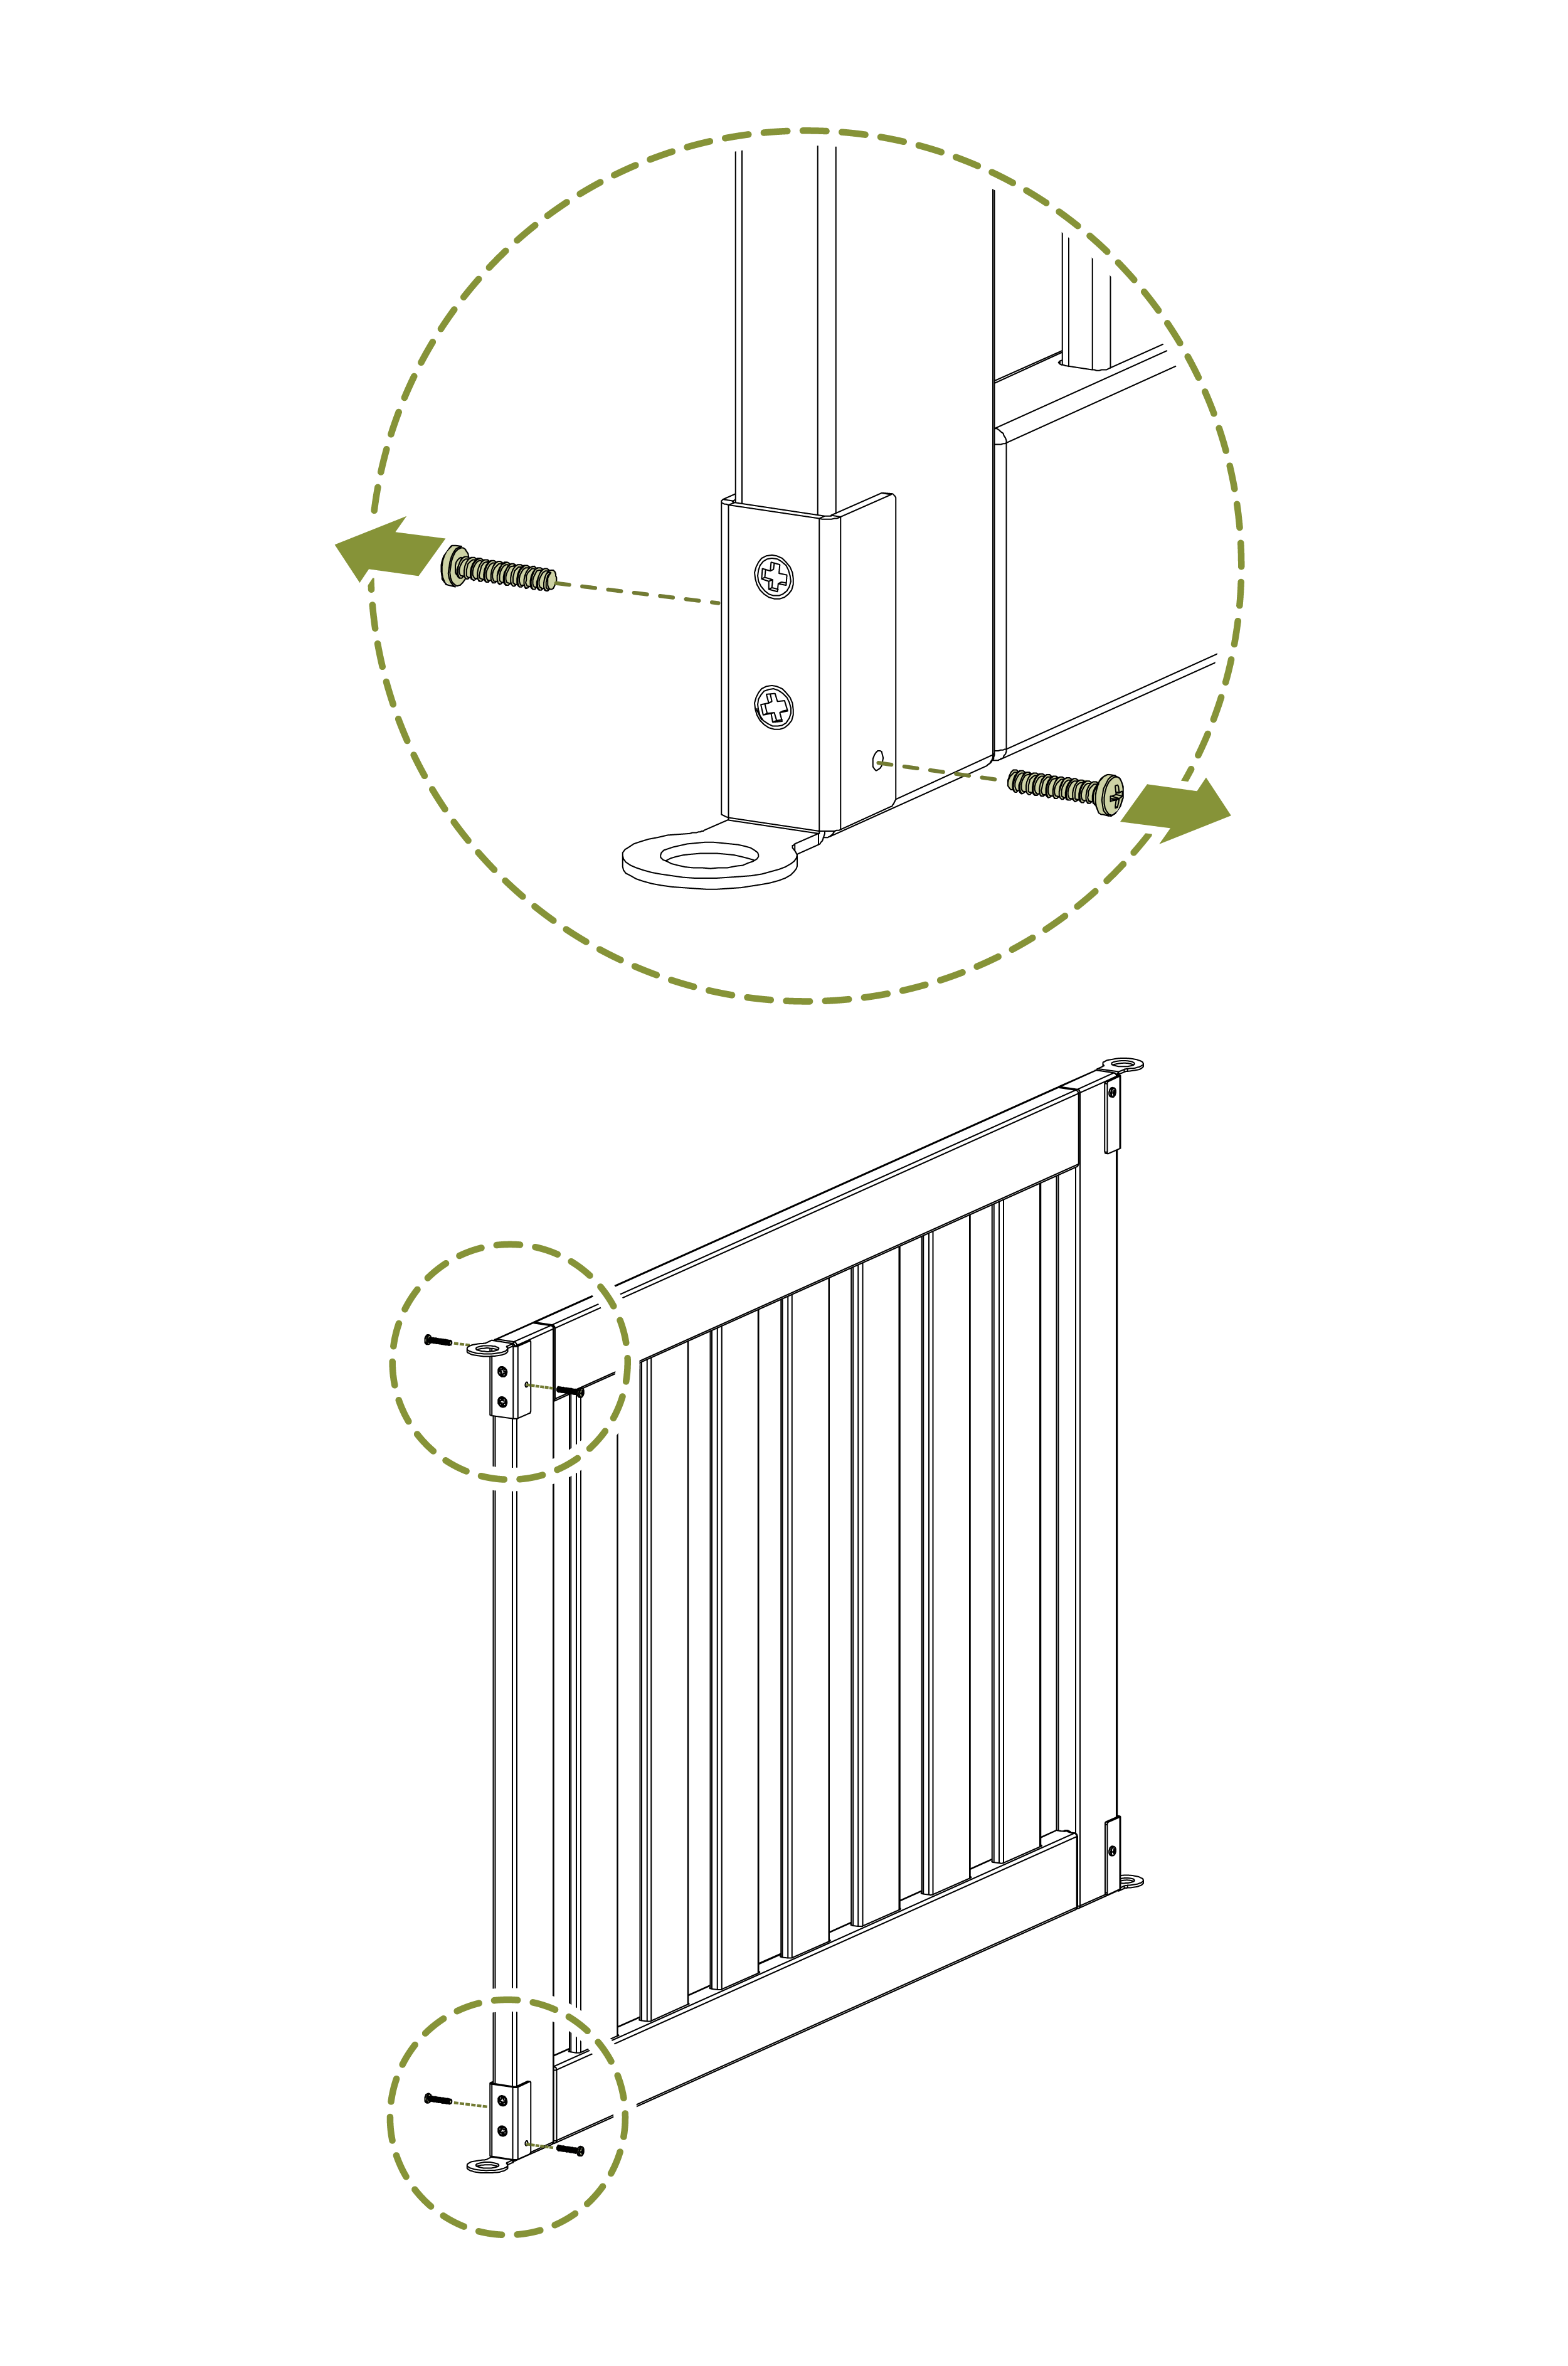
Step 2
- Continue until the top and bottom brackets are fully removed
- Using the same screws, reinstall only the top two screws back into the panel
- Save the remaining two screws for later use
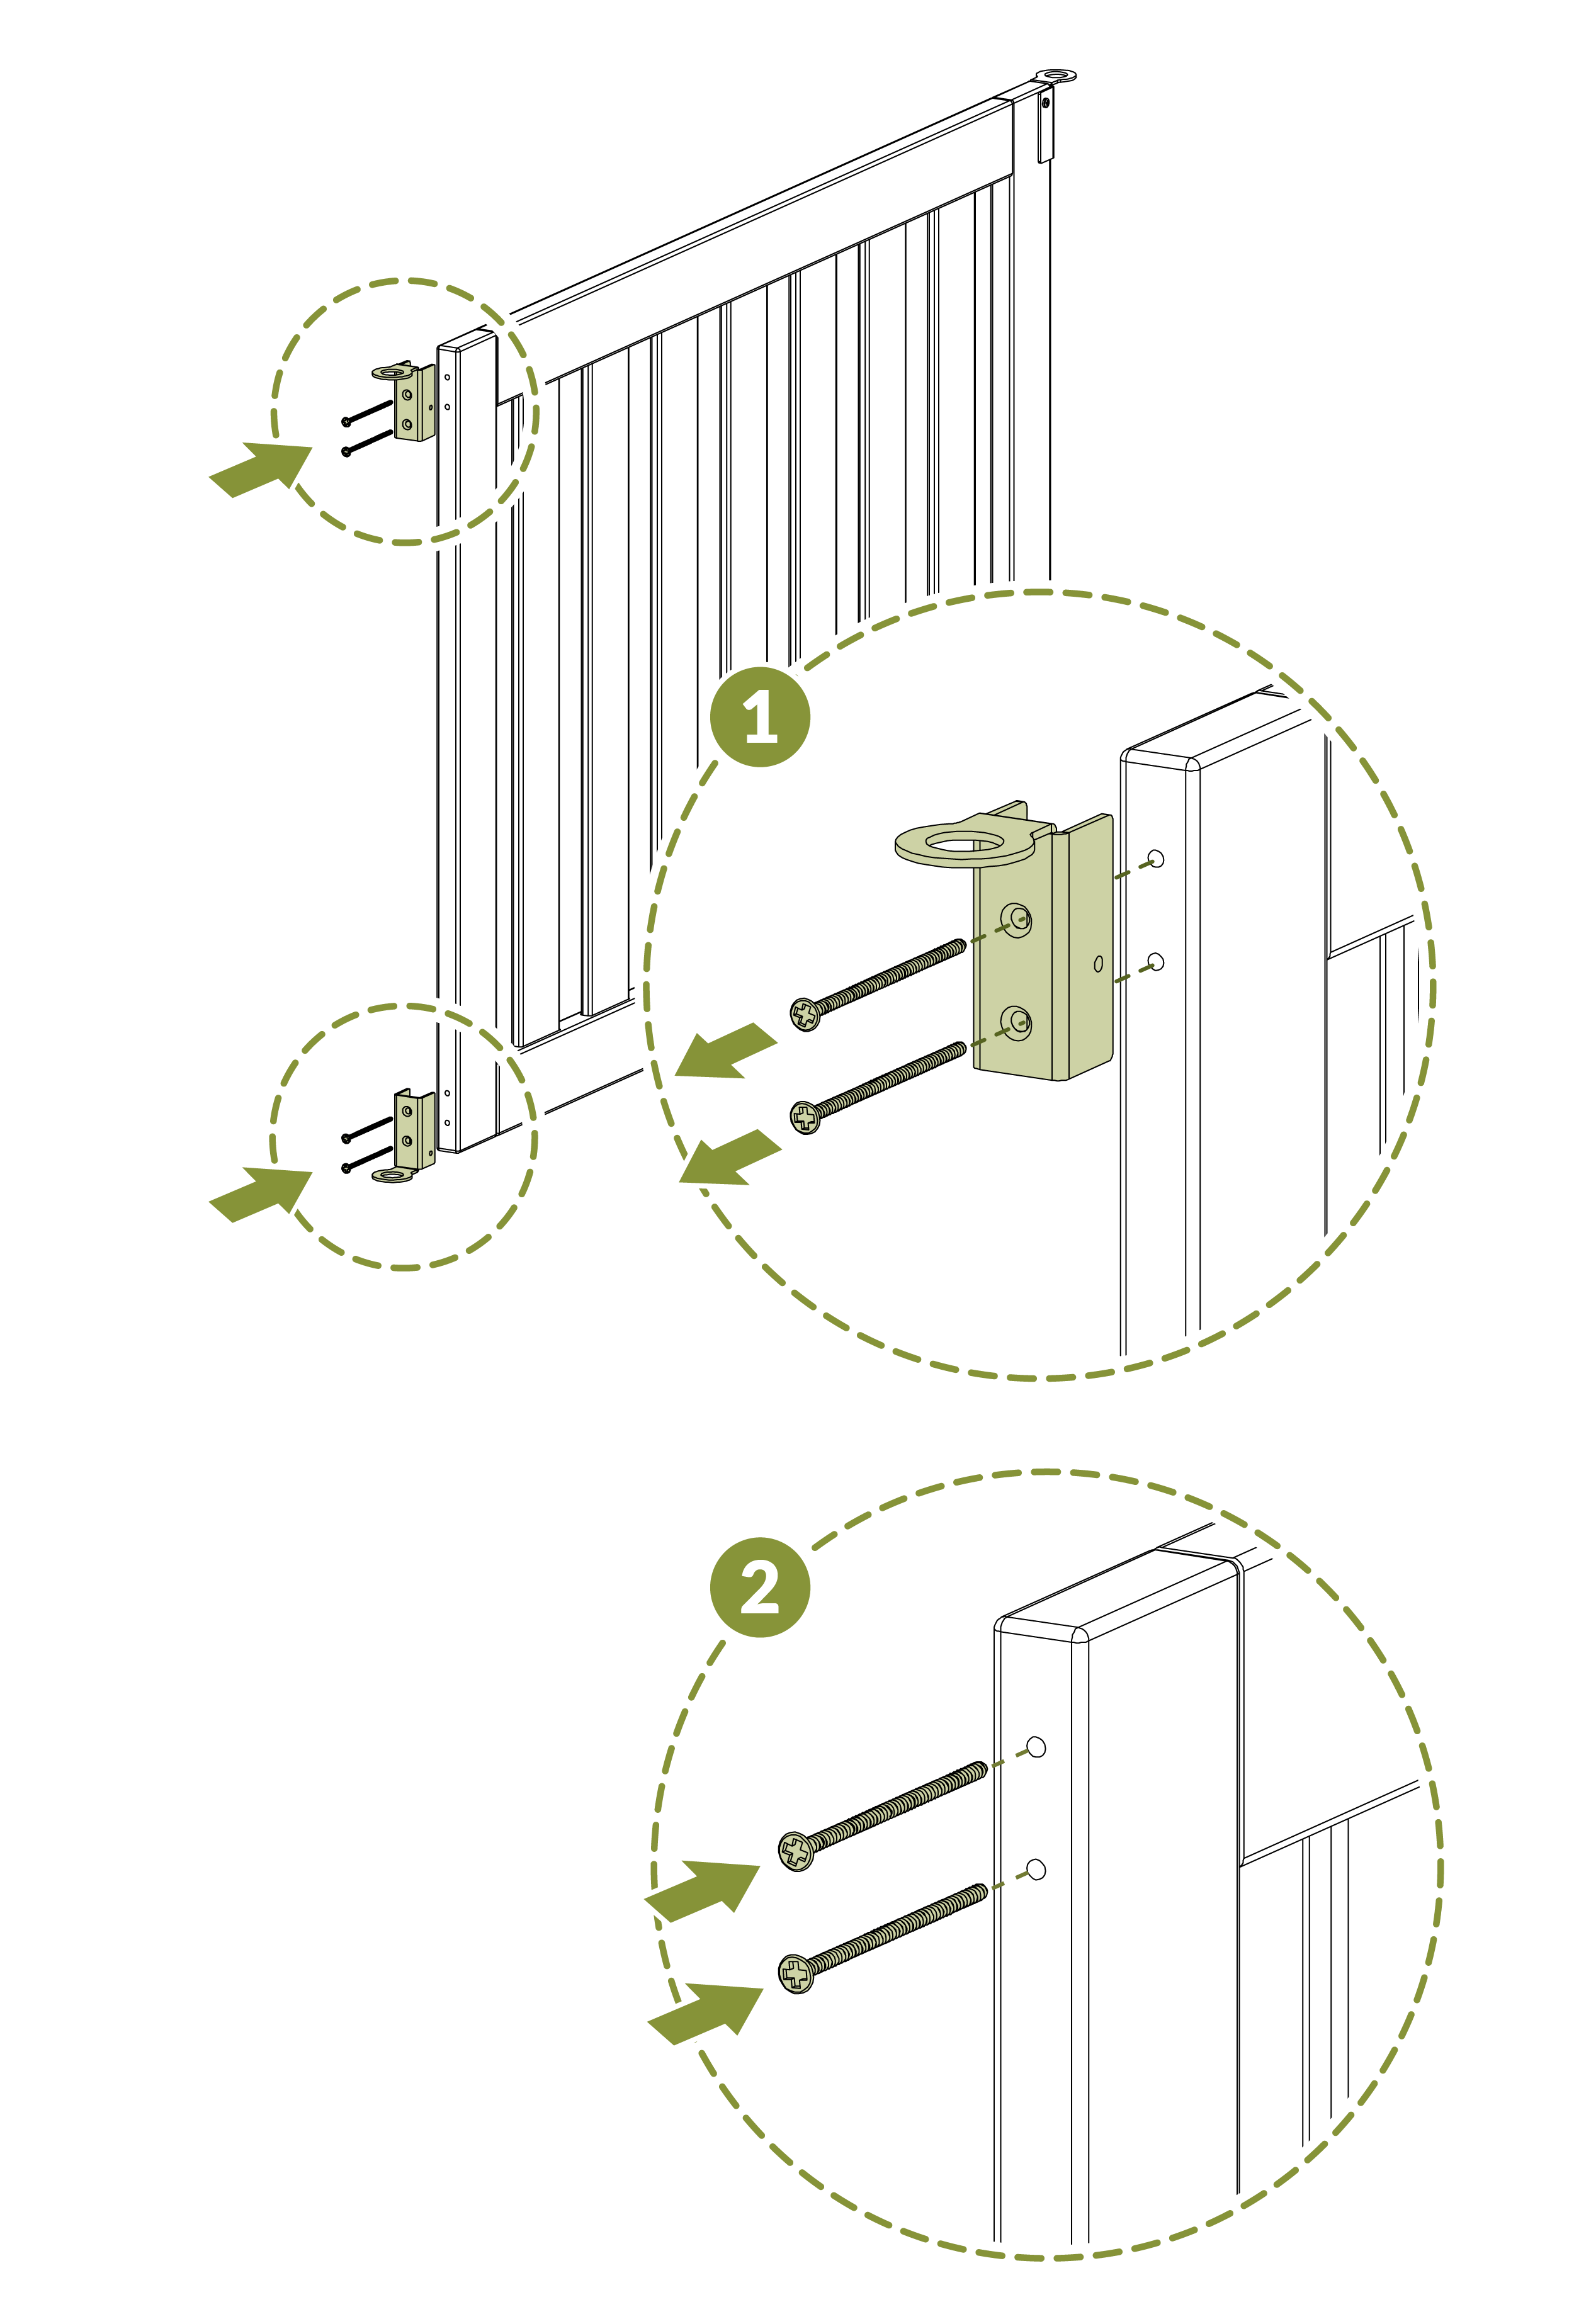
Step 3
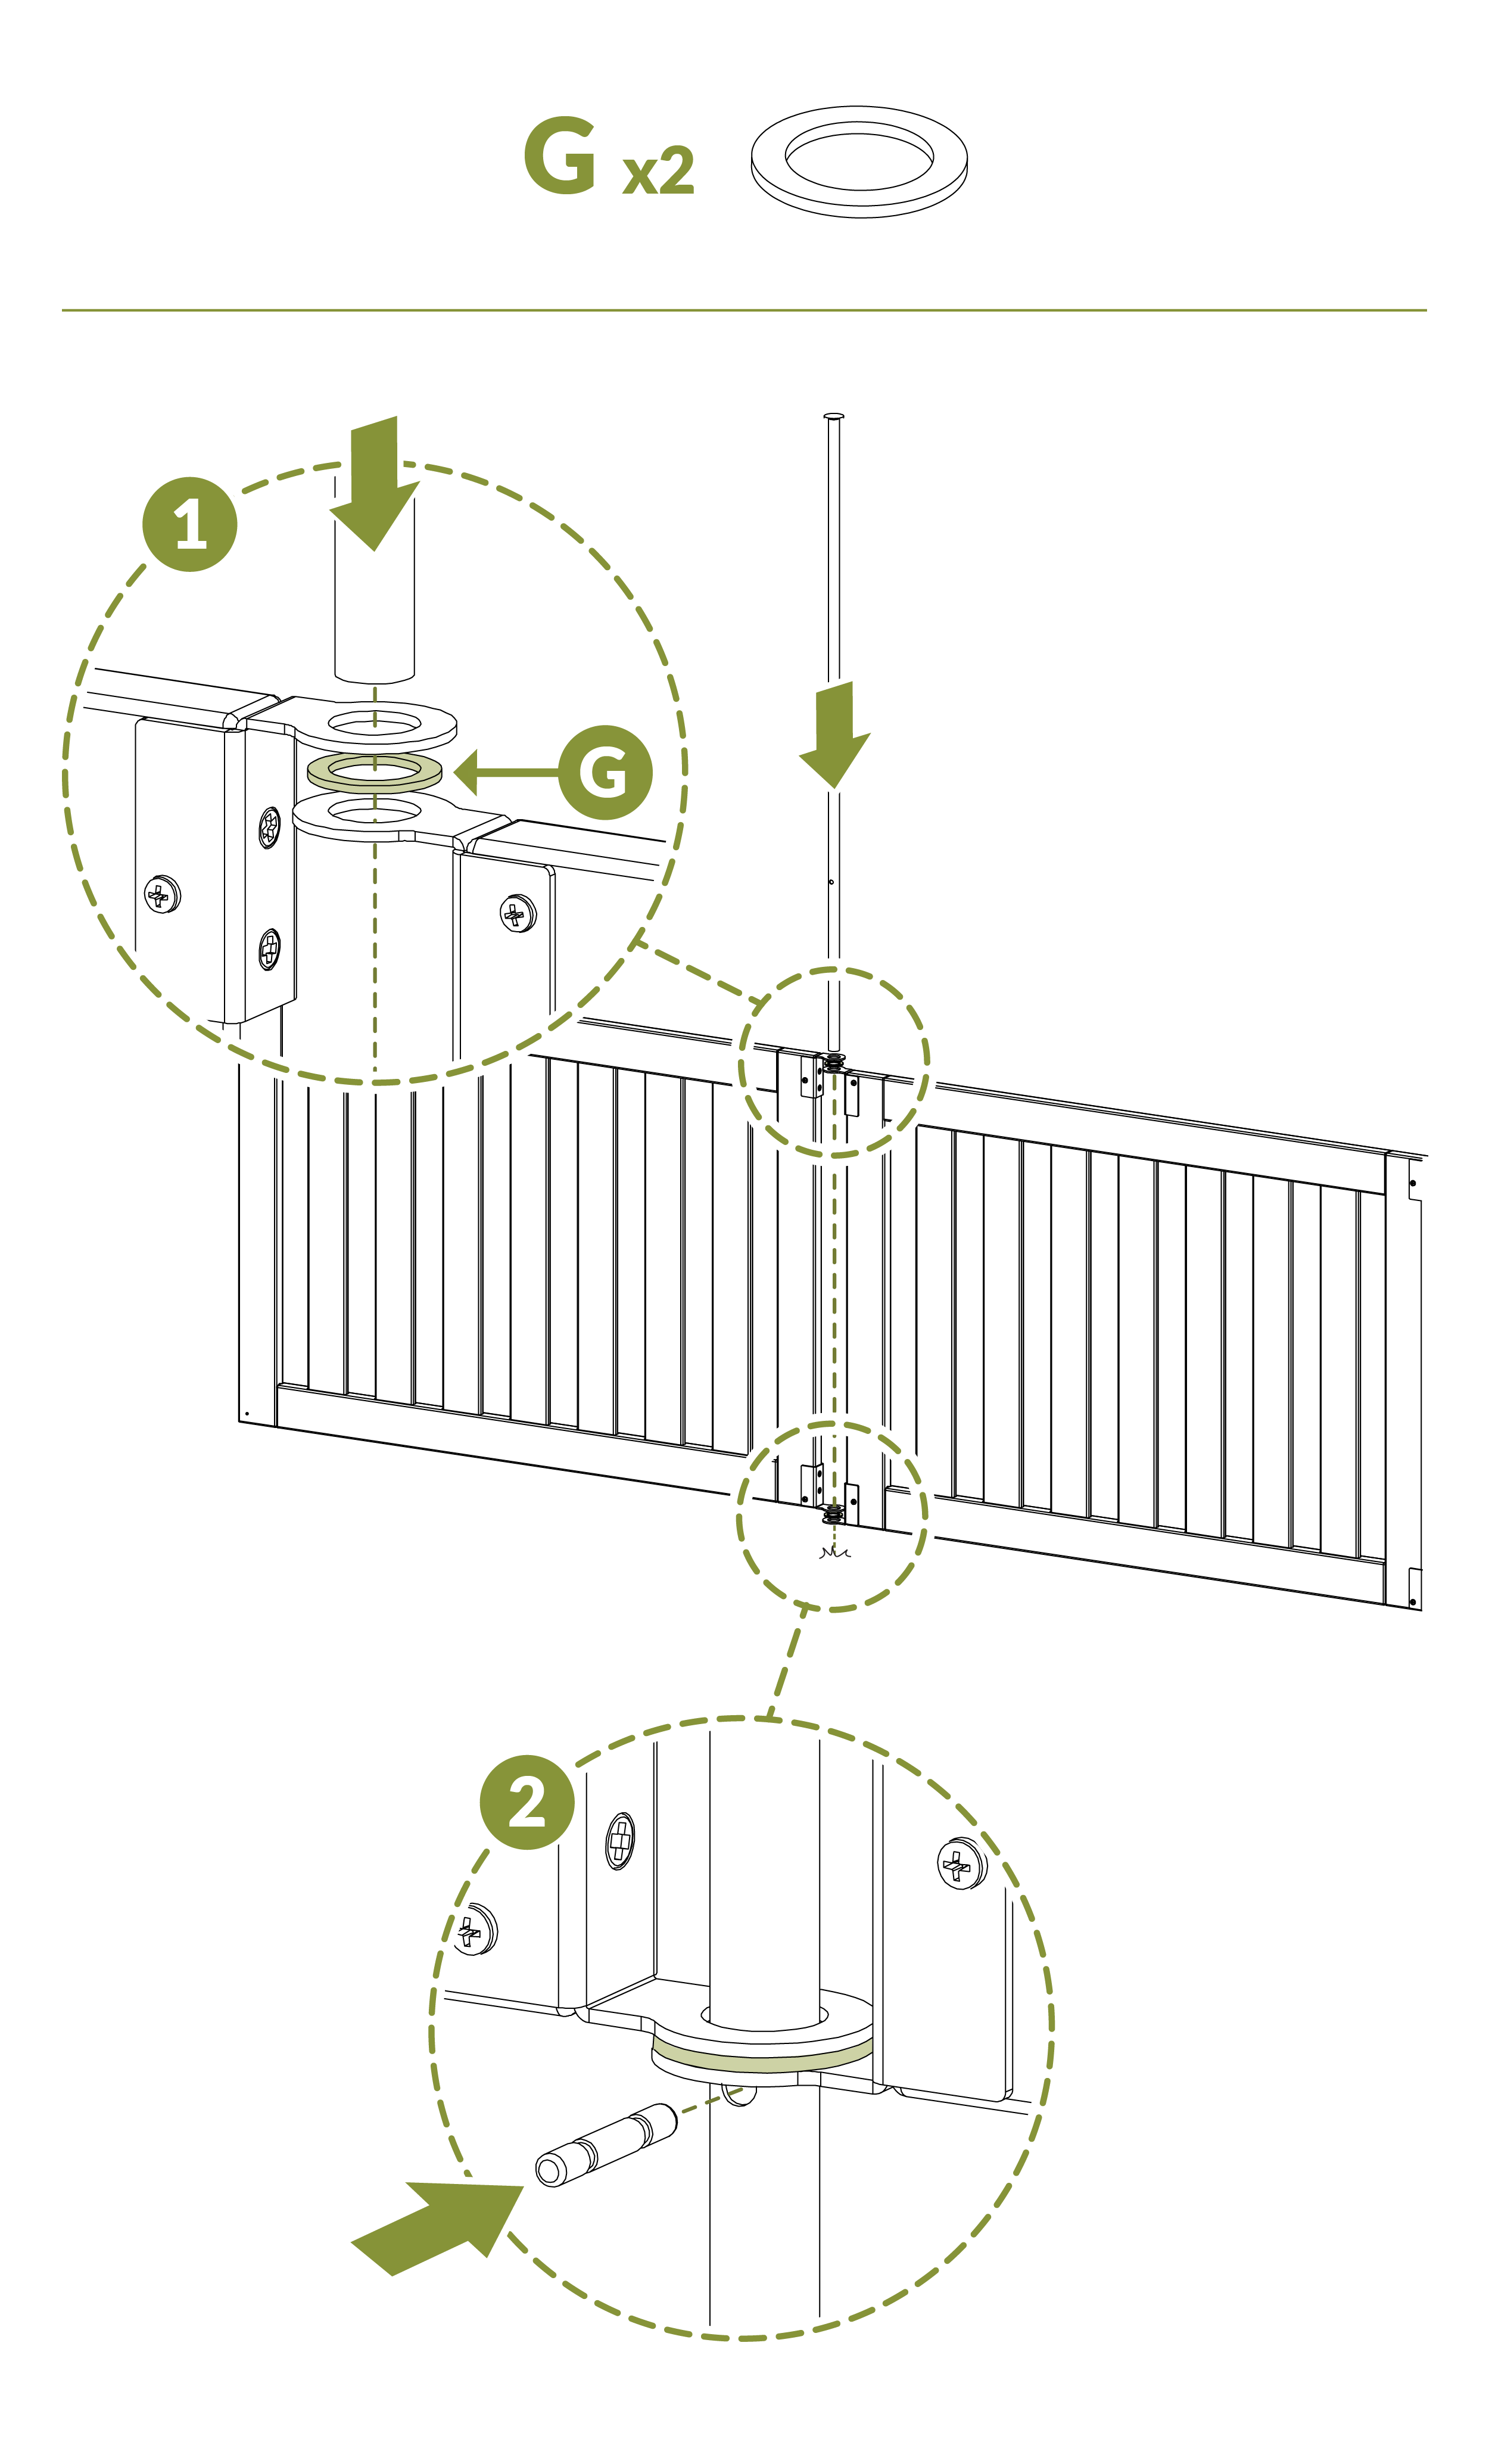
- Place Low Friction Washers (G) under the two remaining brackets
- Align the panel and reinsert the stake into the ground to form the gate hinge
- Reinsert the stake peg
Step 4
Step 5
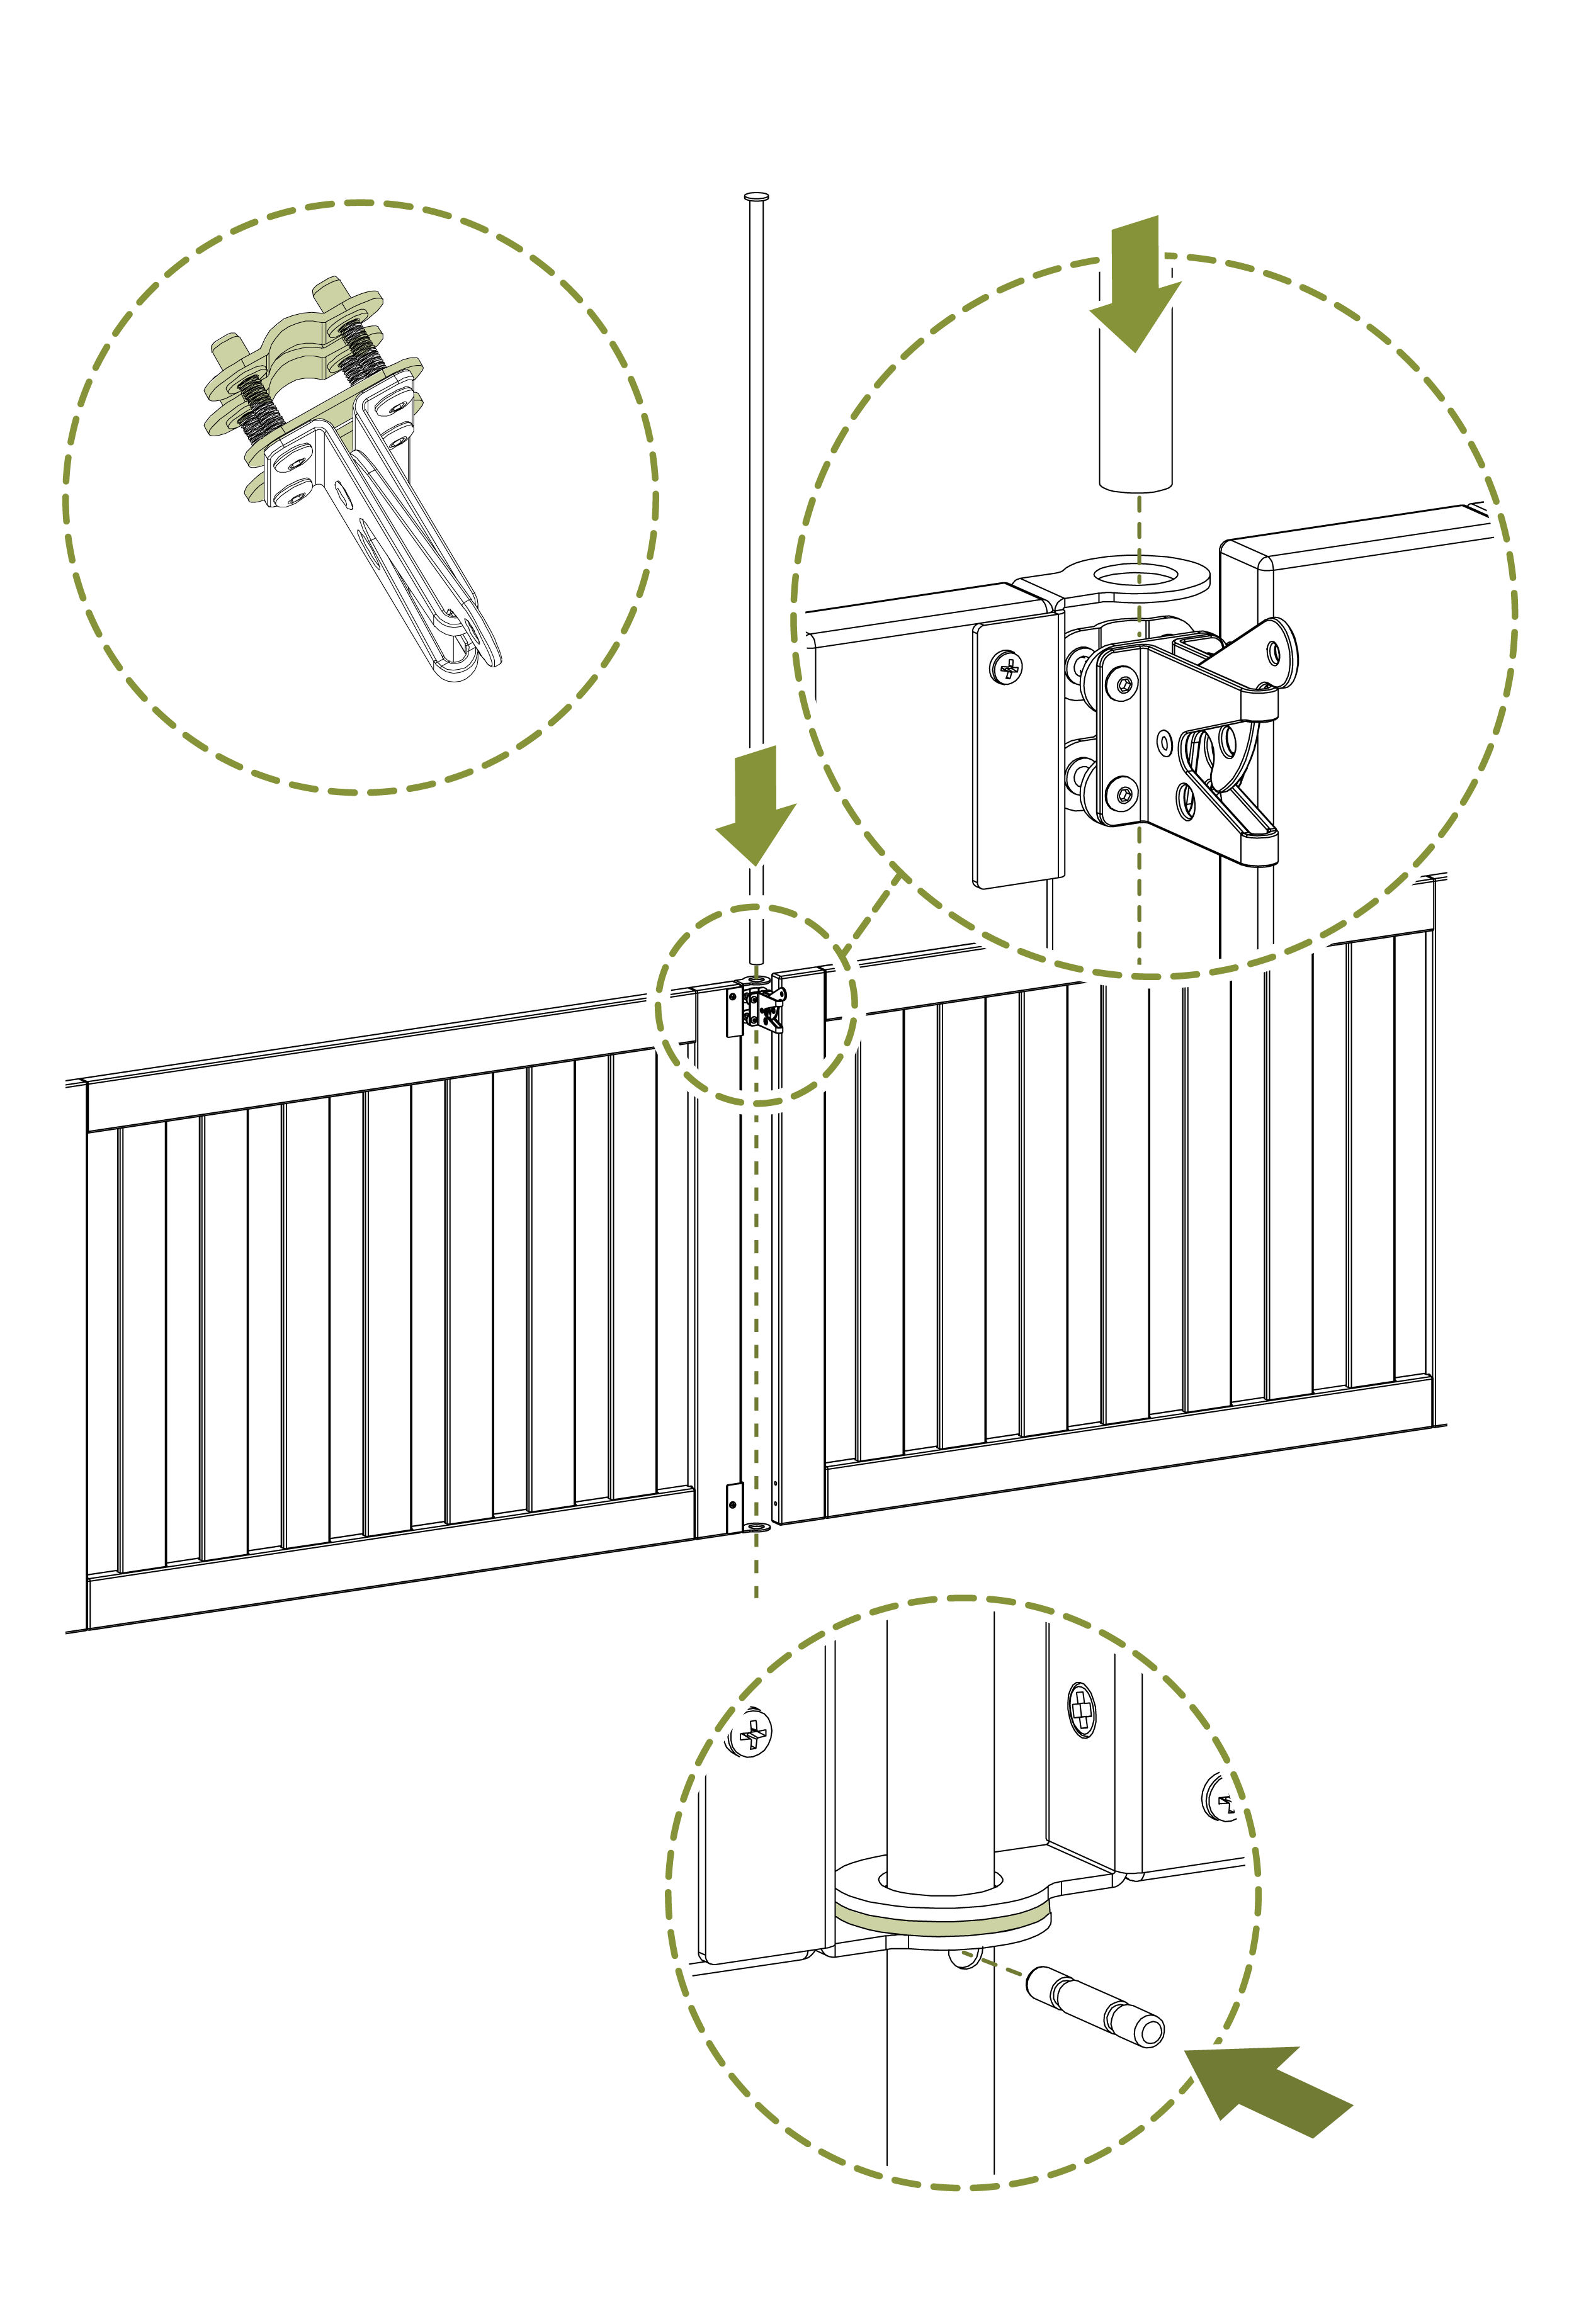
- Tip: Clean the stake first if muddy
- Ensure the Latch Spacer (C) and Back Plate (D) are on opposite sides of the post
- Reinsert the stake peg
Step 6
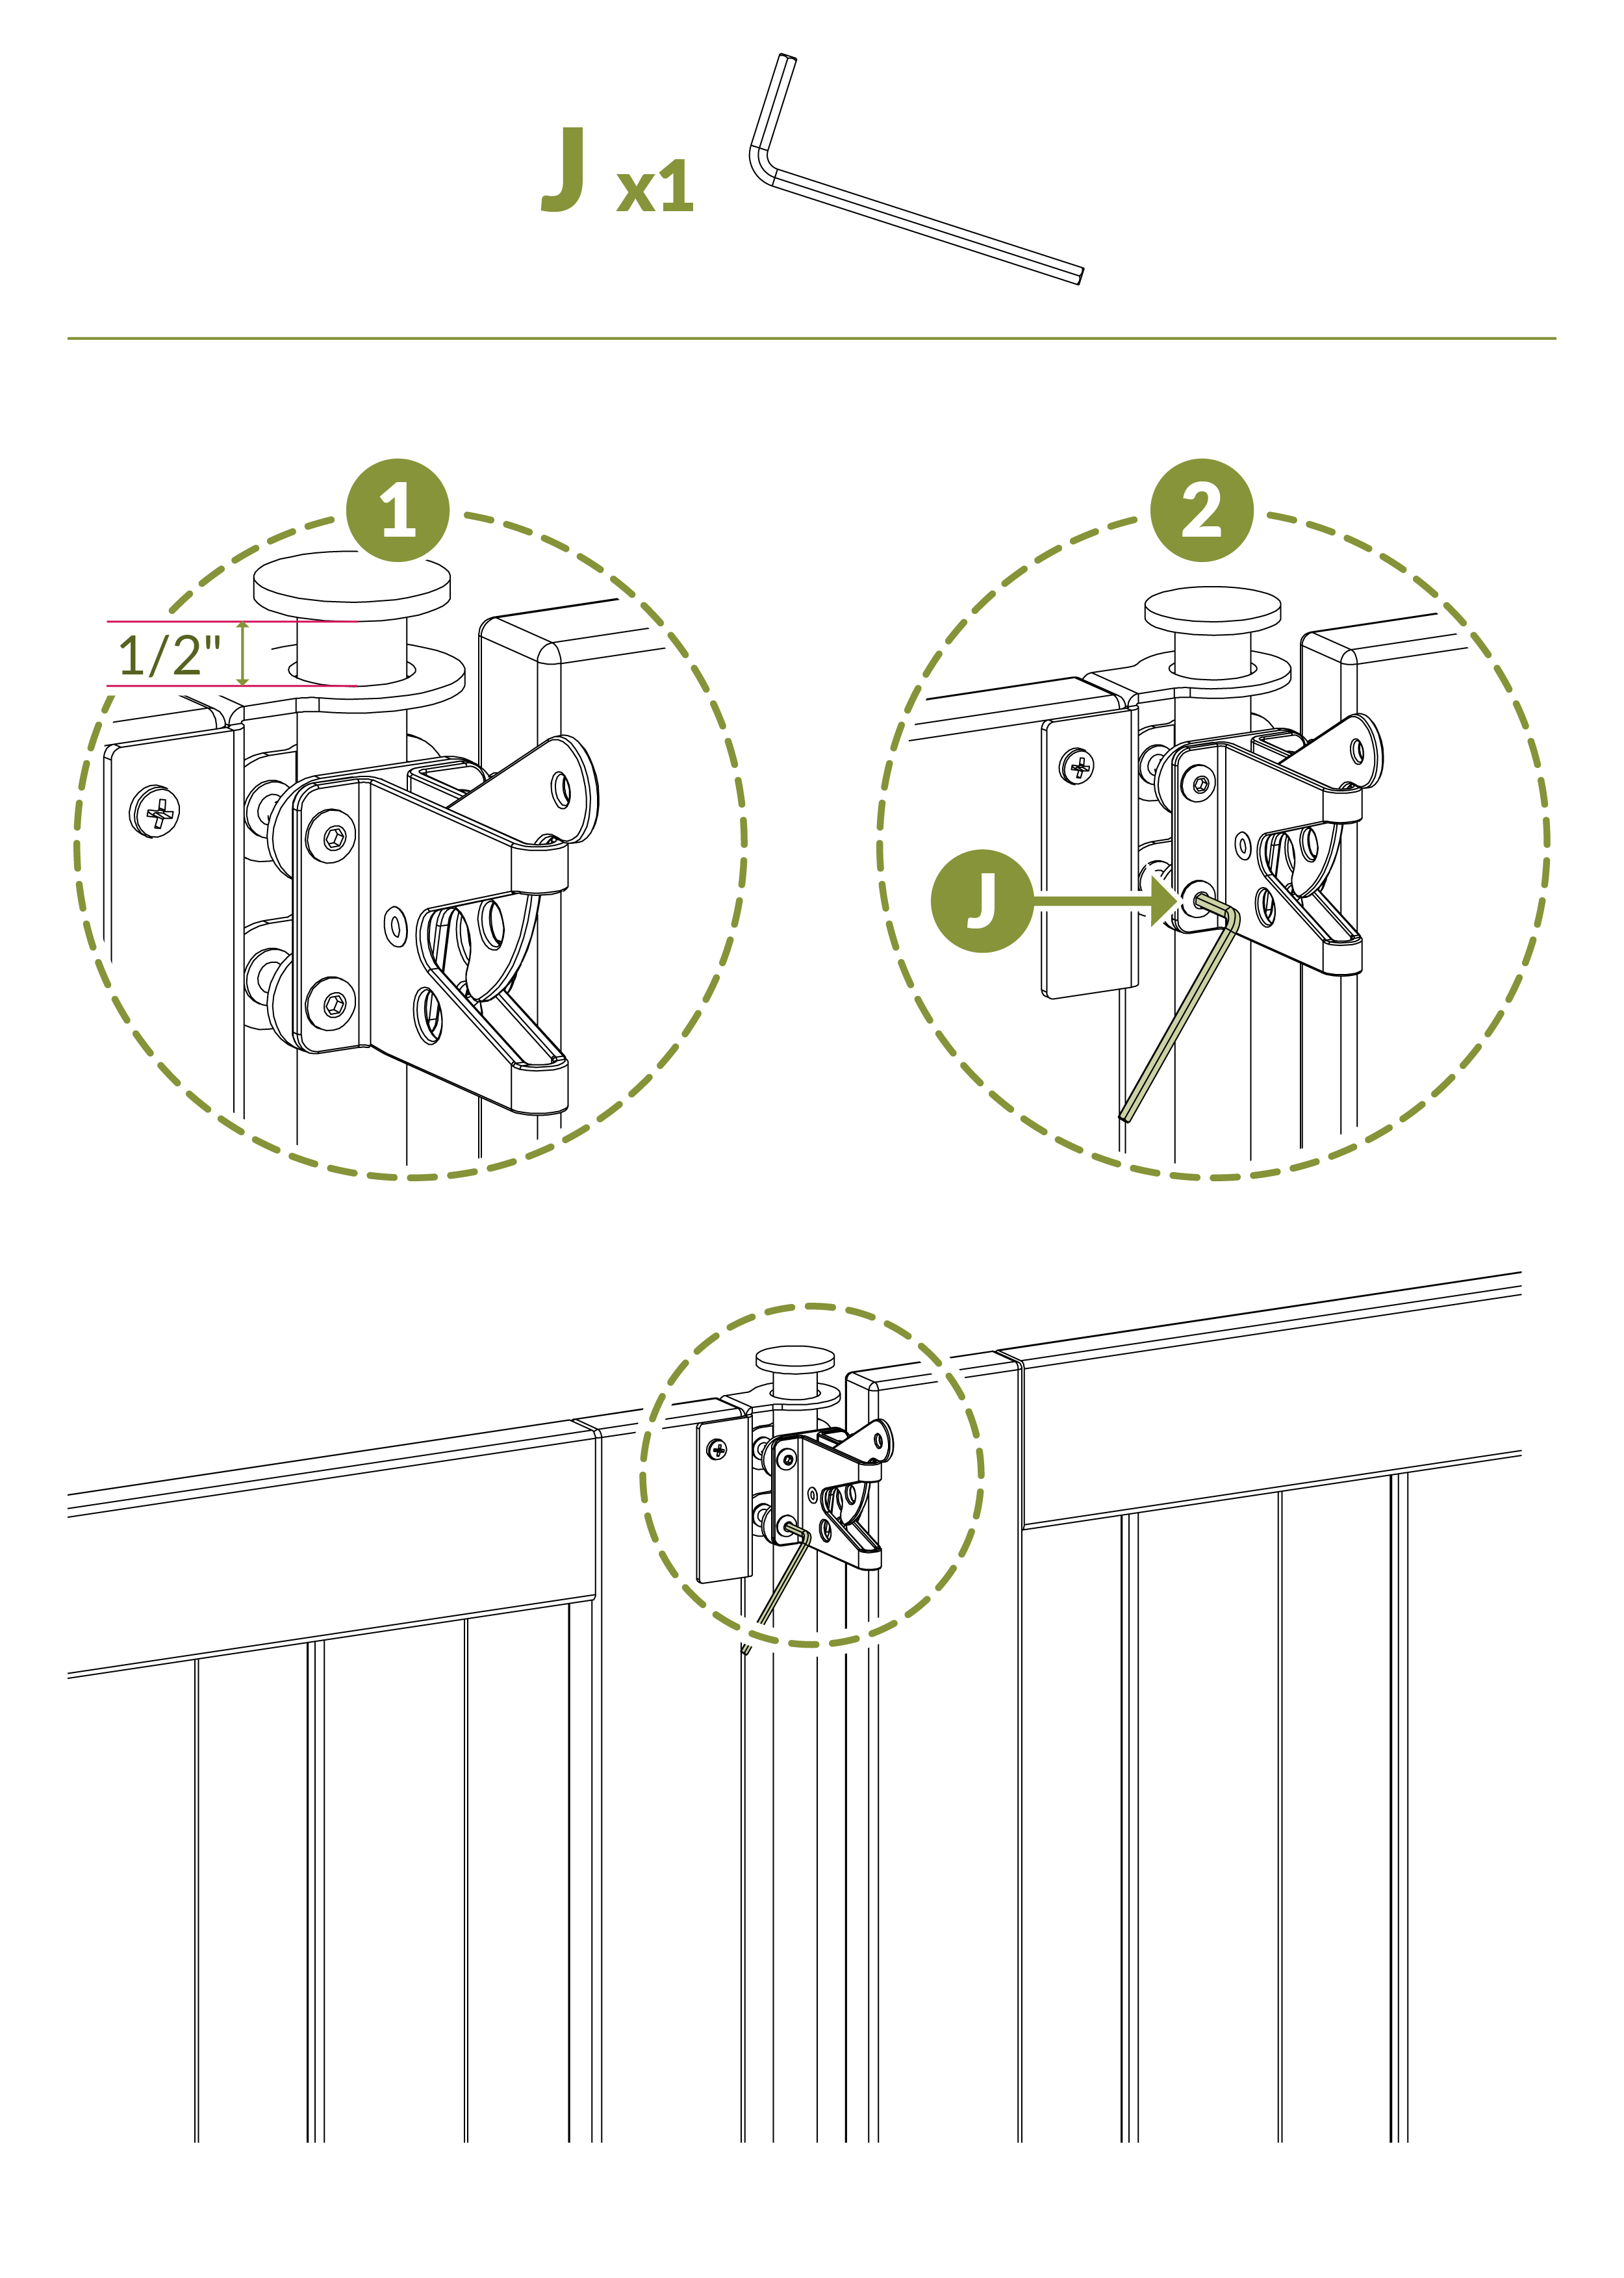
- Tighten bolts using the Hex Key (J)
- Alternate between bolts, tightening each gradually until secure
Step 7
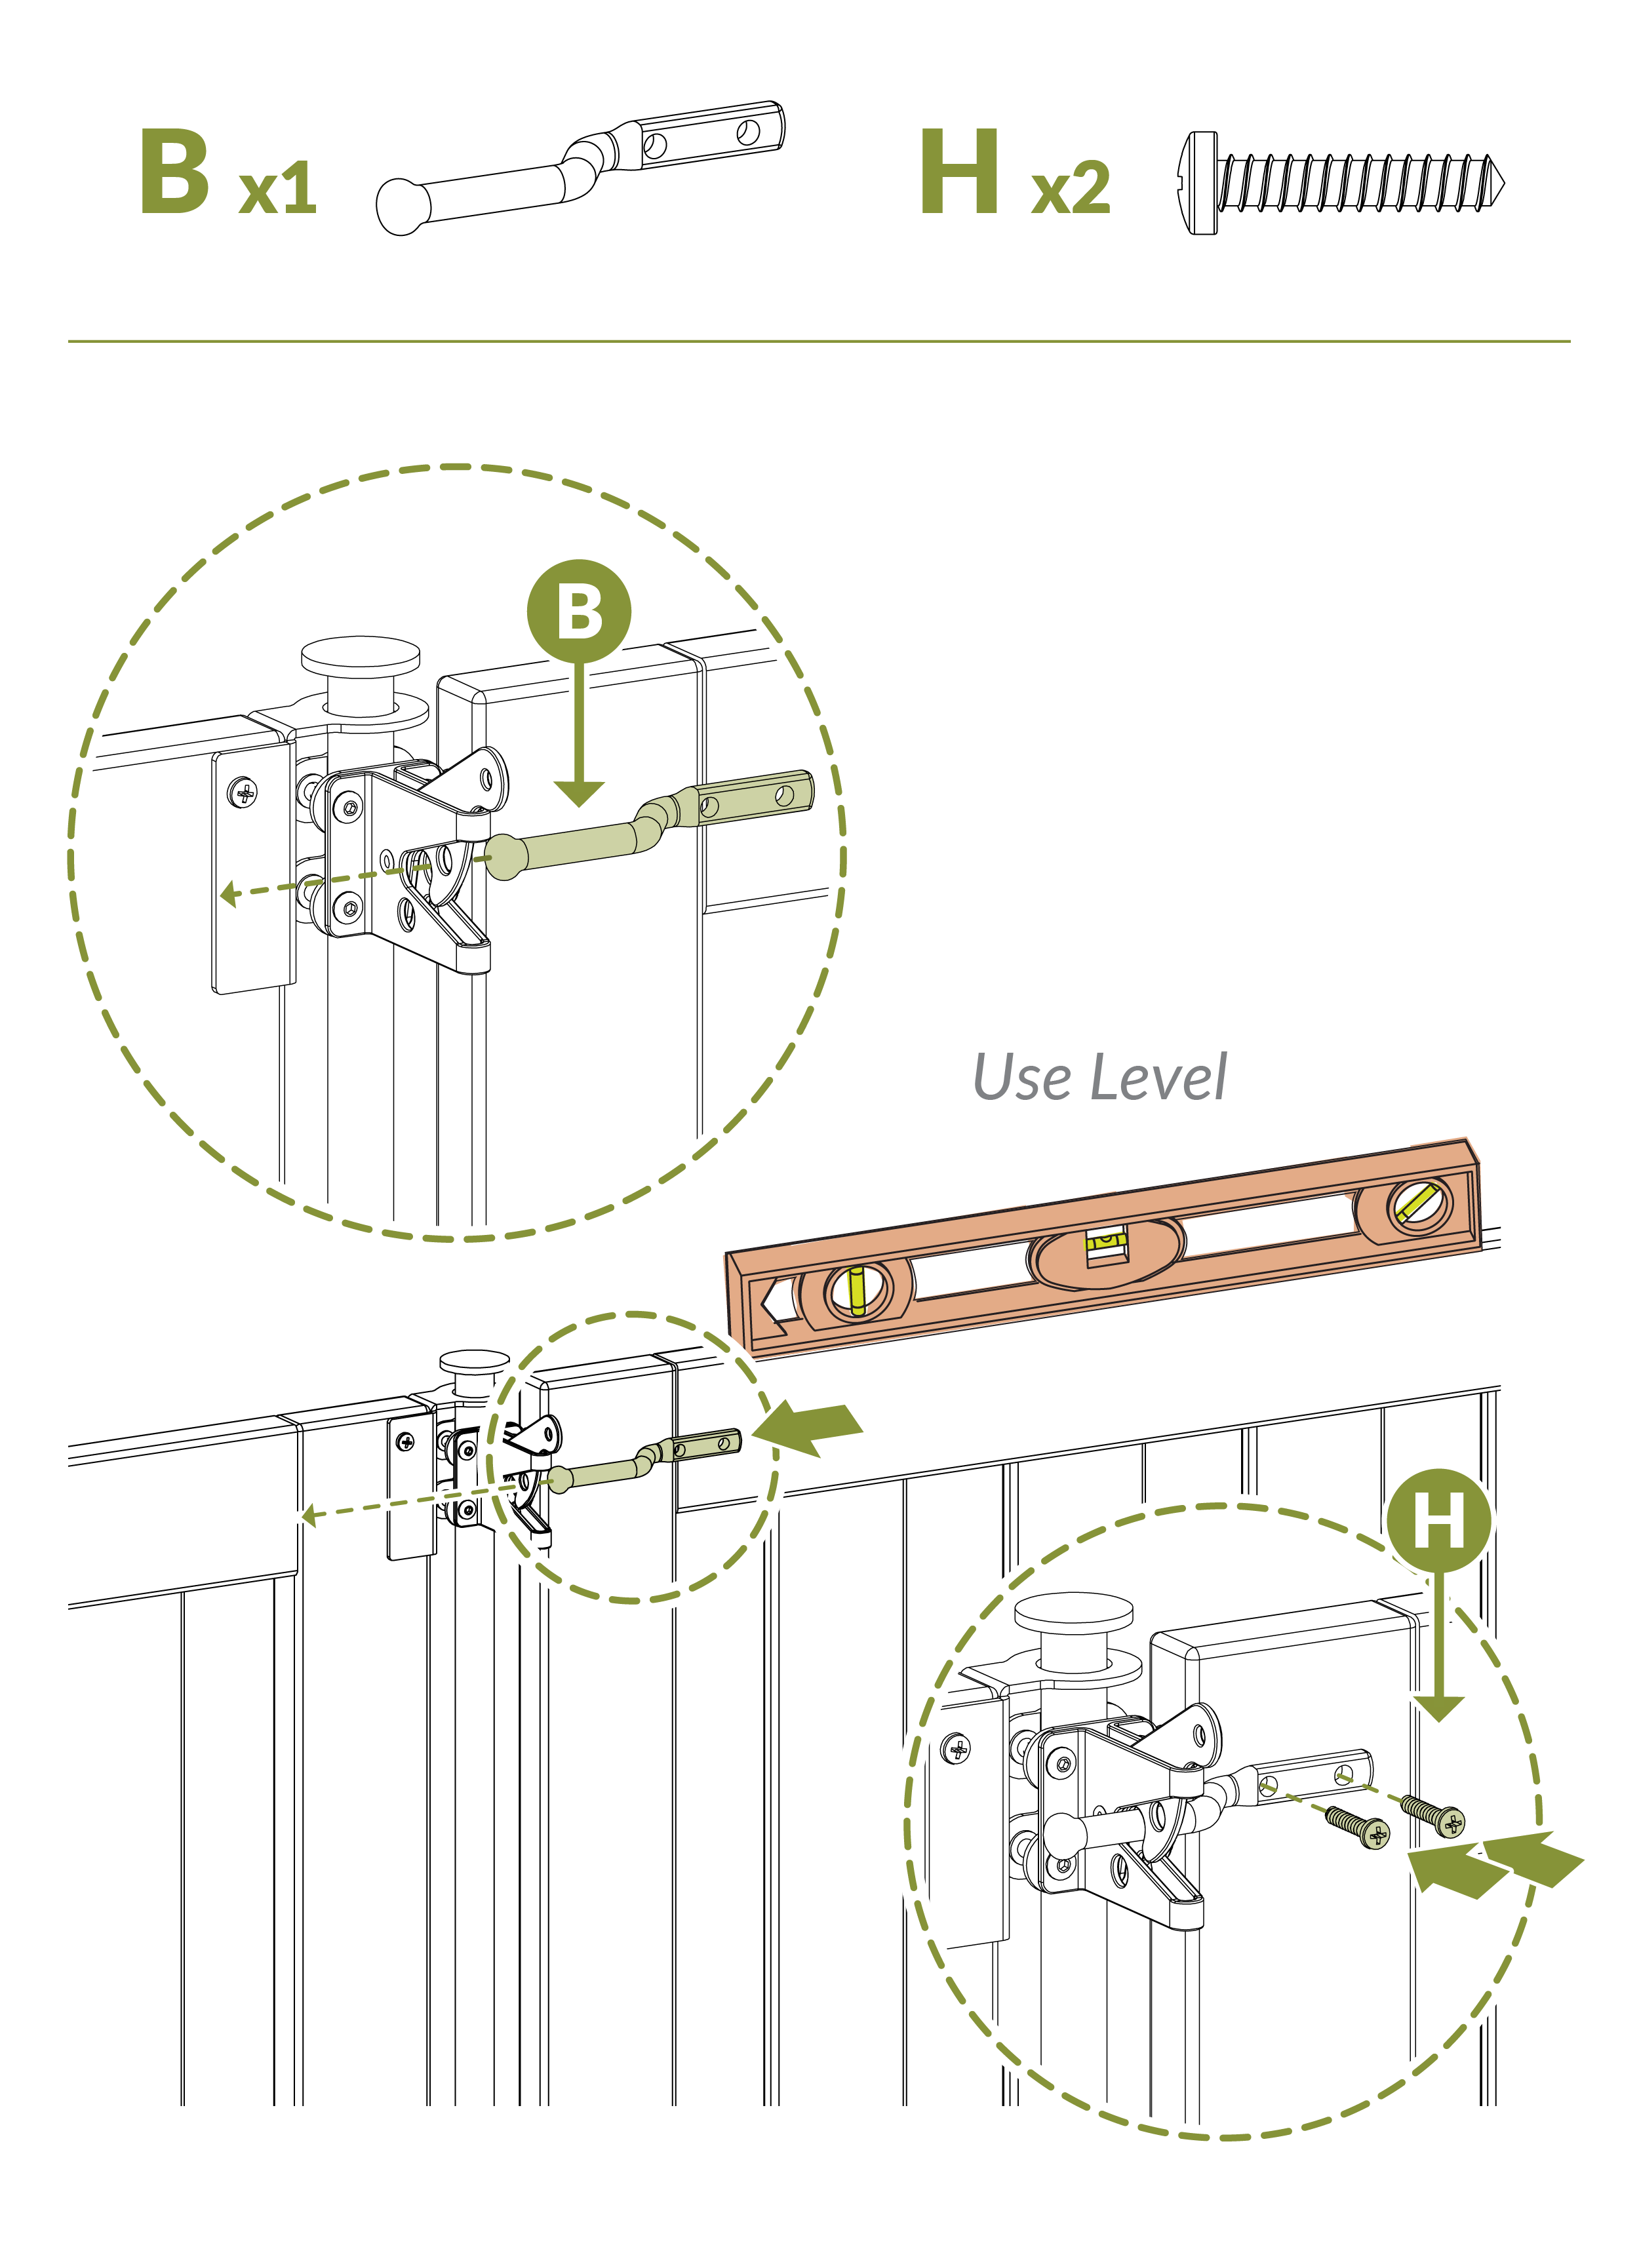
- Ensure the gate panel is level
- Attach the Latch Finger (B) using Screws (H)
Step 8
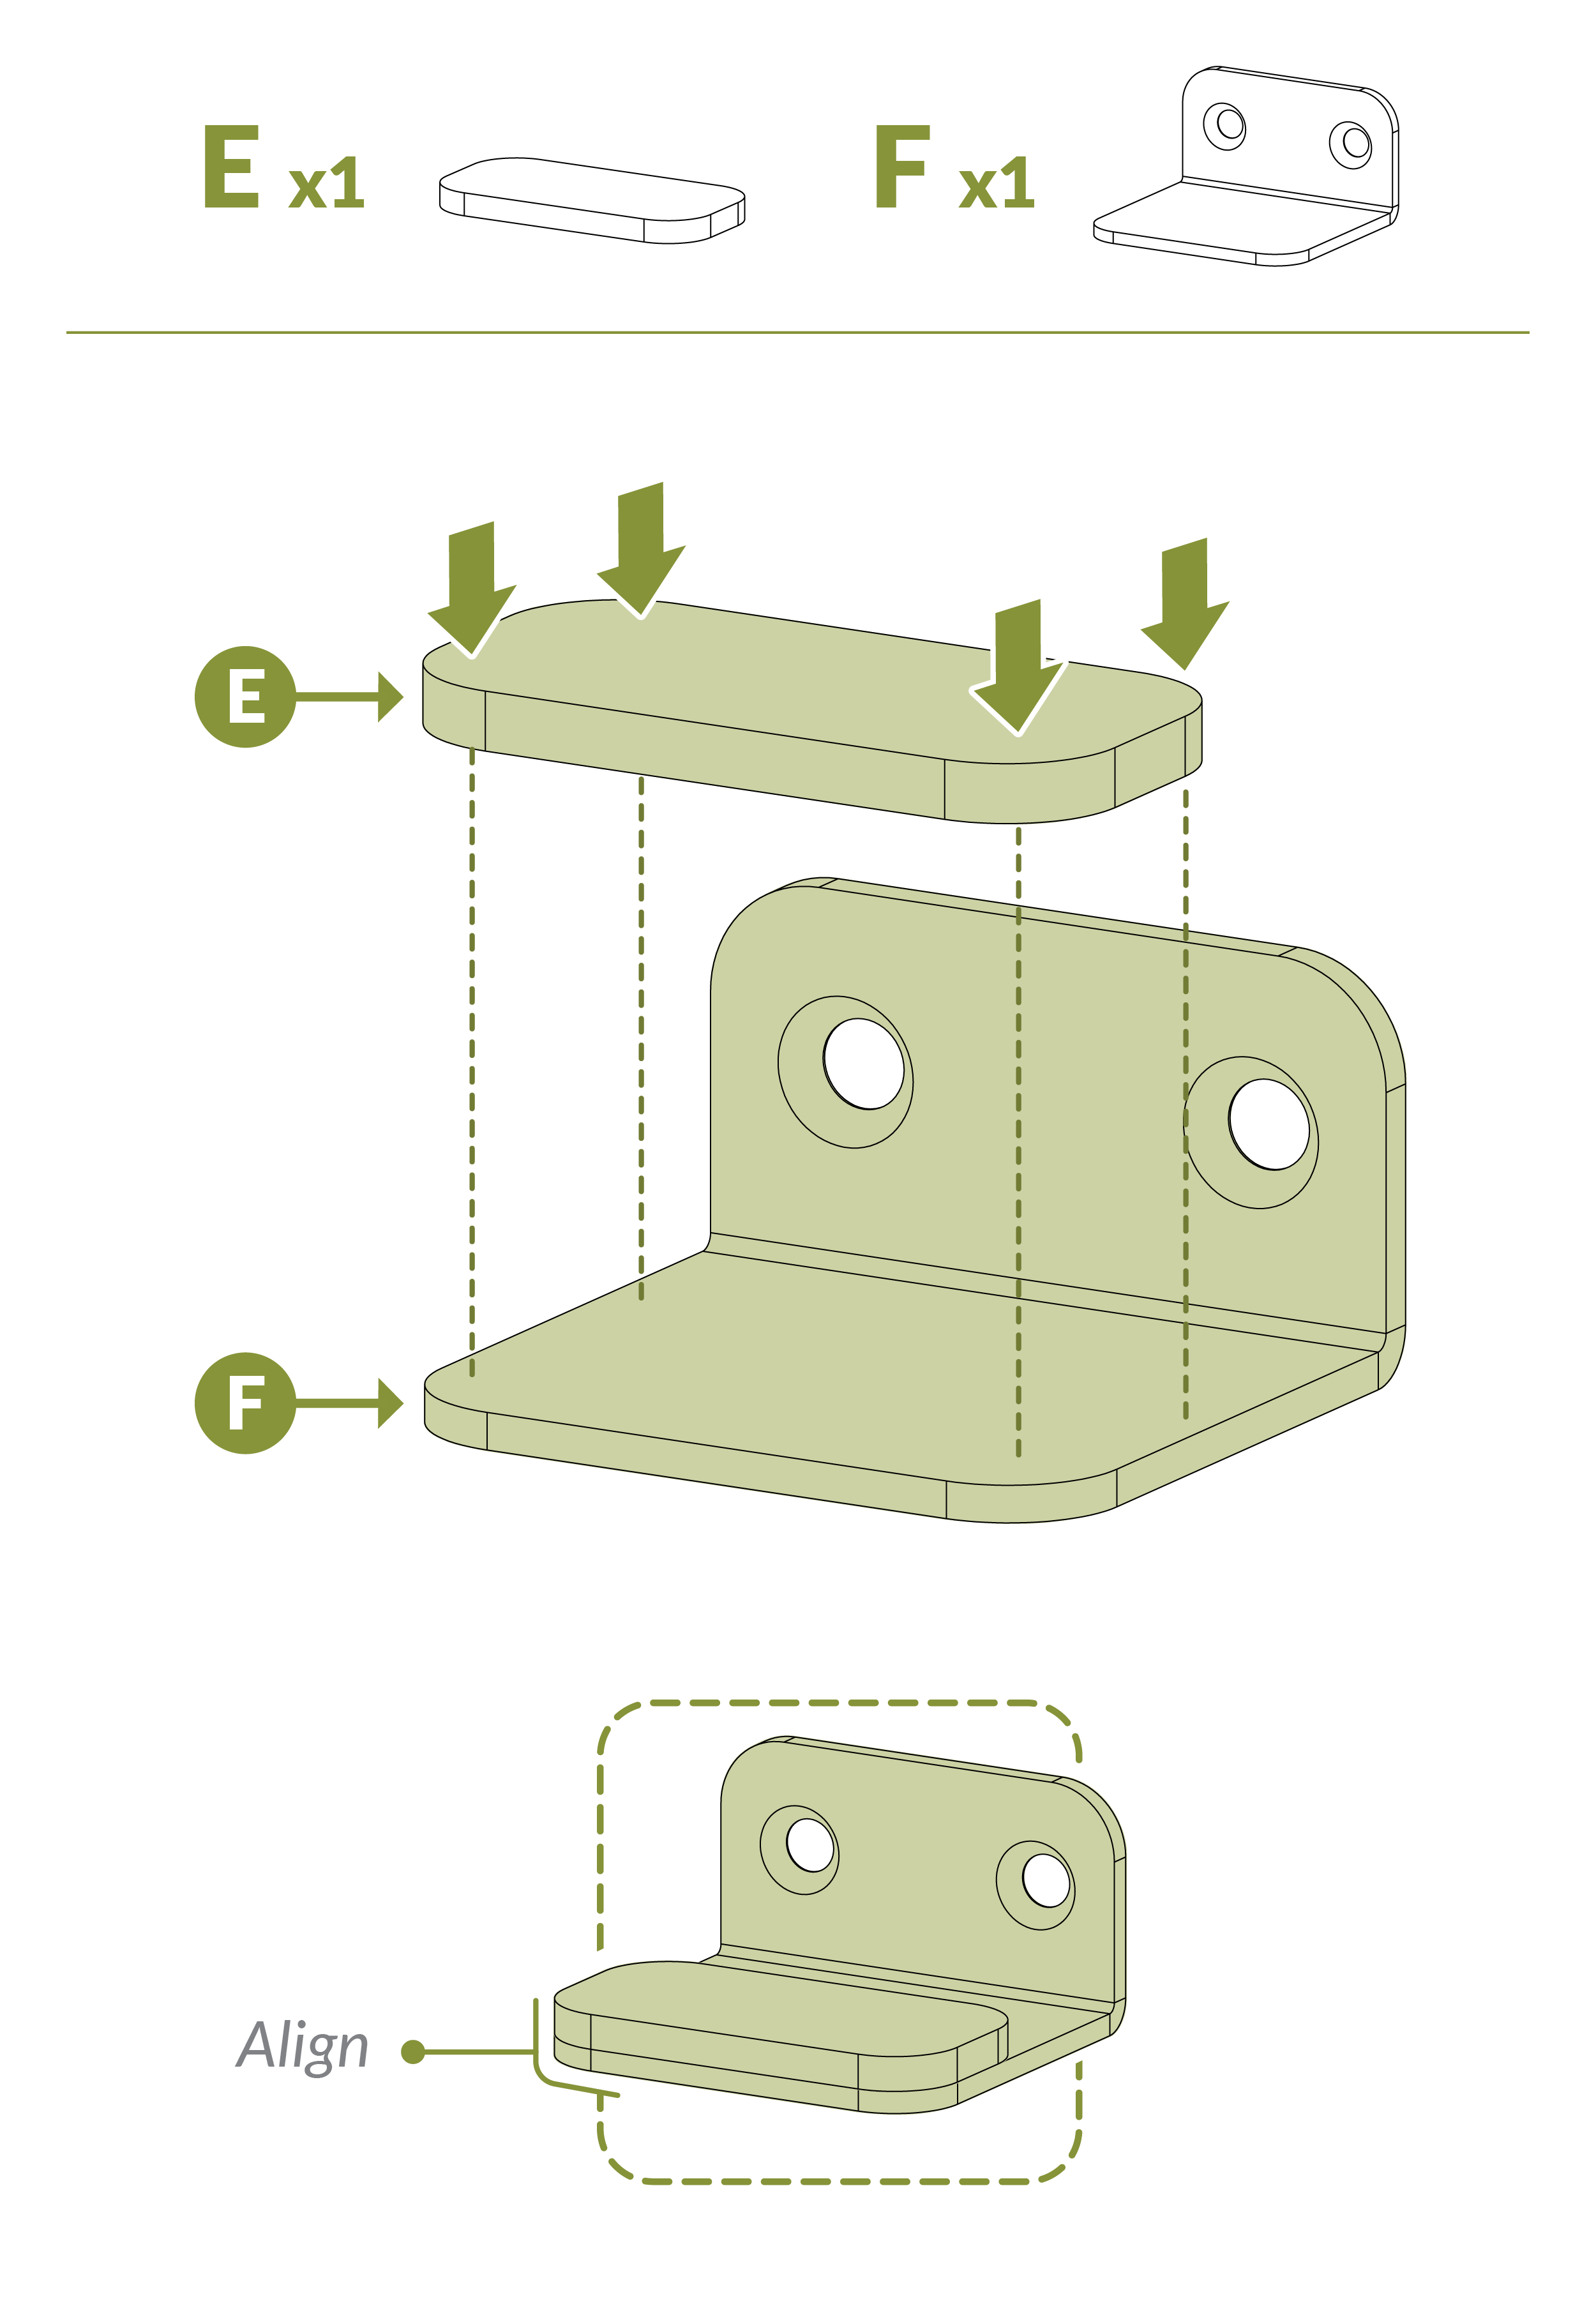
- Align the Adhesive Rubber Pad (E) flush with the front edge of the Gate Stopper (F)
Step 9
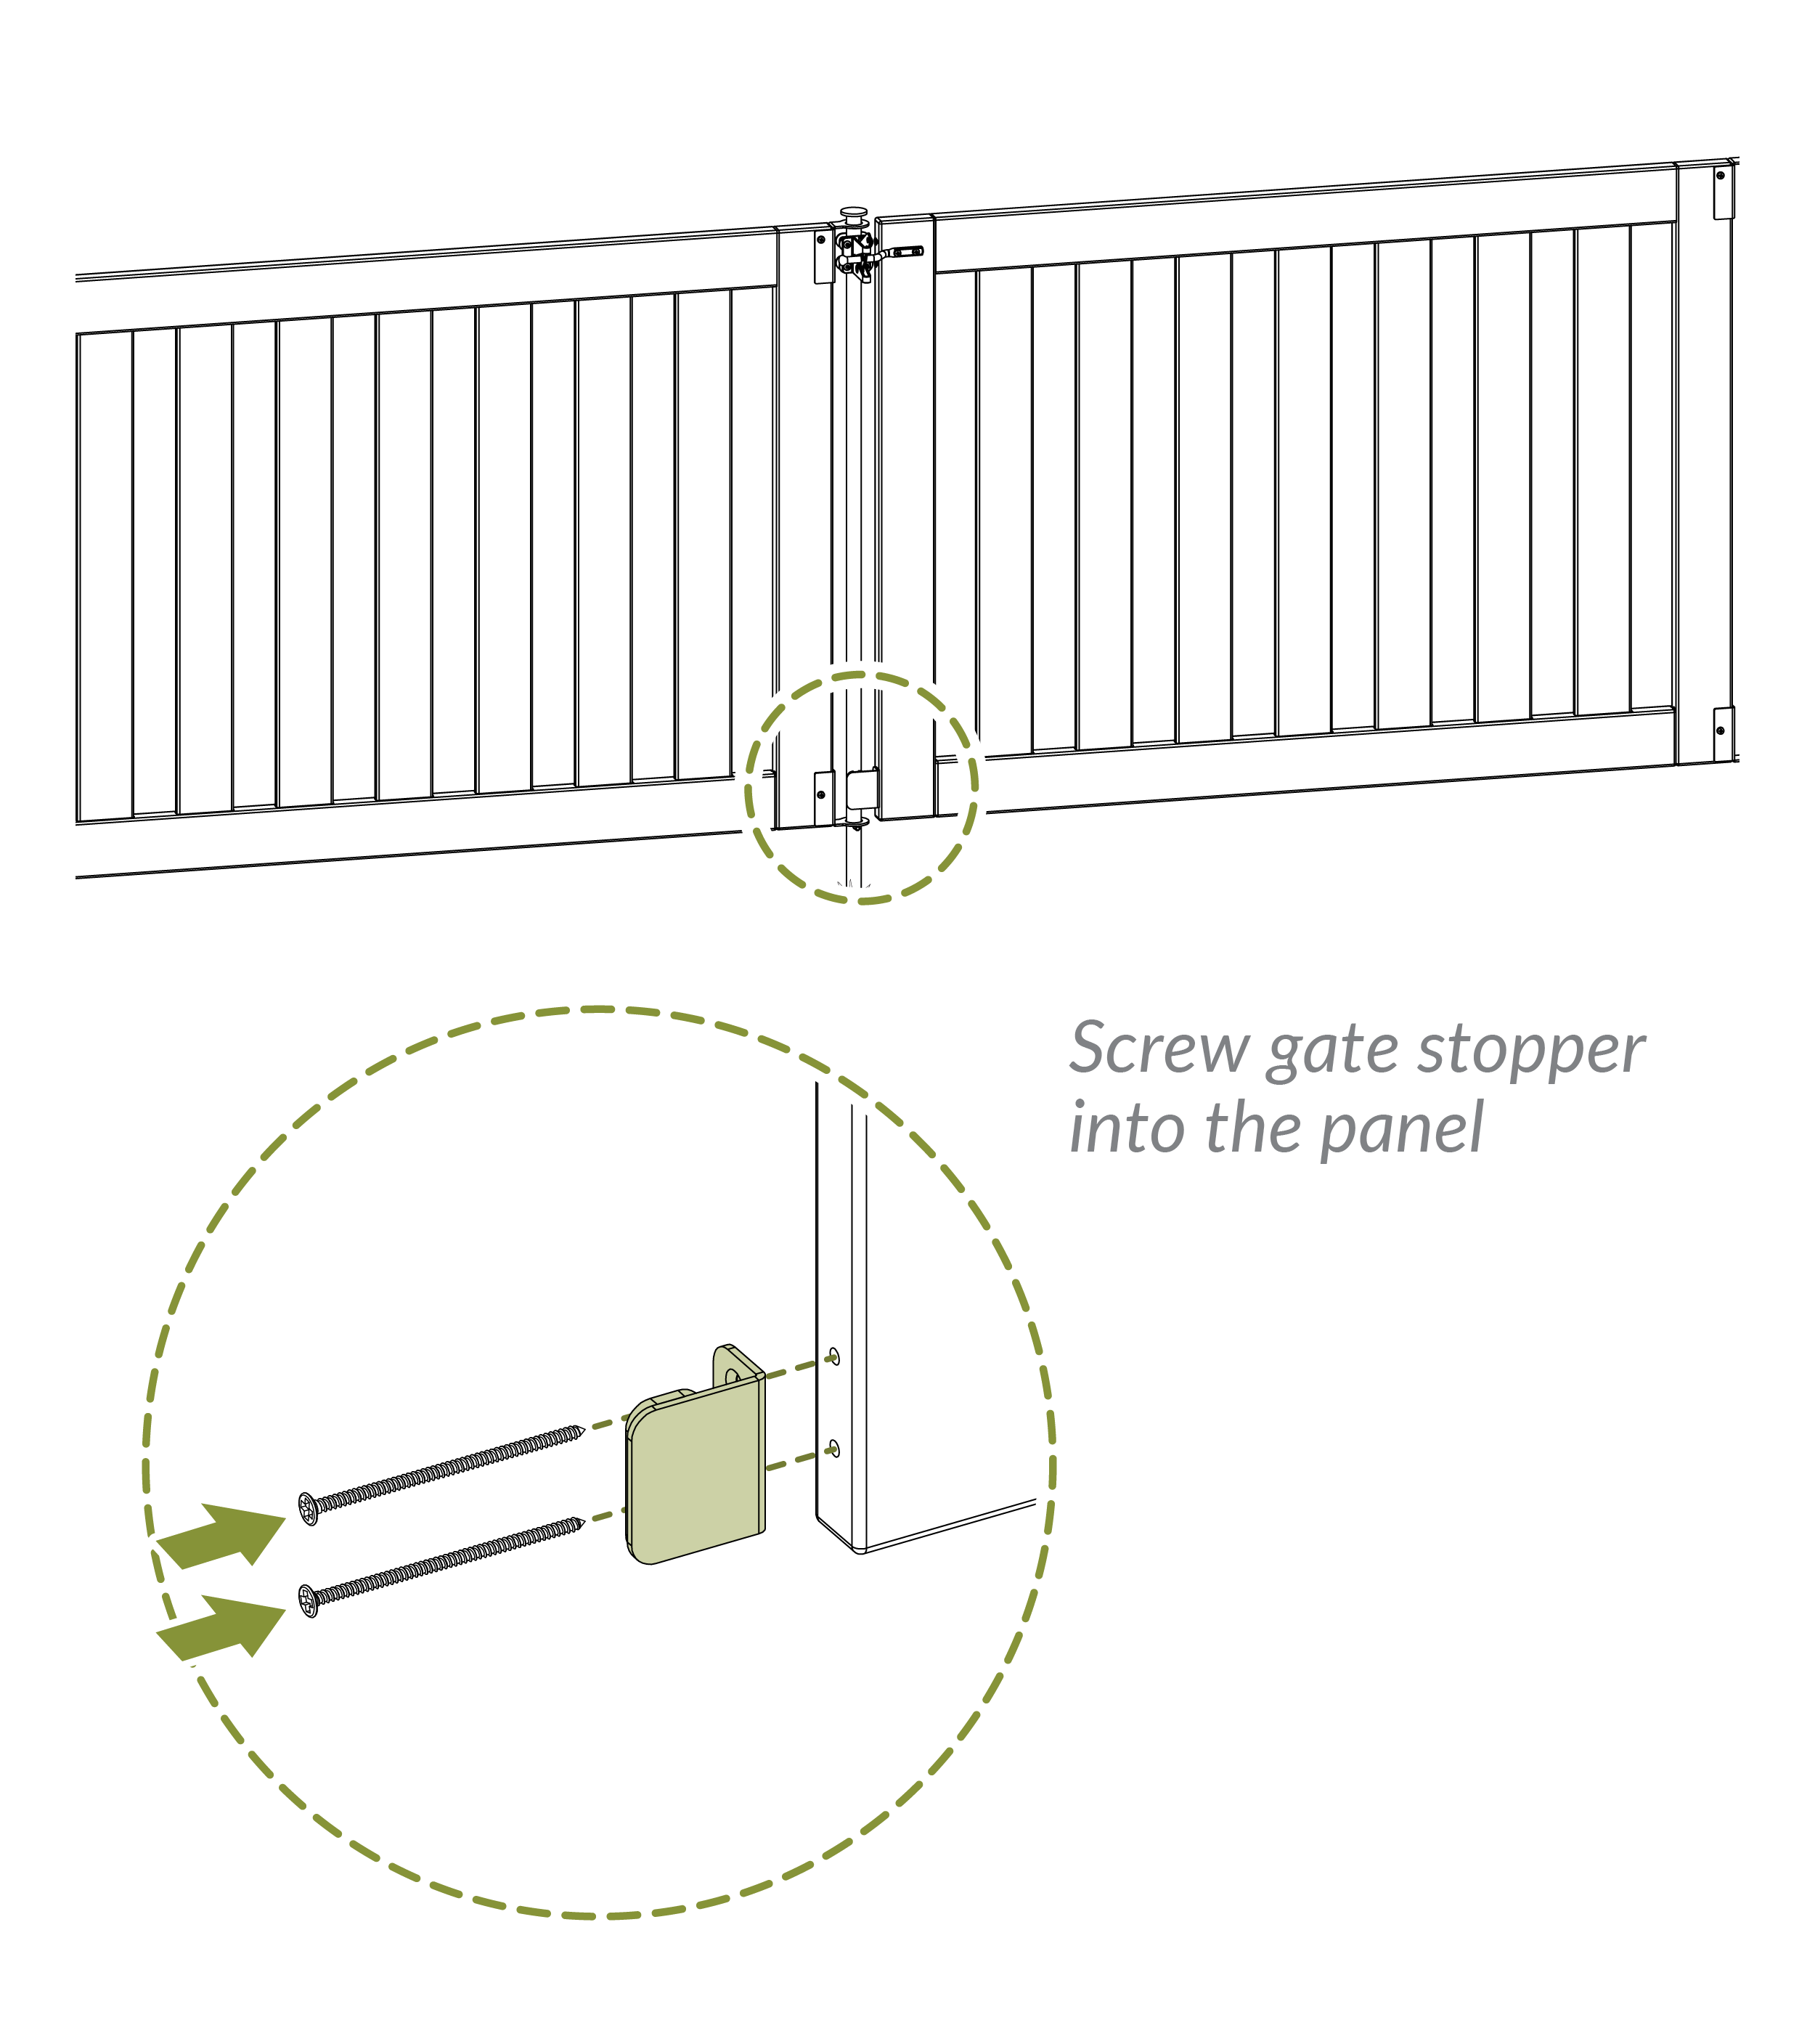
- Using the screws removed earlier, attach the Gate Stopper (F) to the panel.
Need Help?
- Email: support@zippity-outdoor.com
- Phone: 704-892-5222 or 877-234-6196
- Text: 980-580-6508
