Manchester Vinyl Fence Kit (2 Pack)
ZP19018v14
ZP19018 Manchester Fence
Manchester Vinyl Fence Kit (2 Pack)
3.5ft H x 7.6ft W
60 minutes approximate assembly time
Introduction
Important Safety Notes:
- Check the inside of the larger pieces in your box for other materials packed inside.
- When assembling components, place them on a non-abrasive surface (e.g., shipping box) to avoid scratching.
- We recommend an area approximately 5' x 8' for unobstructed assembling.
- You should not need to use excessive force when assembling components.
Returns:
If you wish to return your product, please contact us first — we can often help resolve the issue right away.
If a return is still necessary, it must be initiated with the retailer where the product was purchased.
For Quick Assistance:
- Have reference item number ZP19018
- Provide the specific part name
- Include the batch lot number (stamped on the end of the box)
Need Help or Replacement Parts?
- Website: (https://parts.nychbrands.com "qr-link-114")
- Email: support@zippity-outdoor.com
- Phone: 704-892-5222 or 877-234-6196
Customer service agents are available 9am–5pm EST, Monday–Friday. Leave a voicemail if outside of business hours and it will be returned within 1 business day.
Product Specifications & Dimensions

Step 1: Lay Out Materials
A. Post Cap (4)

B. Top Rail (2)

1½" x 1½" x 92"
C. Post (4)

⅞" x 1½" x 61½"
D. Pickets (40)

8 of each size
#1 - ¼" x 1½" x 37⅞" #2 - ¼" x 1½" x 36¼" #3 - ¼" x 1½" x 35⅛" #4 - ¼" x 1½" x 34¼" #5 - ¼" x 1½" x 33⅞"
E. Bottom Rail (2)

1½" x 1½" x 92"
F. Joiner Clip (4)

G. ¾" Self-Tapping Stainless Steel Screw (24)

Step 2: Assemble the Fence Frame
Step 2.1


- Position Top Rail (B) and Bottom Rail (E) as shown. Slide Posts (C) through the routed holes in both rails until all pre-drilled holes are aligned.
Step 2.2


- Secure the rails to the posts with (8) 3/4" Screws (G).
Step 3: Install Pickets


- Slide Pickets (D) down through the top rail and into the bottom rail in numerical order (1–5) as shown. Each picket will click and lock into place when fully seated.
- Note: If you need to remove a picket, gently insert a butter knife along the picket as shown, and slowly pull up the pickets.
Step 4: Install Fence Into the Ground
Step 4.1

- Move the fence to its final location and identify the location of the posts.
Step 4.2

- Using a claw hammer or similar tool, loosen the top 10"–12" of soil as shown. Add water if needed to soften the ground.
Step 4.3

- Protect the top of each post with a block of wood and hammer them evenly into the ground.
Step 4.4 — Optional in Hard Ground
Drill a 1¾" auger hole 12"–16" deep at each post location, fill with water, and push the posts in.


Step 4.5

- Level the assembled unit, fill in the holes, and compact dirt around the base of each post to strengthen the unit.
Step 4.6


- Finish the assembly by pushing the Post Caps (A) down over the top of the posts as illustrated. The post caps will lock into place.
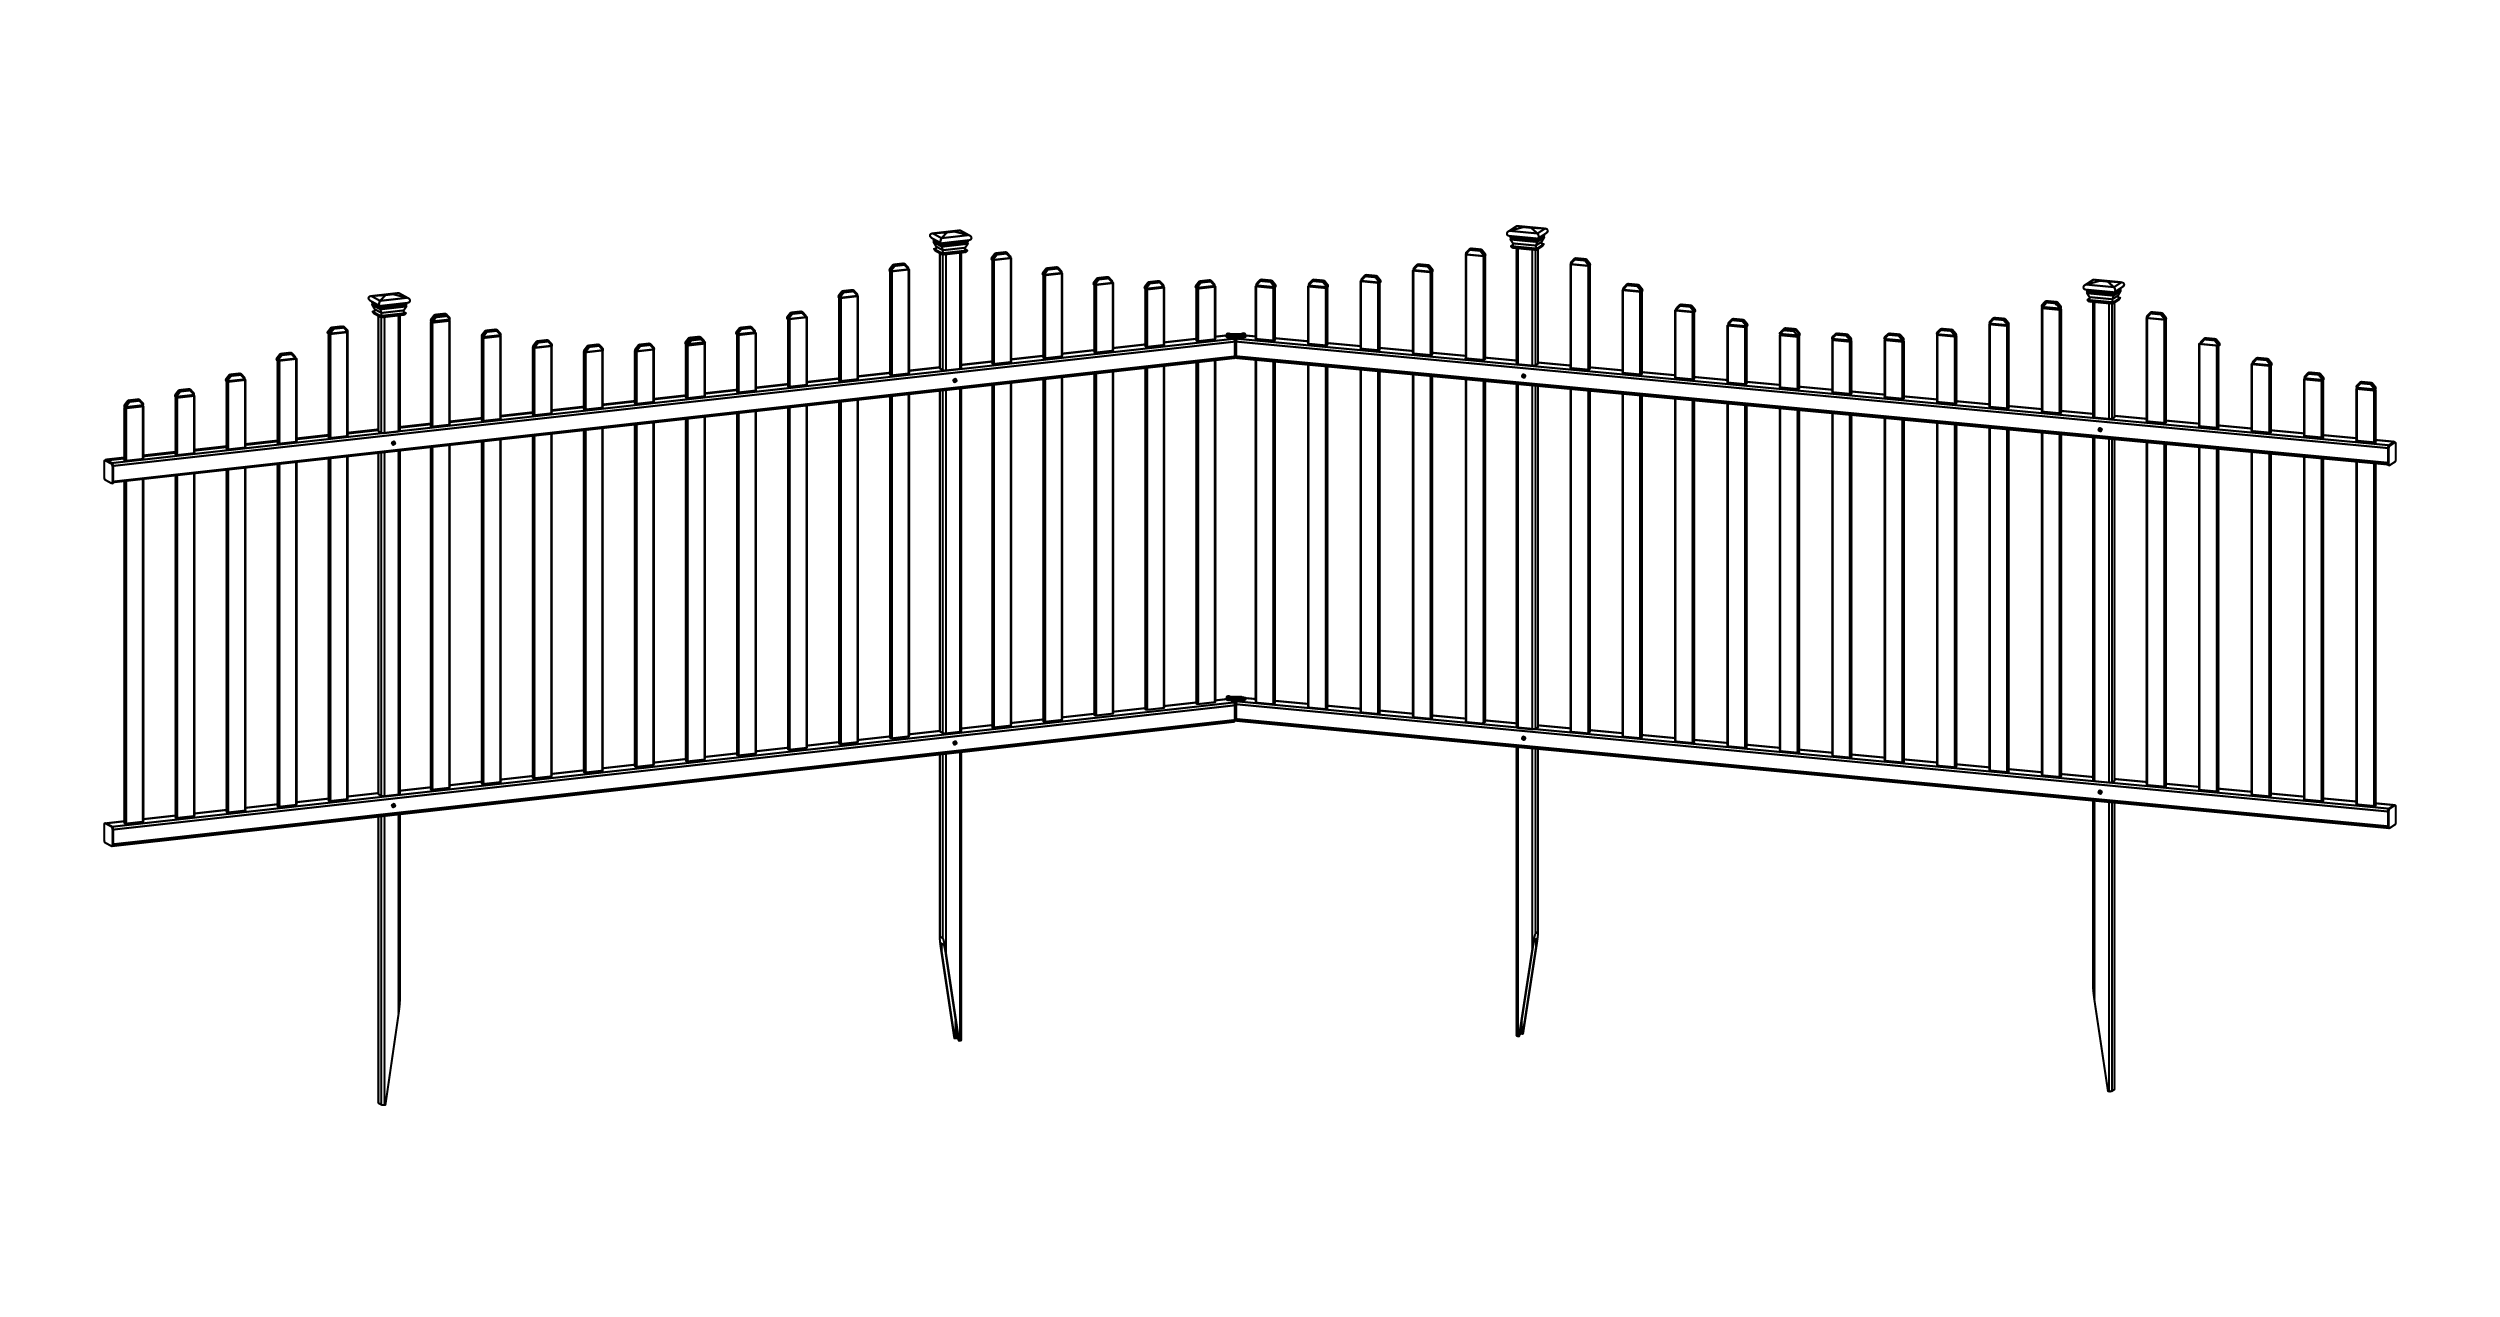
Step 5: Fasten Joiner Clips
- Fasten the Joiner Clips (F) by screwing them to the top of the rails with (4) ¾" self-tapping stainless steel screws as illustrated.
- You may install the panels straight line, 90 degree angles, or 45 degree angles.
90° Application


45° Application


Need Help?
- Email: support@zippity-outdoor.com
- Phone: 704-892-5222 or 877-234-6196
- Text: 980-580-6508
