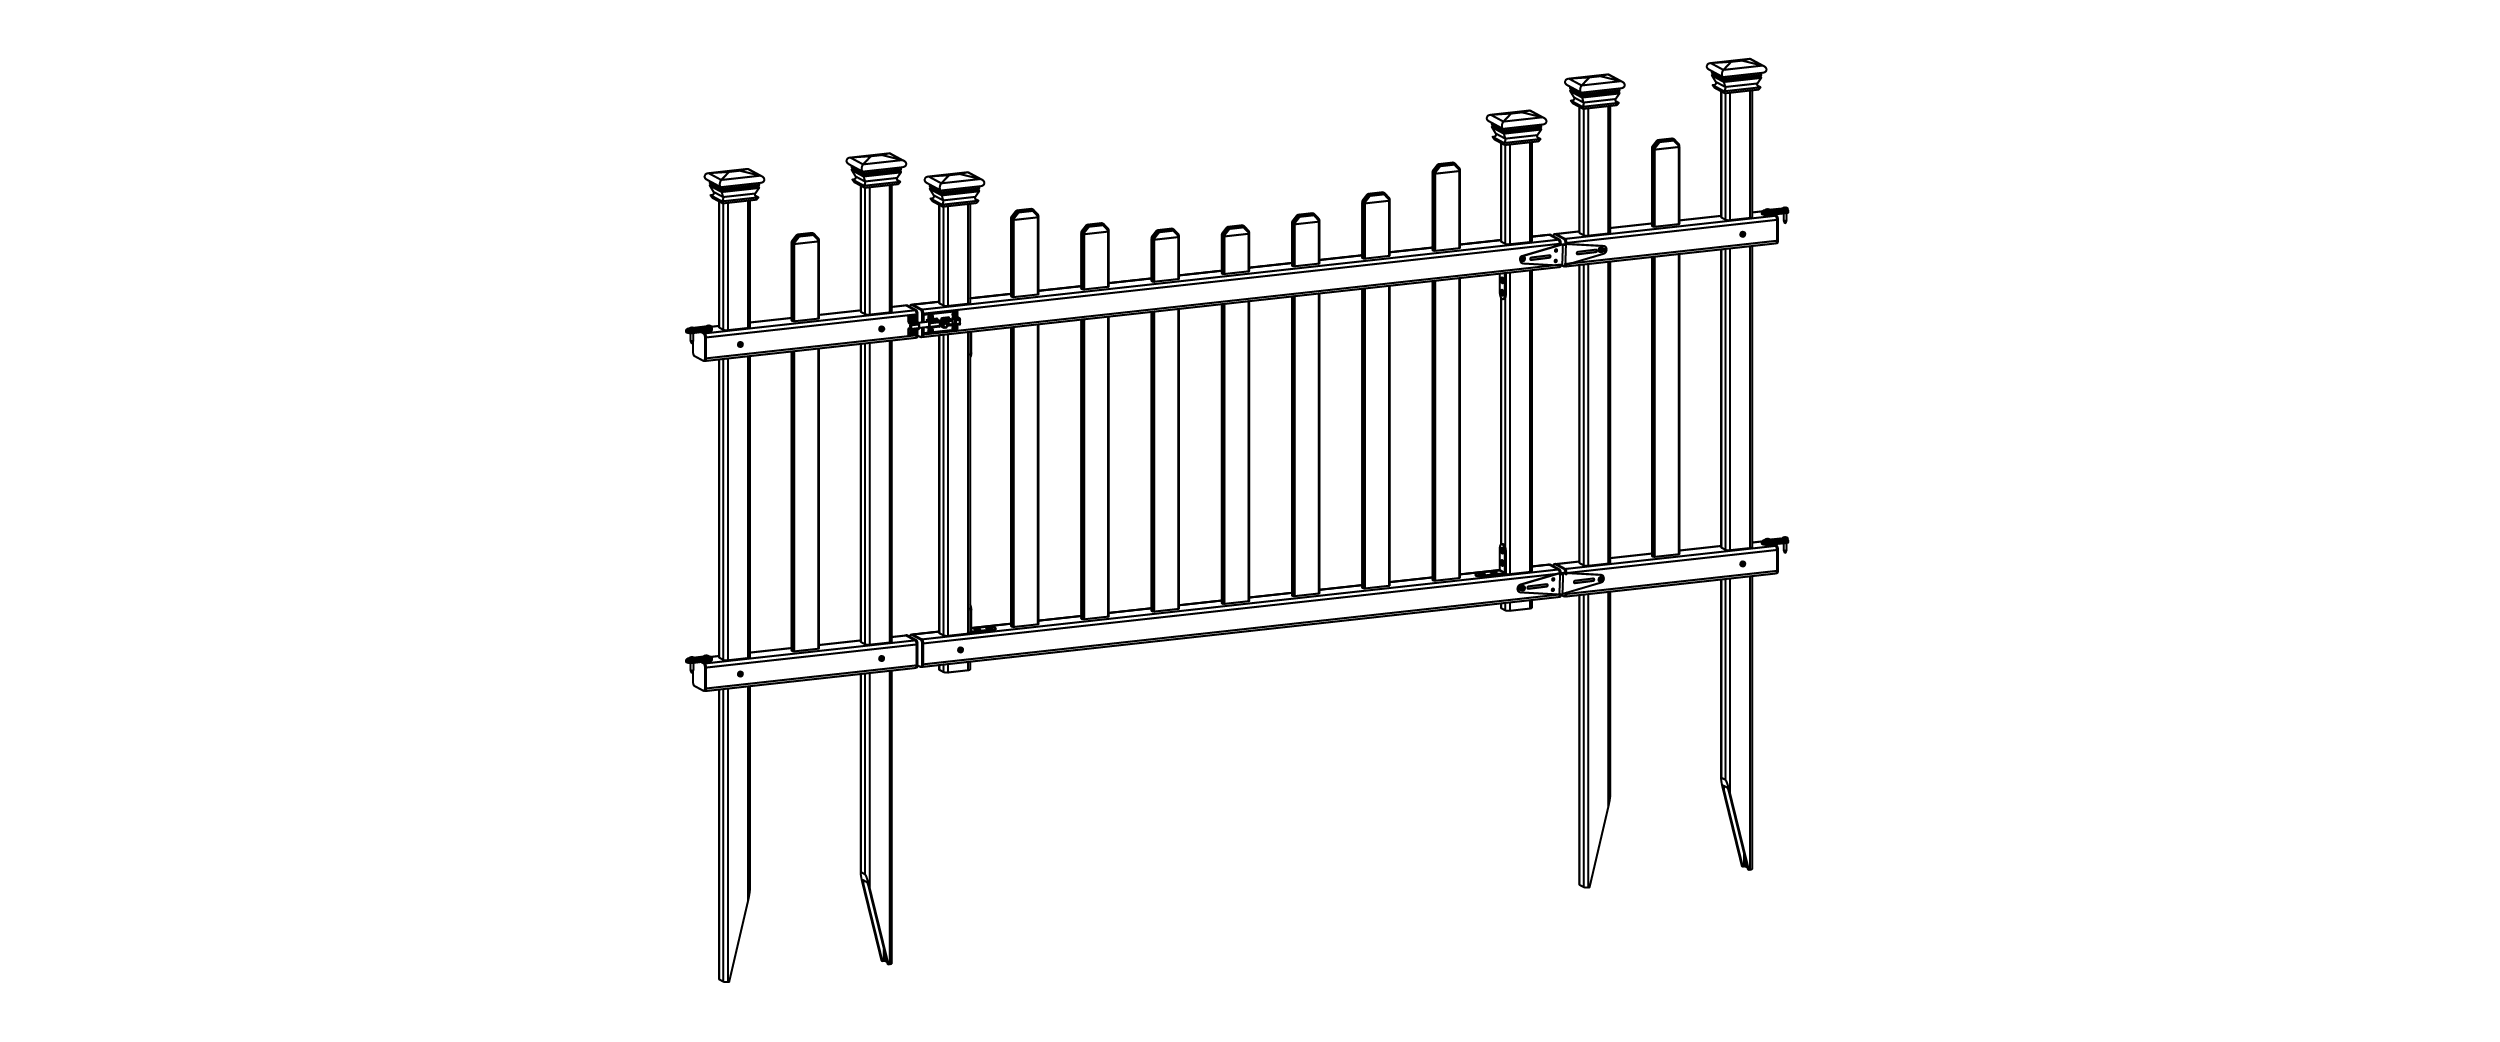
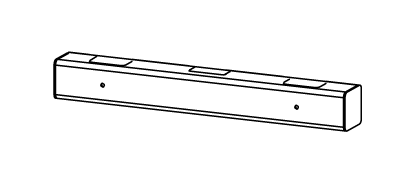
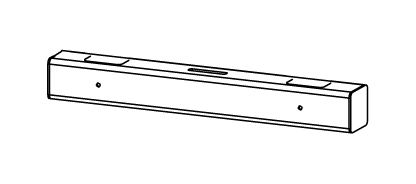
ZP19028 Madison Vinyl Gate
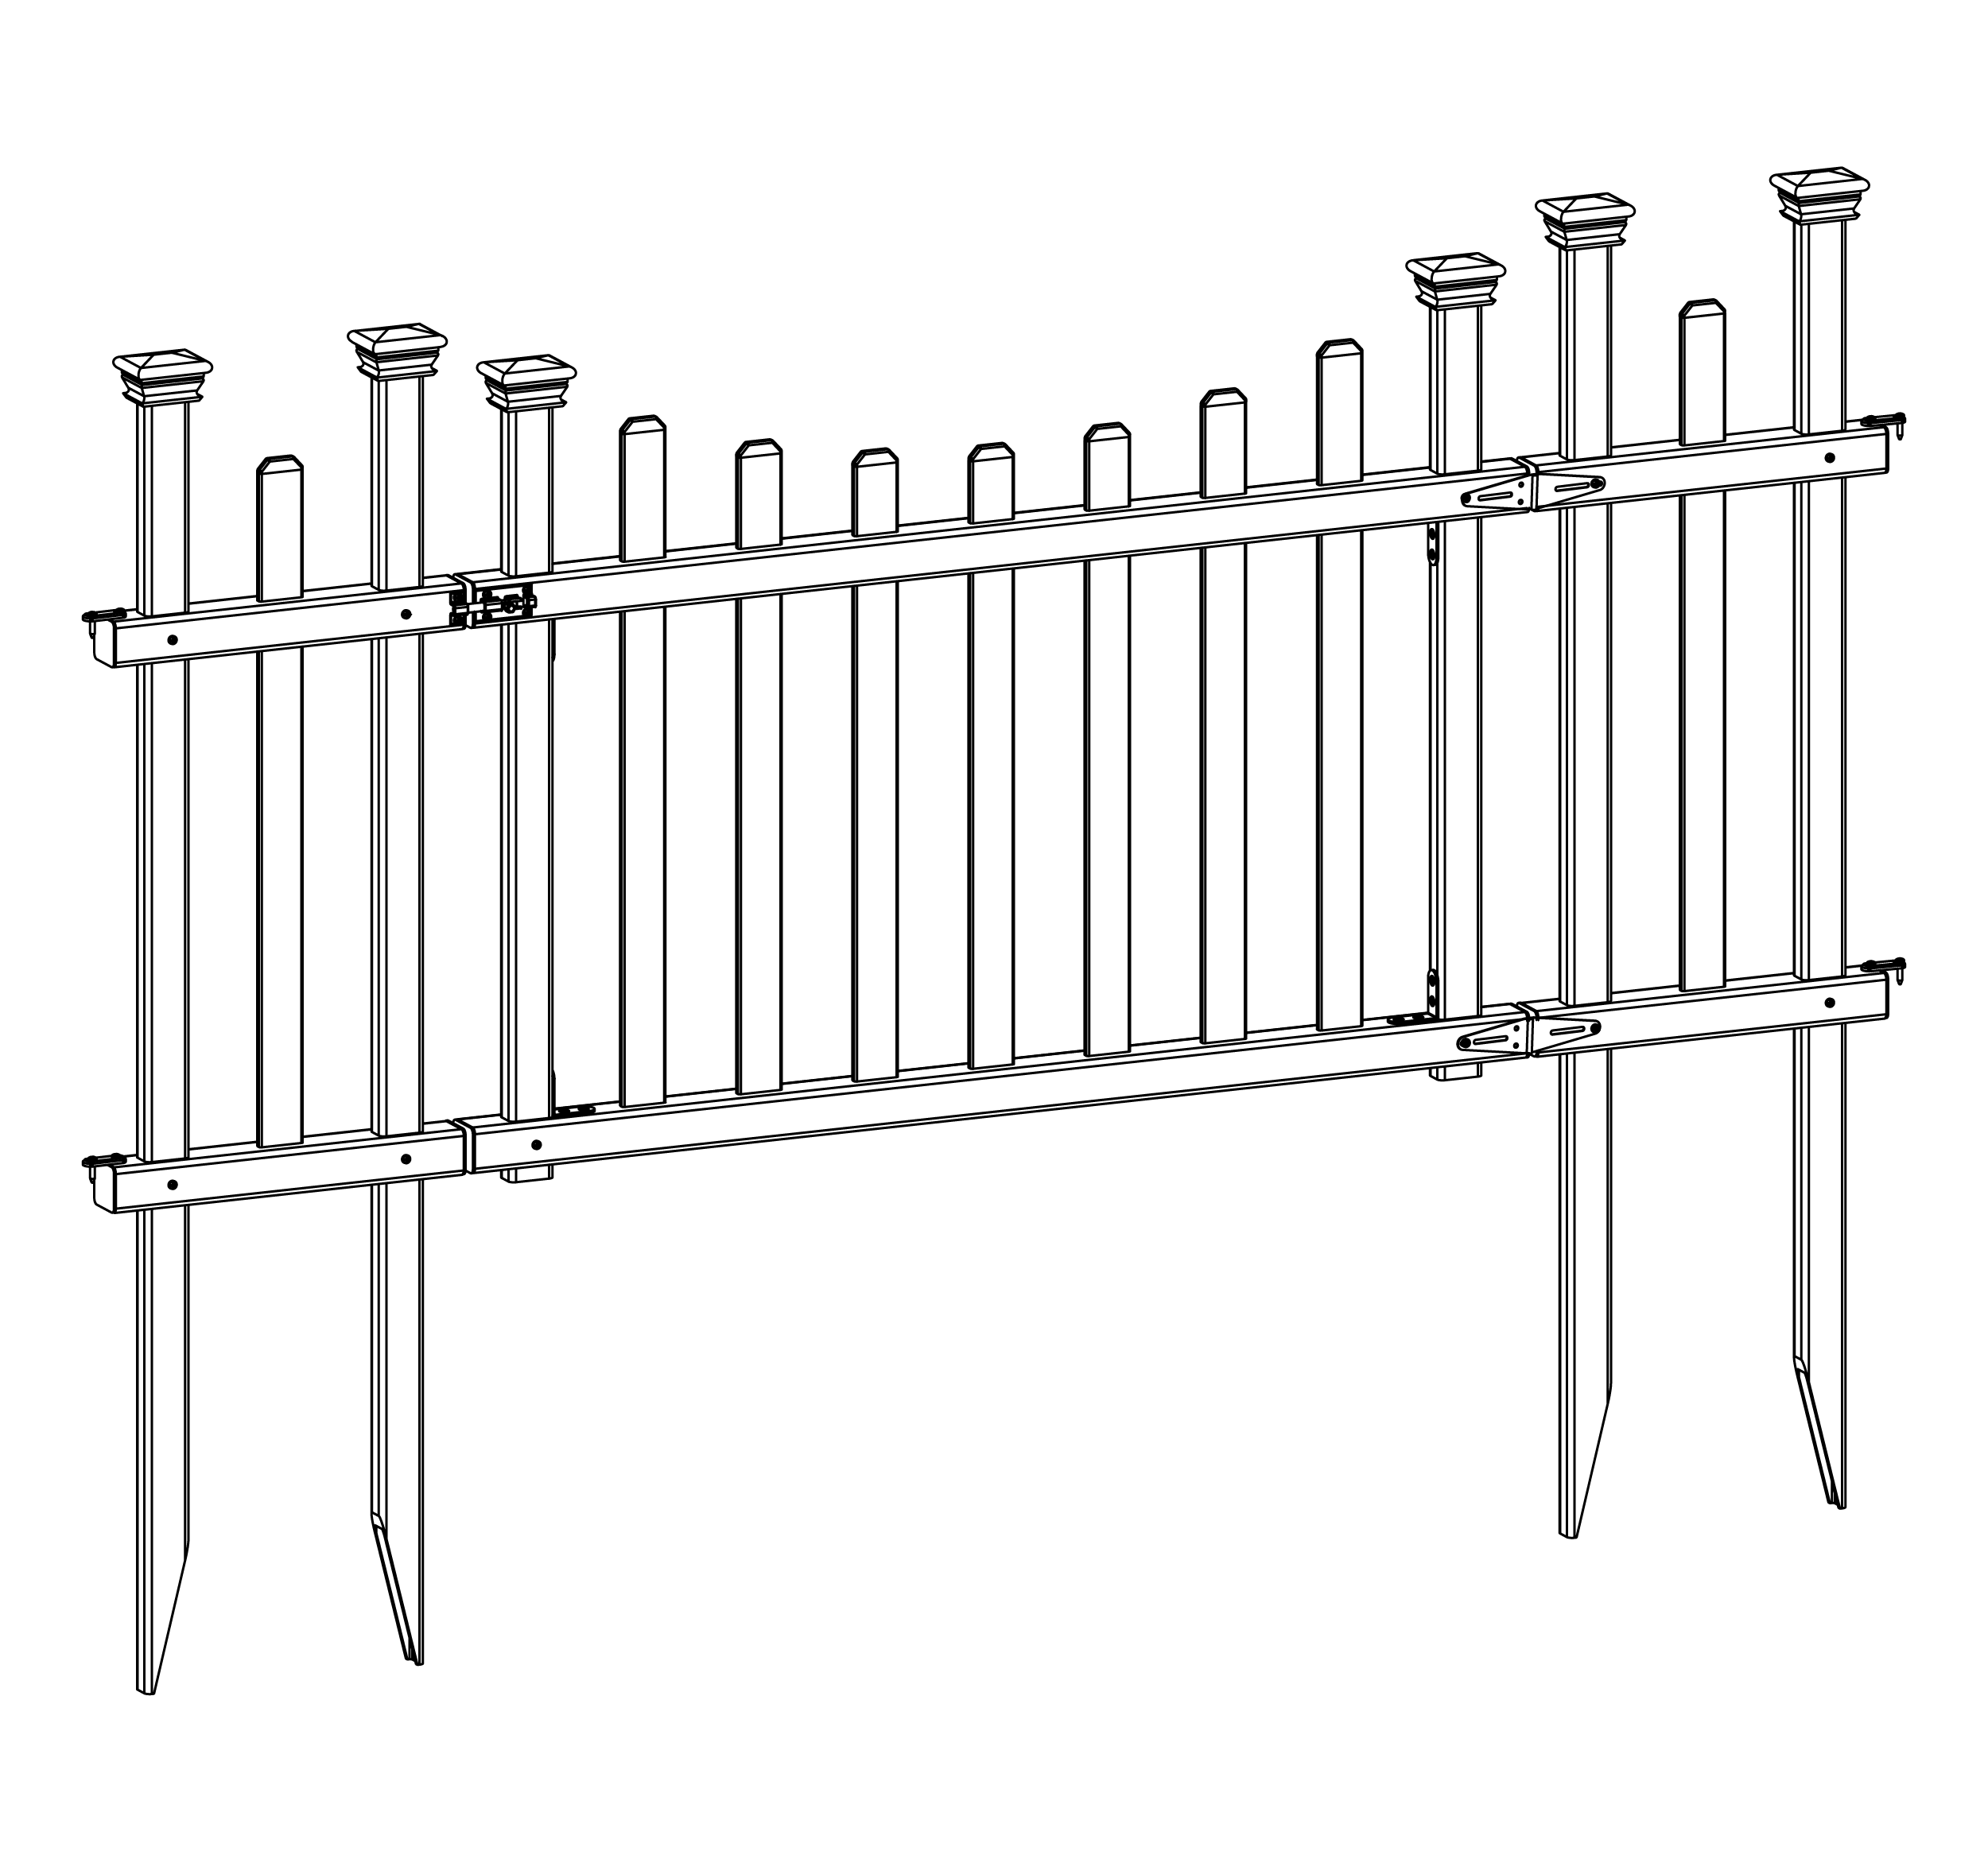
ZP19028 Madison Vinyl Gate with Wings
Approximate assembly time for 60 minutes
Click Here To Watch Installation Video
Introduction
General Information
Important Safety Notes:
- Check the inside of the larger pieces in your box for other materials packed inside.
- When assembling components, place on a non-abrasive surface (i.e. shipping box) to avoid scratching.
- We recommend an area approximately 5’x 8’ for unobstructed assembling.
- You should not need to use excessive force when assembling components.
Returns:
If you wish to return your product, please contact us first — we can often help resolve the issue right away.
If a return is still necessary, it must be initiated with the retailer where the product was purchased.
Need Help or Replacement Parts?
Although great care has been taken to ensure proper packaging and handling of this product, occasional issues can occur.
If you need replacement parts, assembly assistance, or have questions about the product, our customer service team is happy to help.
- Website: https://parts.nychbrands.com
- Email: support@zippity-outdoor.com
- Phone: 704-892-5222 or 877-234-6196
Customer service agents are available 9am–5pm EST, Monday–Friday.
For Quick Assistance:
- Have reference item number ZP19028
- Provide the specific part name
- Include the batch lot number
Product Specifications
Detailed Dimensions & Specifications
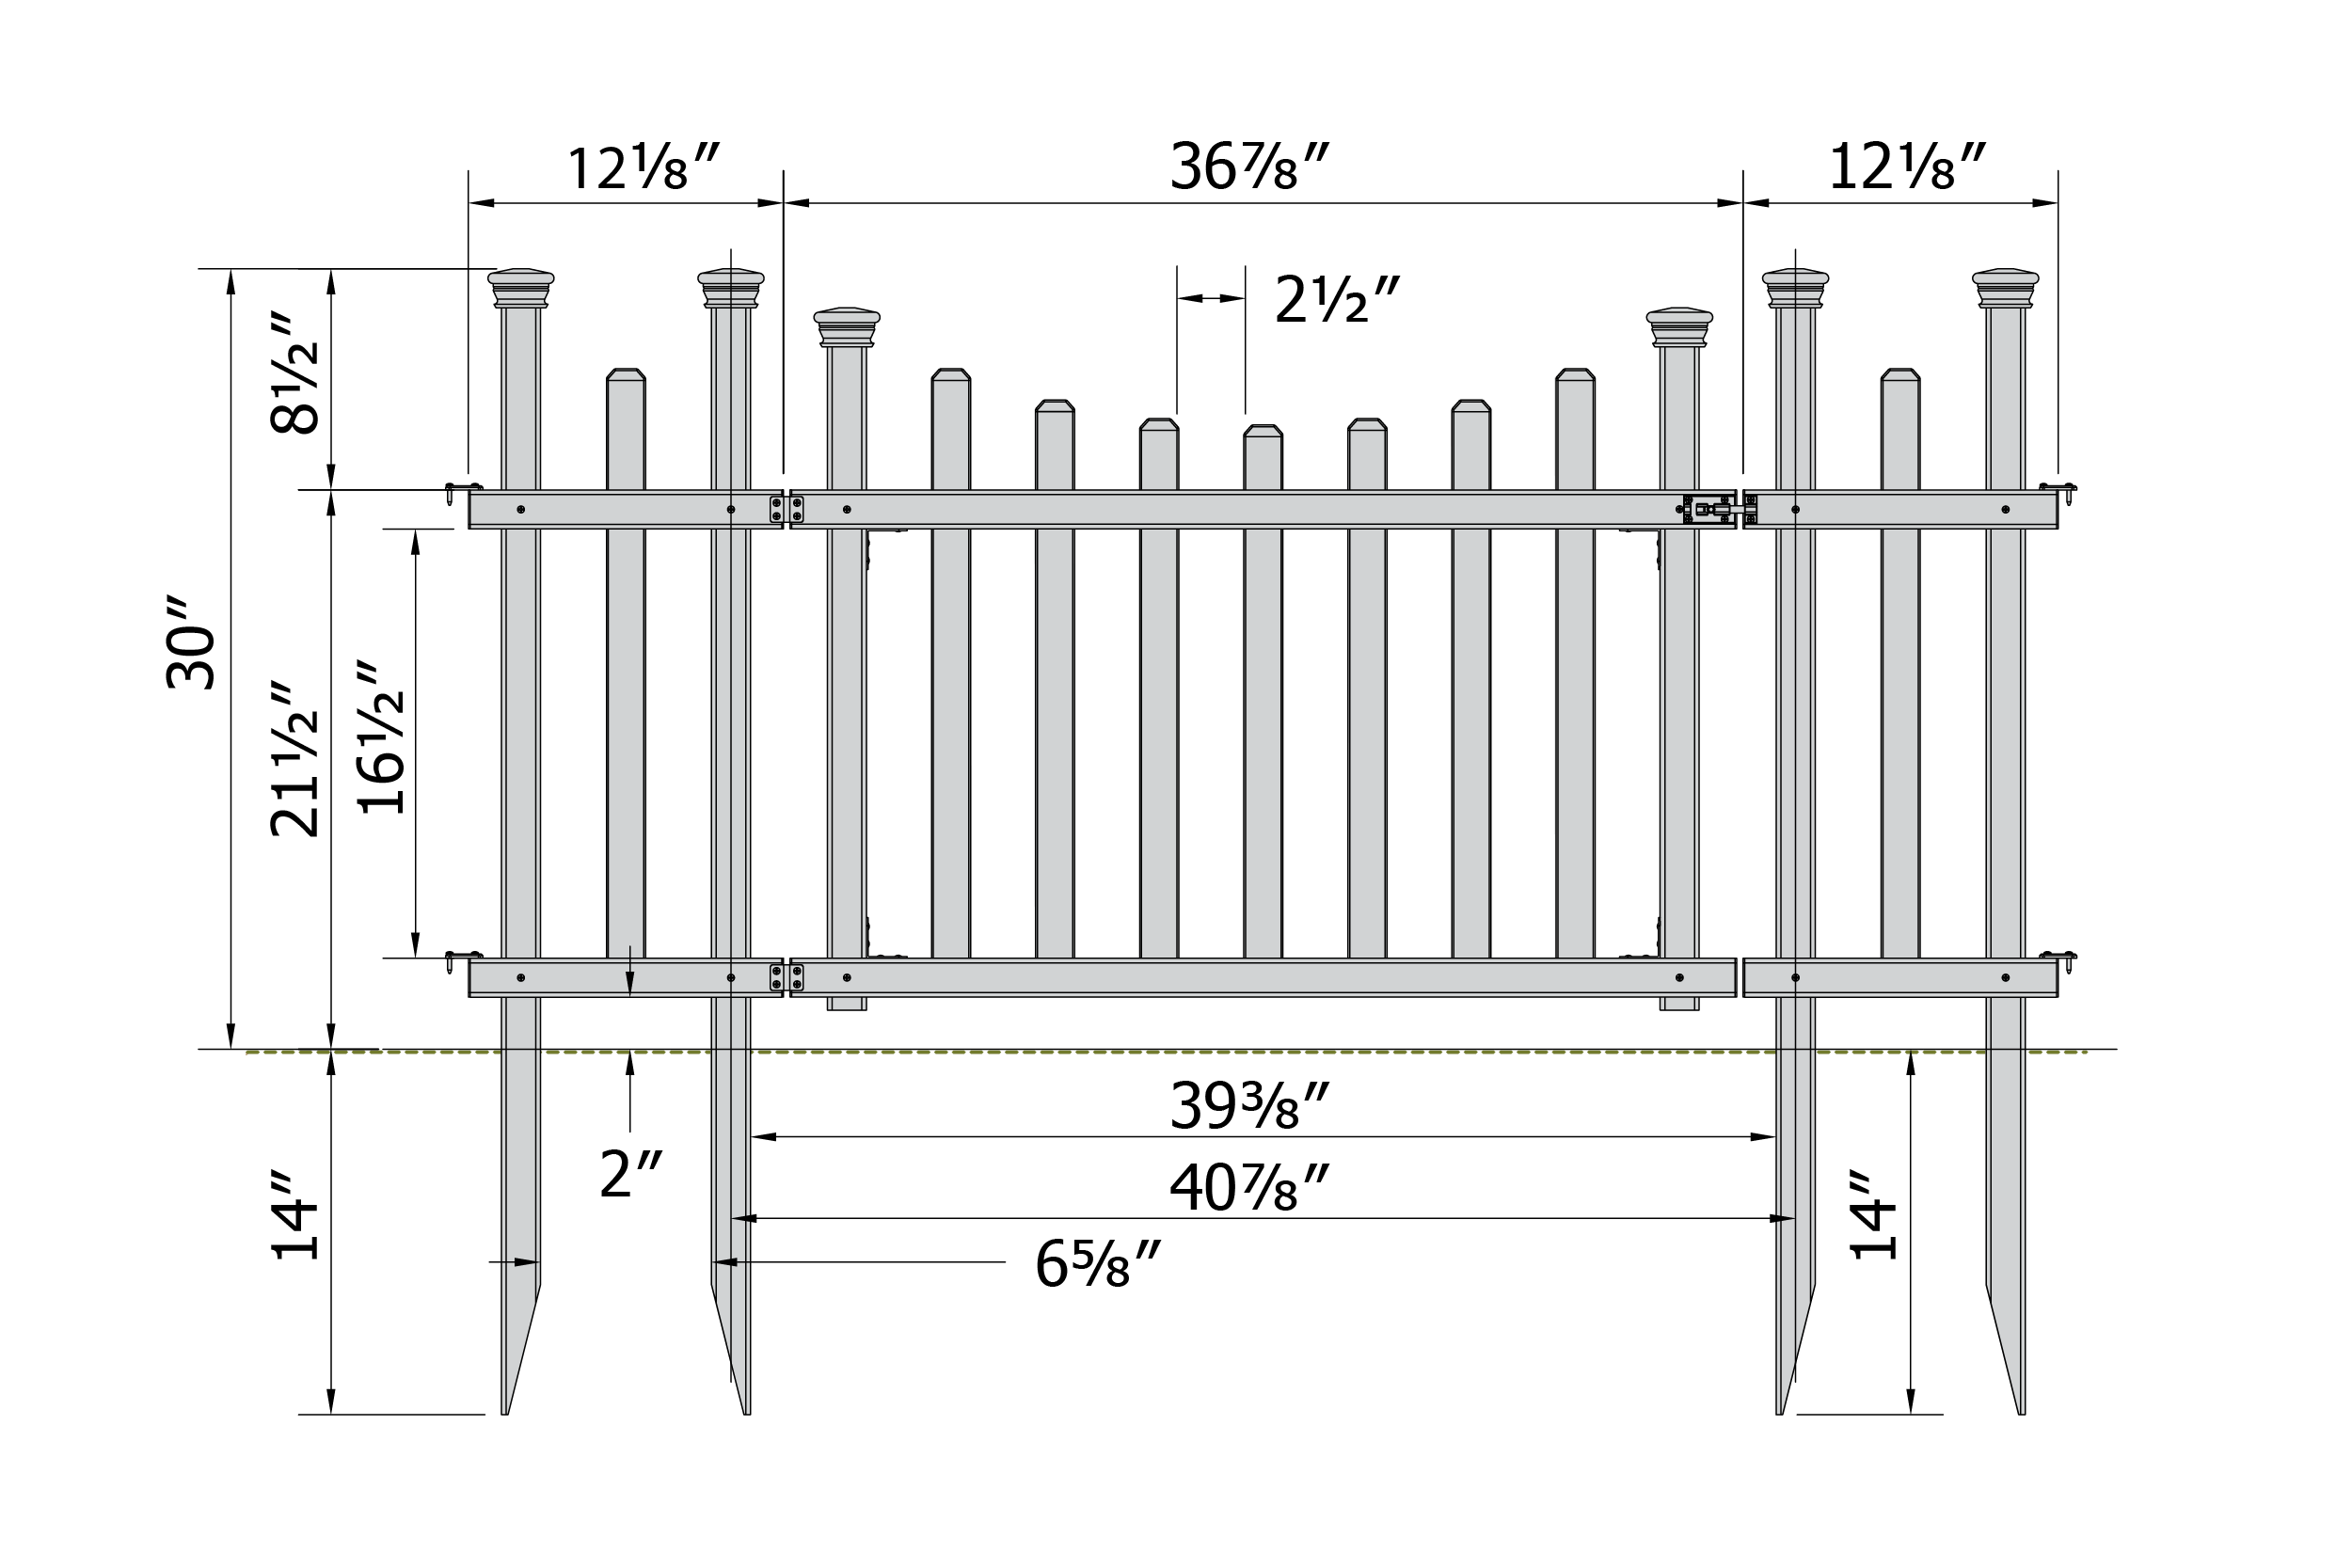
Product Specifications:
- Gate height: approximately 30”
- Total width: approximately 62”
- Multiple picket lengths for patterned layout
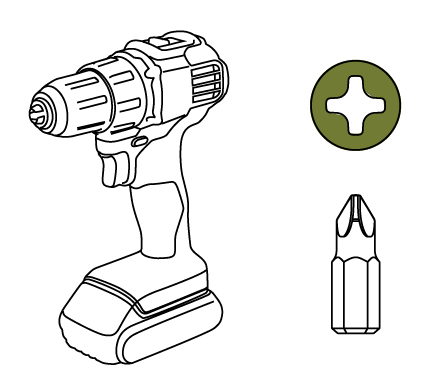
Recommended Tools (Not Included)
Power Drill with Phillips Bit
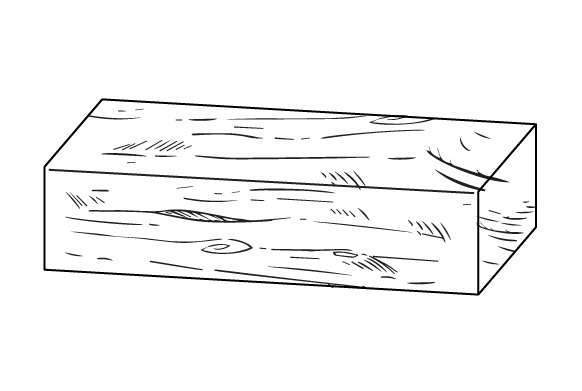
Mallet

Wood Block
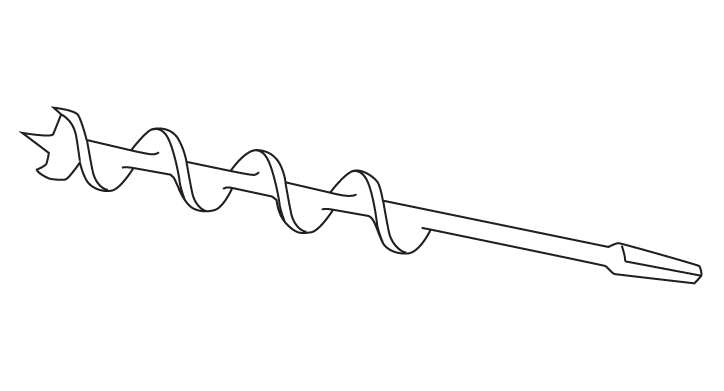
1½" Tulip Auger (Optional)
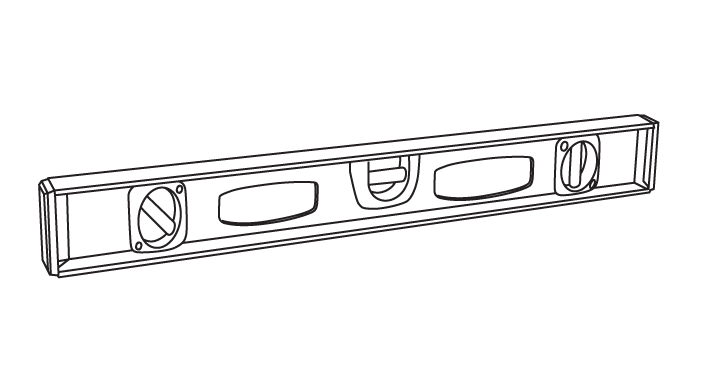
Level
We recommend 2 people for a smoother installation
Box Contents
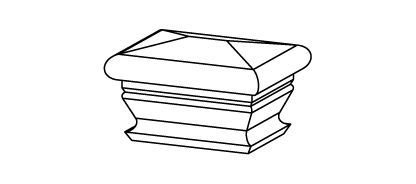
A. Post Cap (6)
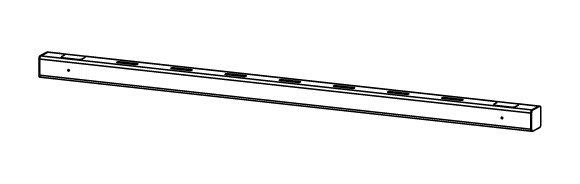
B. Top Rail (2)
1½” x 1½” x 12”
C. Bottom Rail (2)
1½” x 1½” x 12”
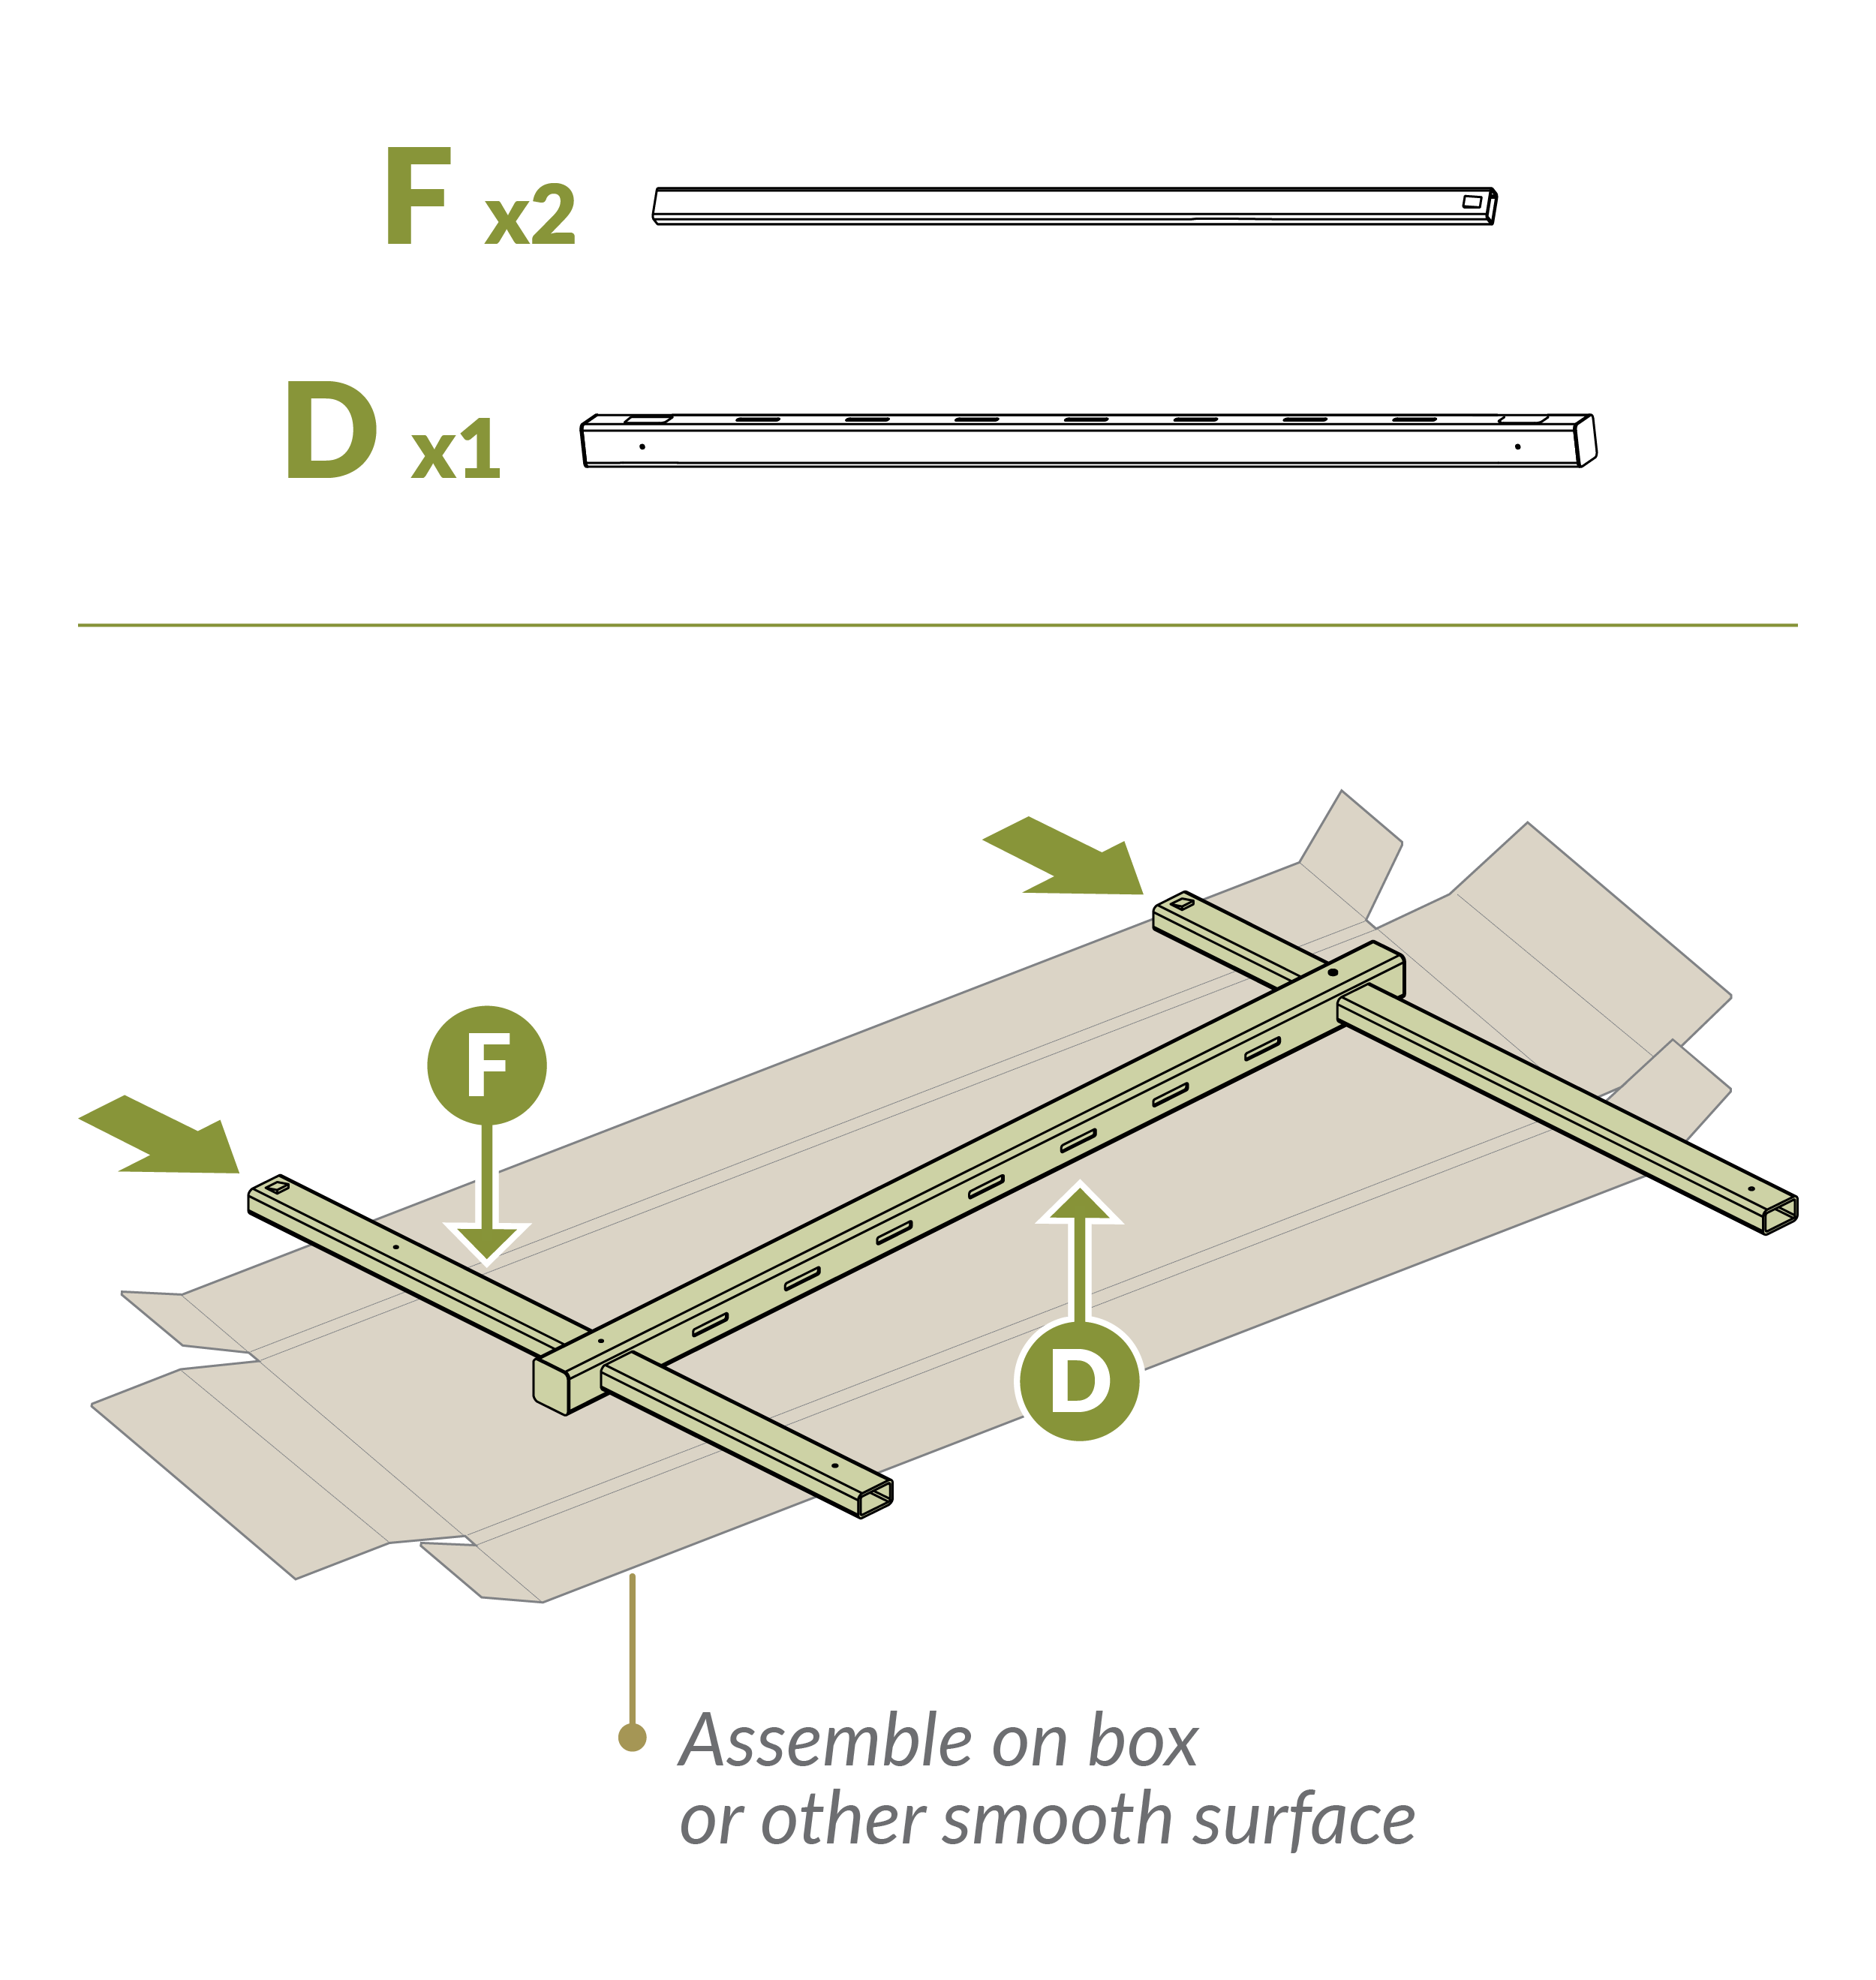
D. Top Gate Rail (1)
1½” x 1½” x 36⅜”
E. Bottom Gate Rail (1)

1½” x 1½” x 36⅜”
F. Gate Post (2)

⅞” x 1½” x 26½”
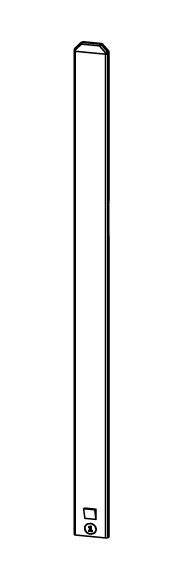
G. Post (4)

⅞” x 1½” x 43½”
H. Picket (9)
#1 (4) – ¼” x 1½” x 24⅛”
#2 (2) – ¼” x 1½” x 22⅞”
#3 (2) – ¼” x 1½” x 22⅛”
#4 (1) – ¼” x 1½” x 21⅞”
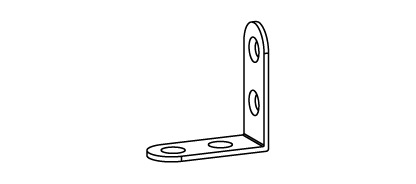
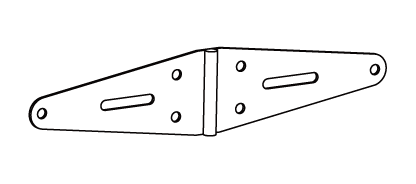
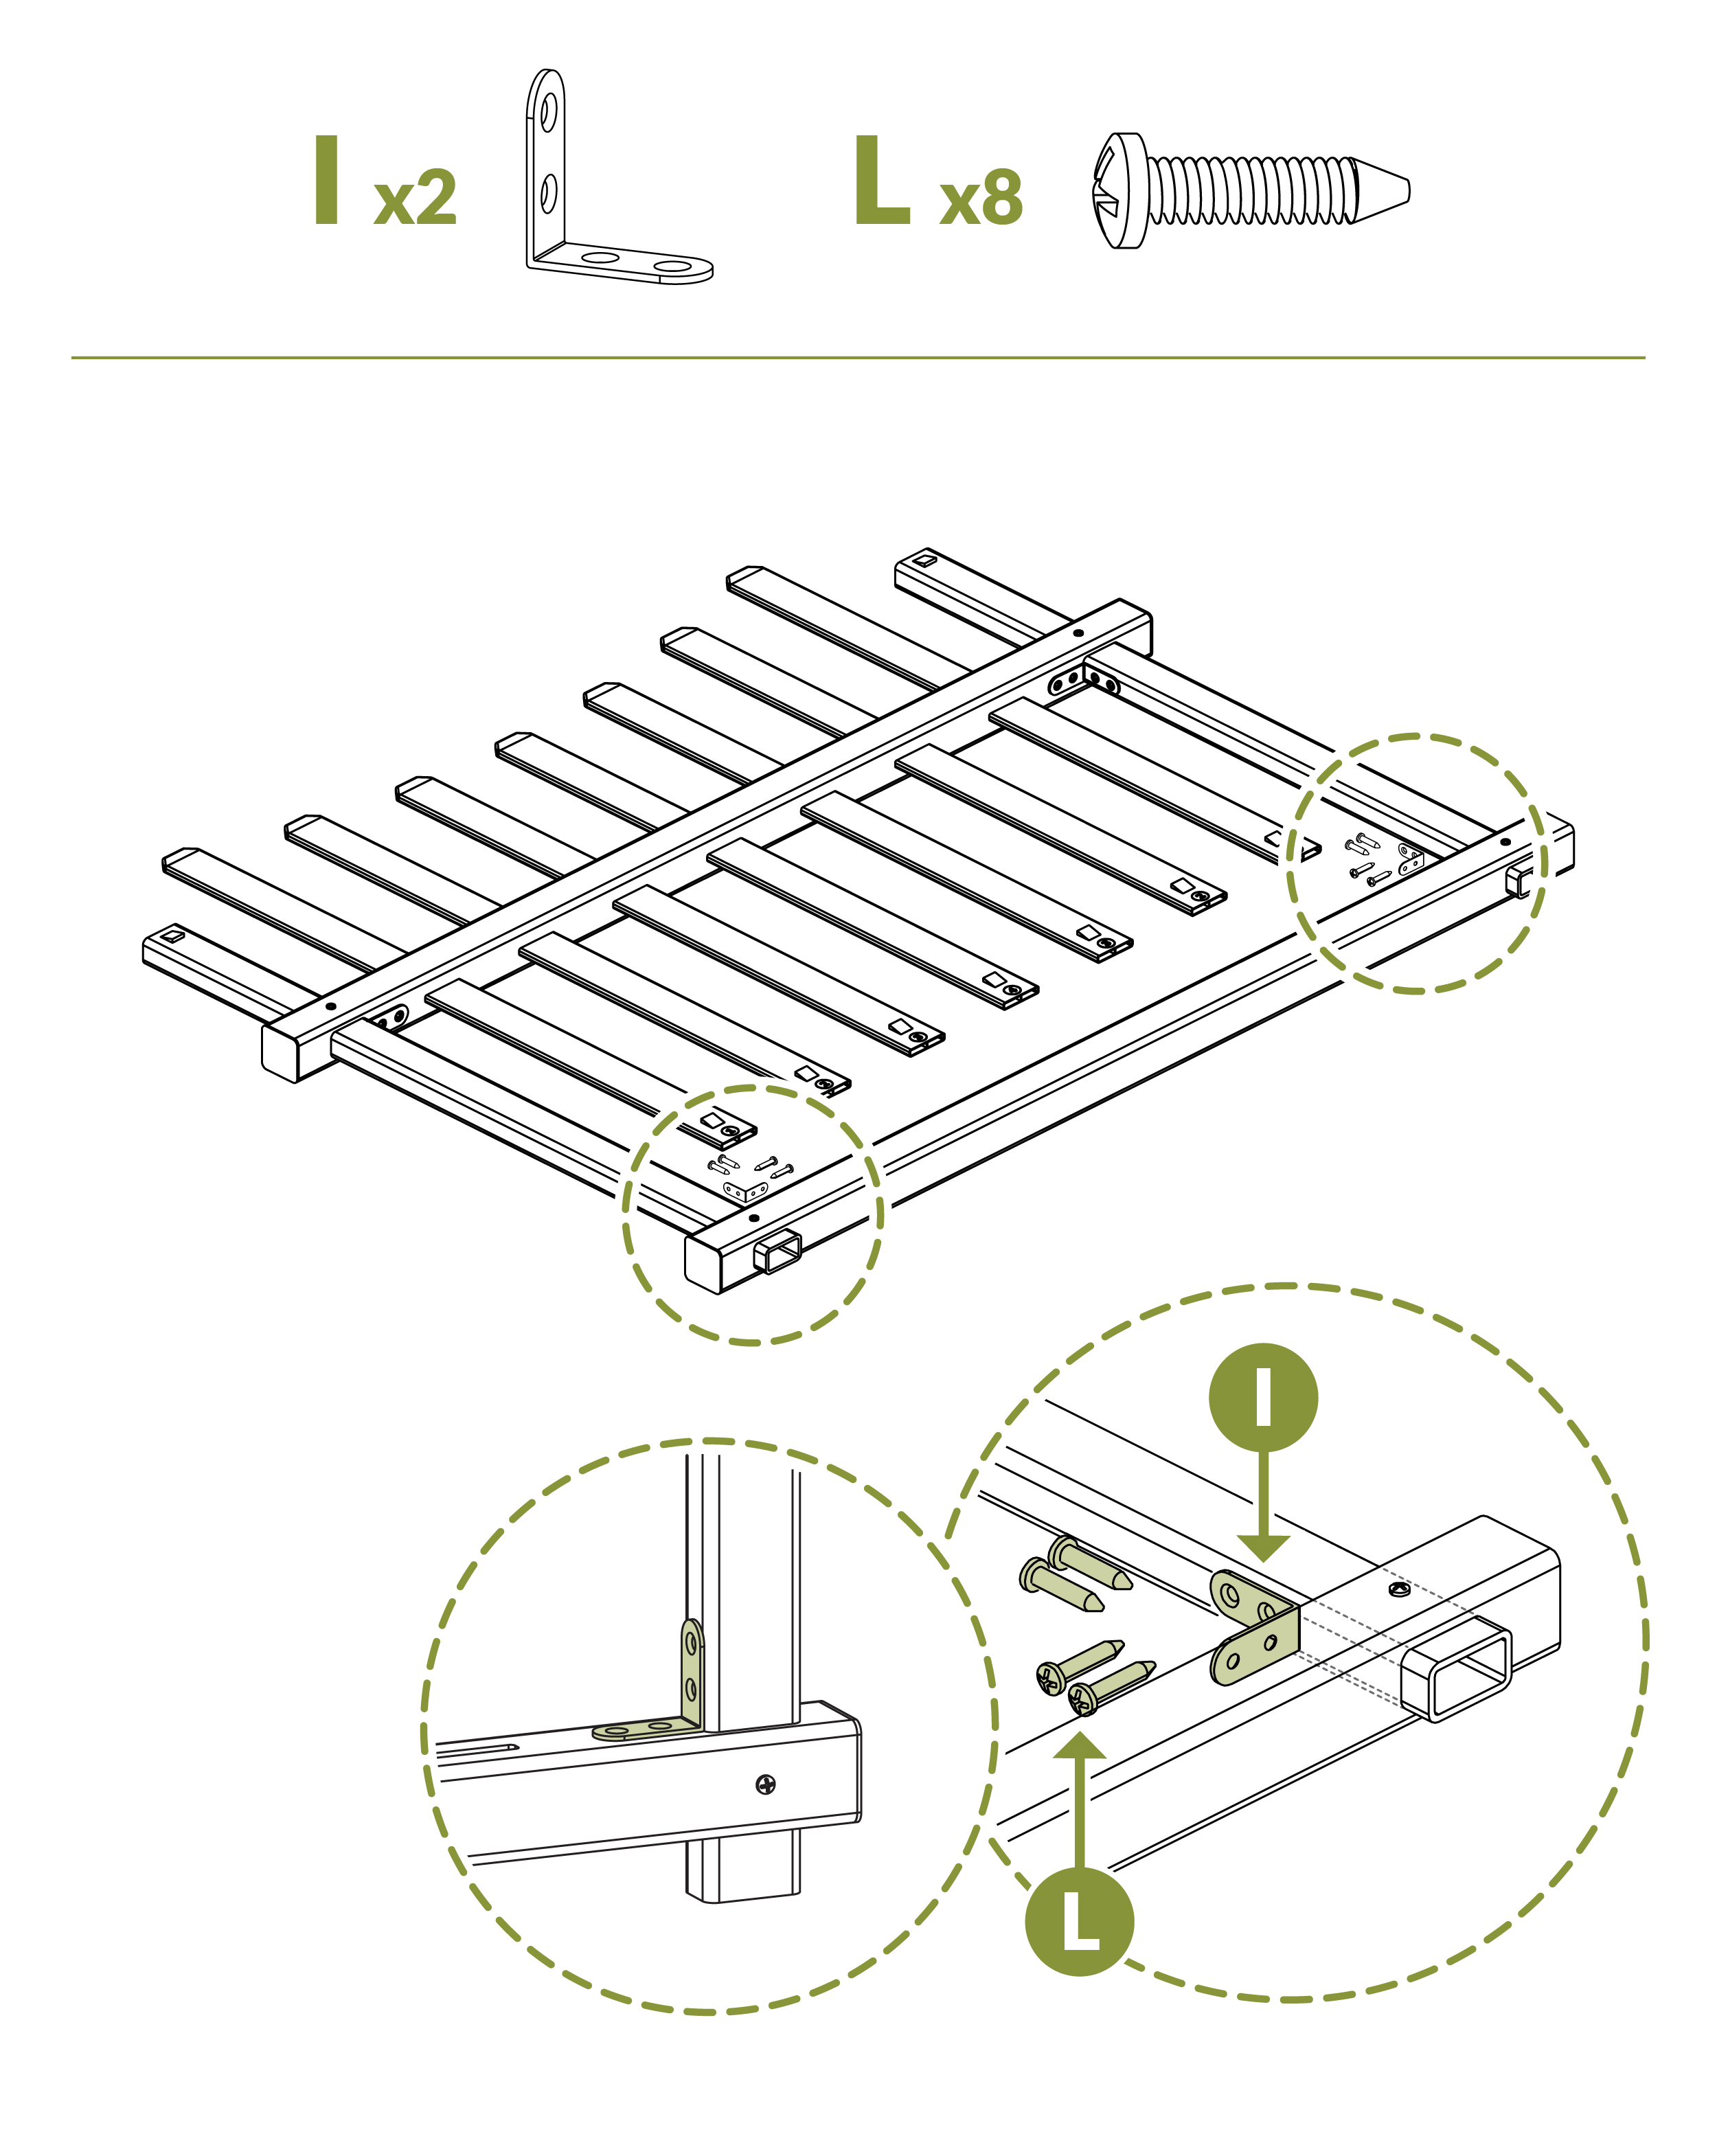
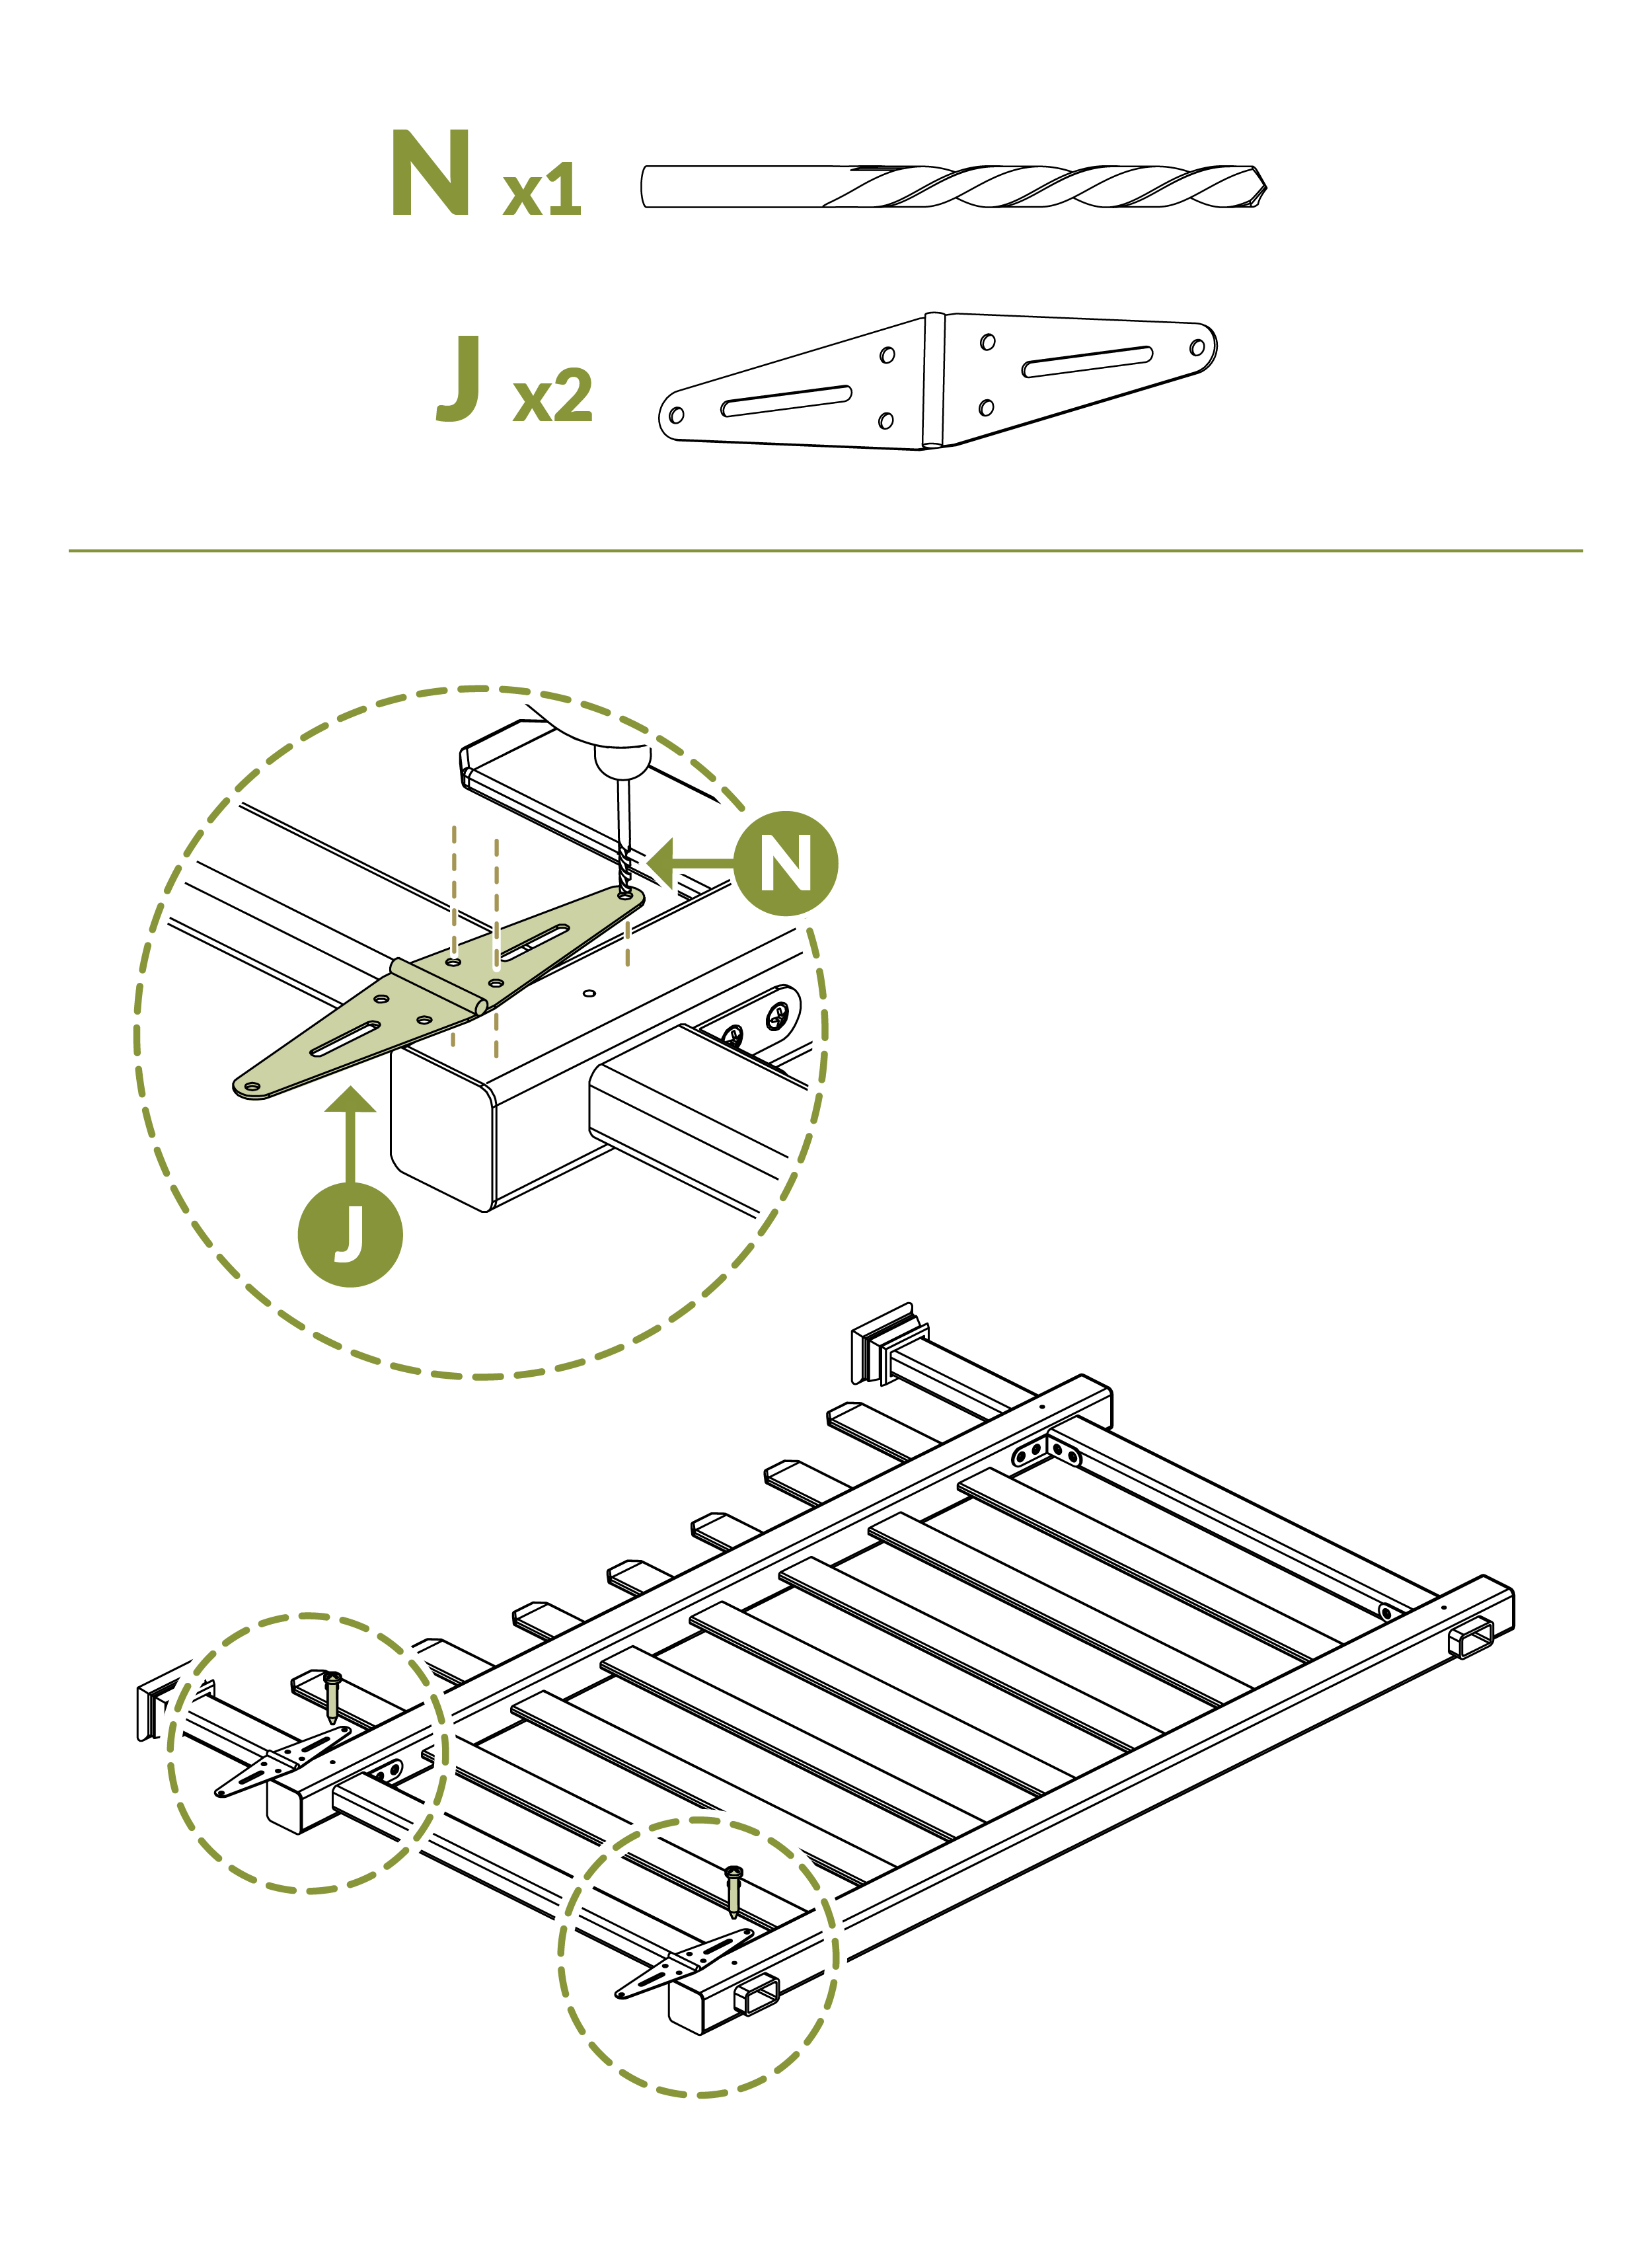
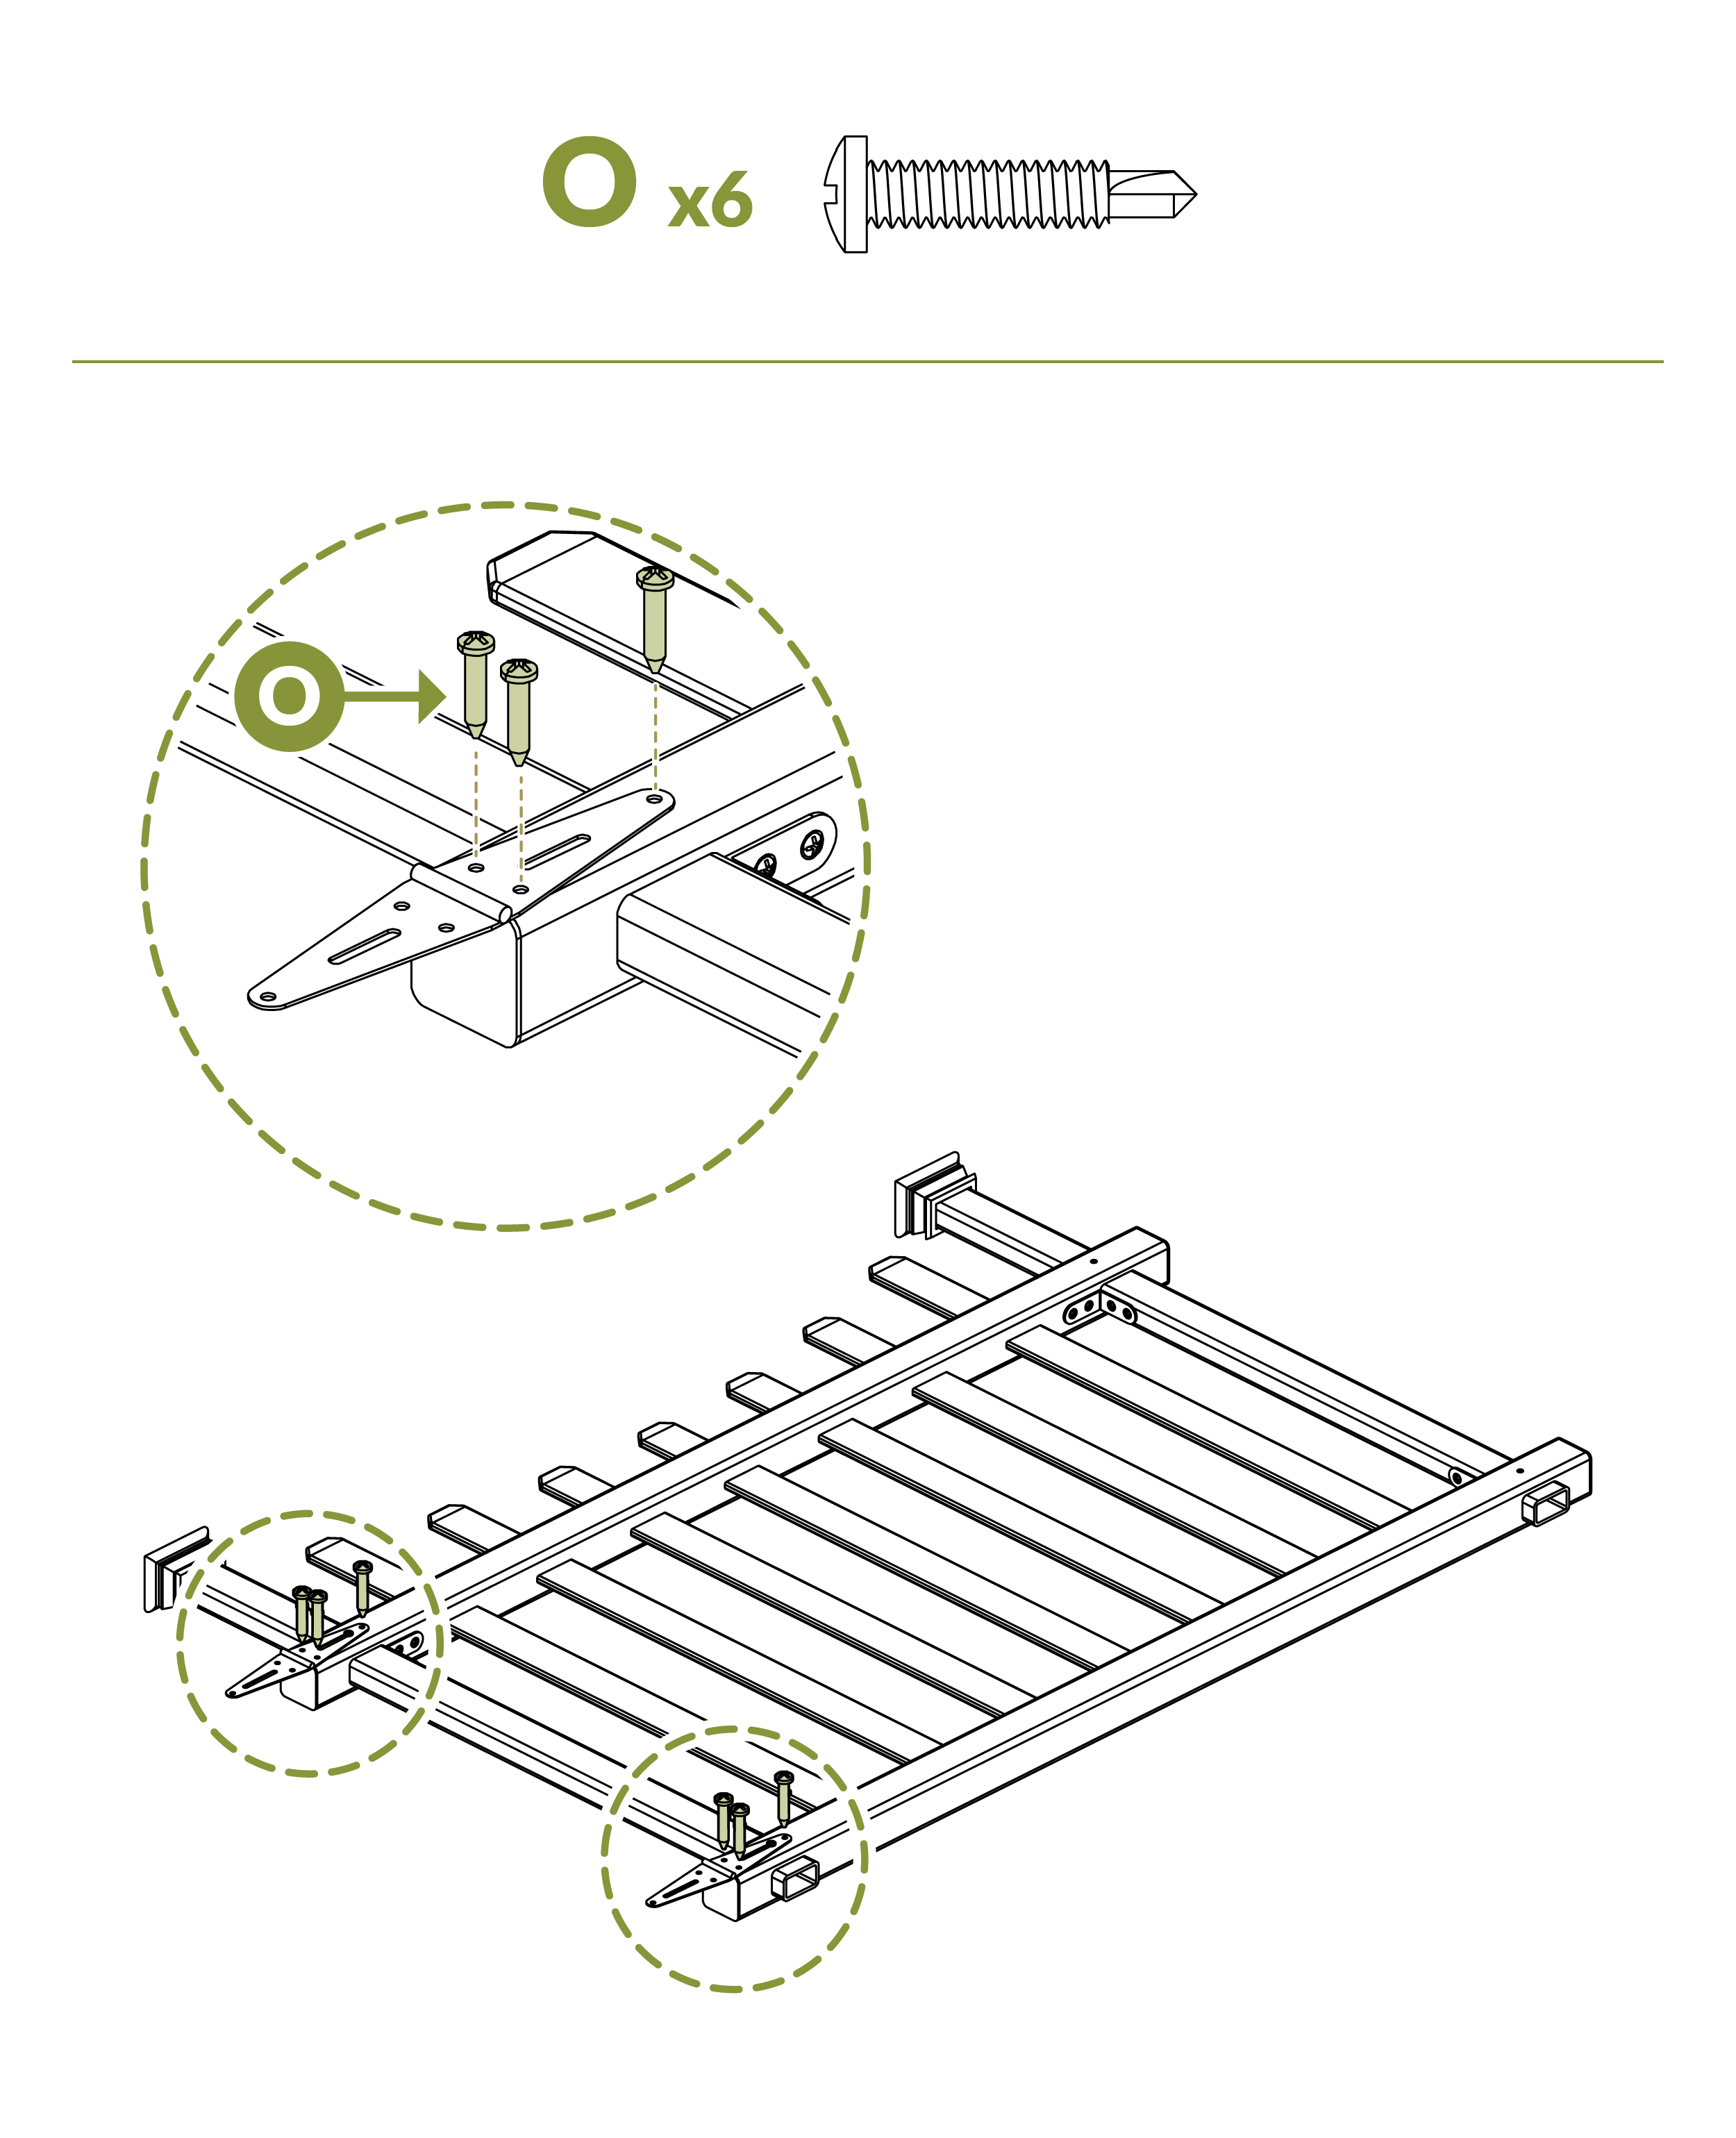
I. Corner Bracket (4)
J. Gate Hinge (2)
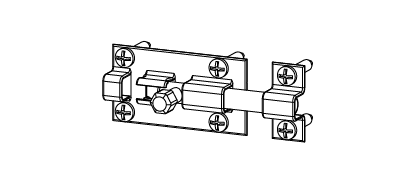
K. Gate Latch (1)
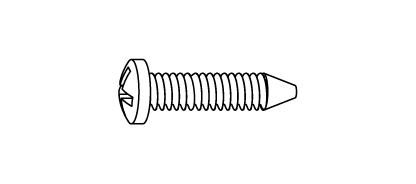
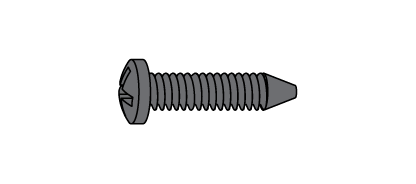
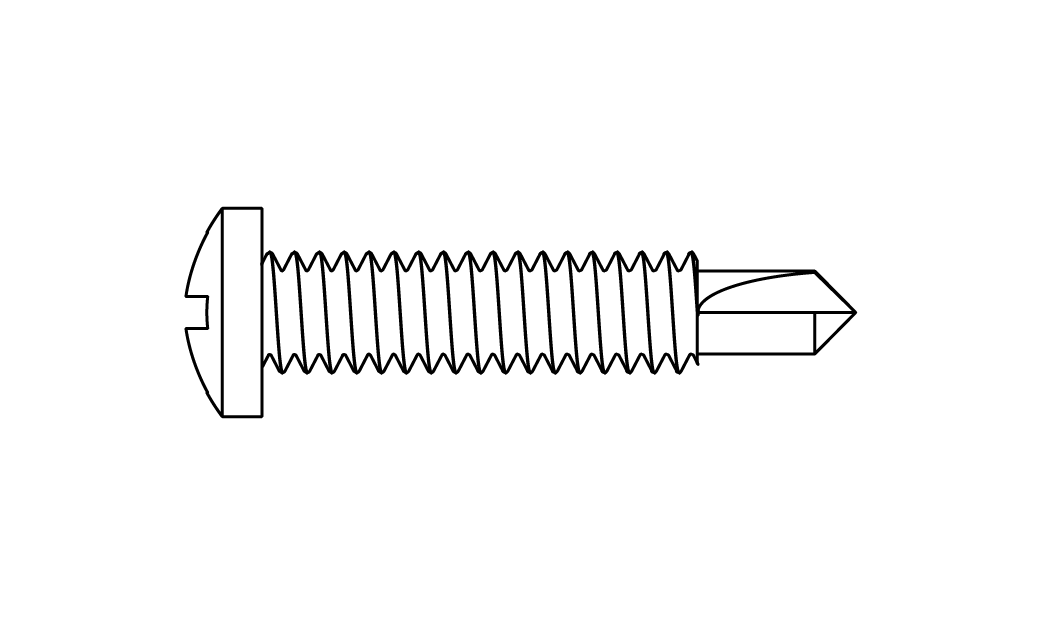
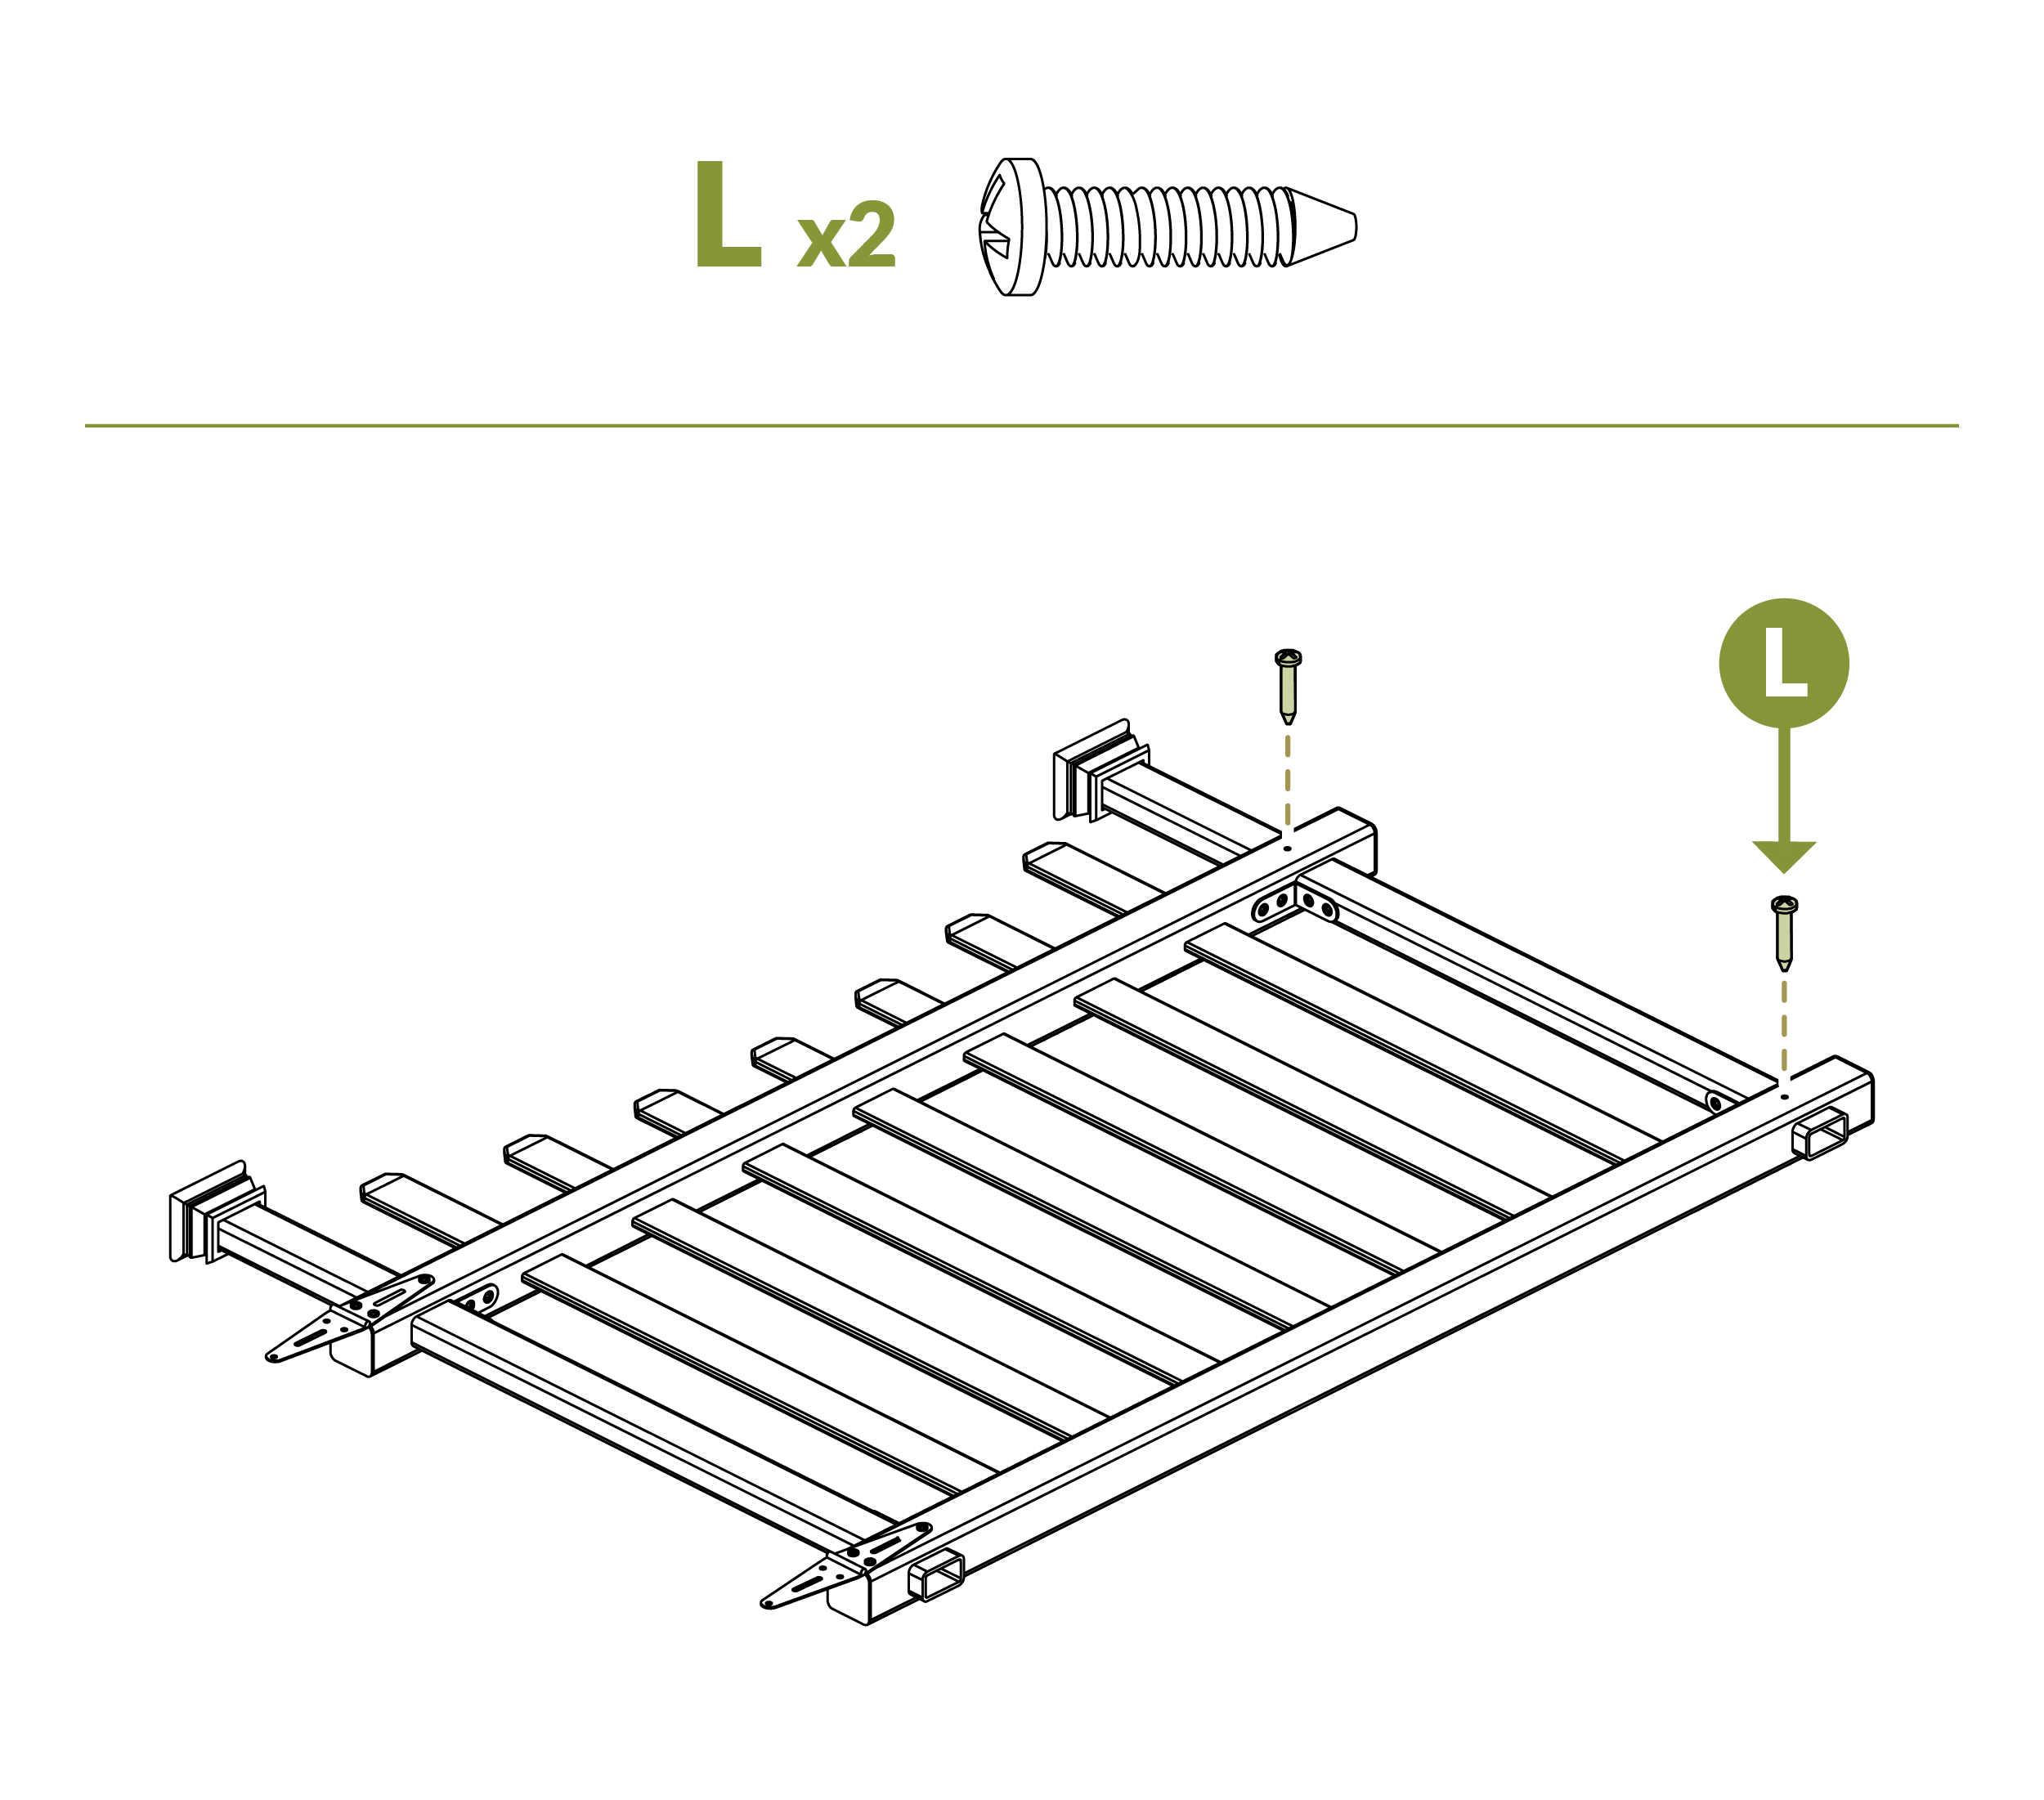
L. ¾” Self-Drilling Stainless Steel Screw (40)
M. 1/8” Black Self-Drilling Stainless Steel Screw (14)
N. 1/16” Drill Bit (1)

O. ¾” Black Self-Drilling Stainless Steel Screw (12)
Step 1: Assemble Gate Frame
-
Assemble on box or other smooth surface to prevent scratching.
-
Insert (2) Gate Posts (F) through Top Gate Rail (D).
Step 2
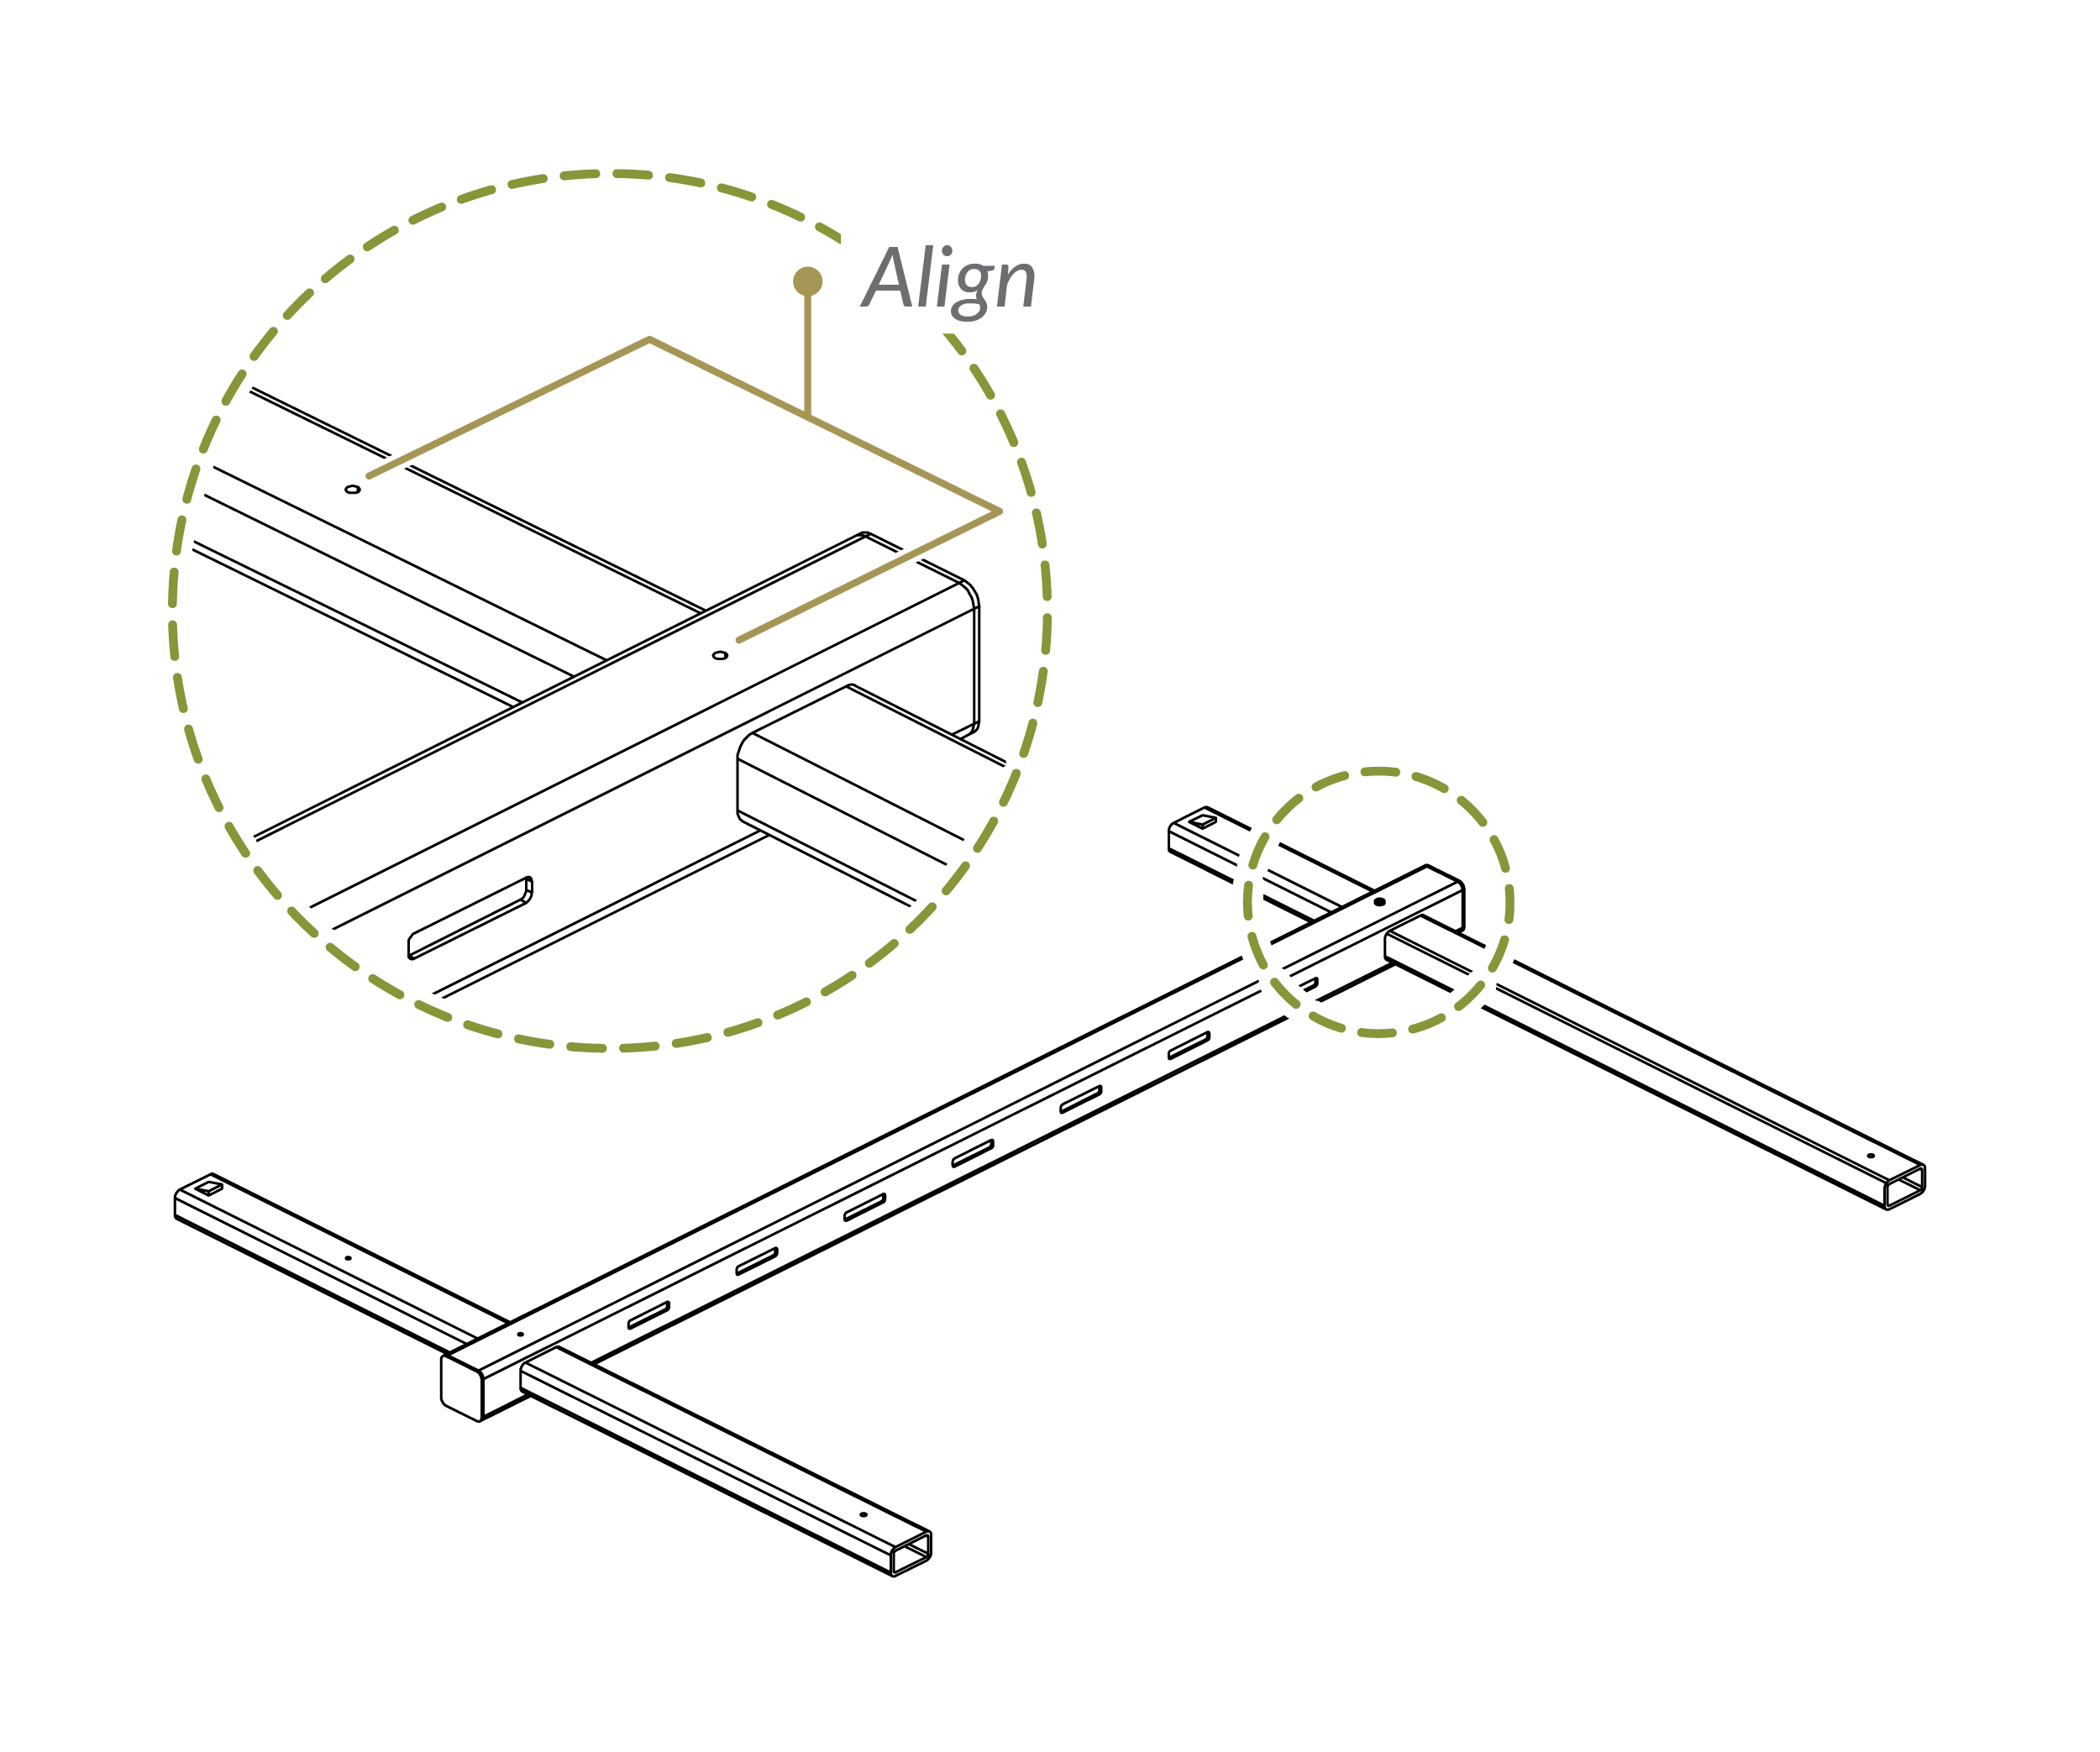
- Align pre-drilled screw holes on Gate Posts (F) and Top Gate Rail (D).
Step 3

- Insert (2) ¾” Self-Tapping Stainless Steel Screws (L) into pre-drilled holes to secure Top Gate Rail (D).
Step 4
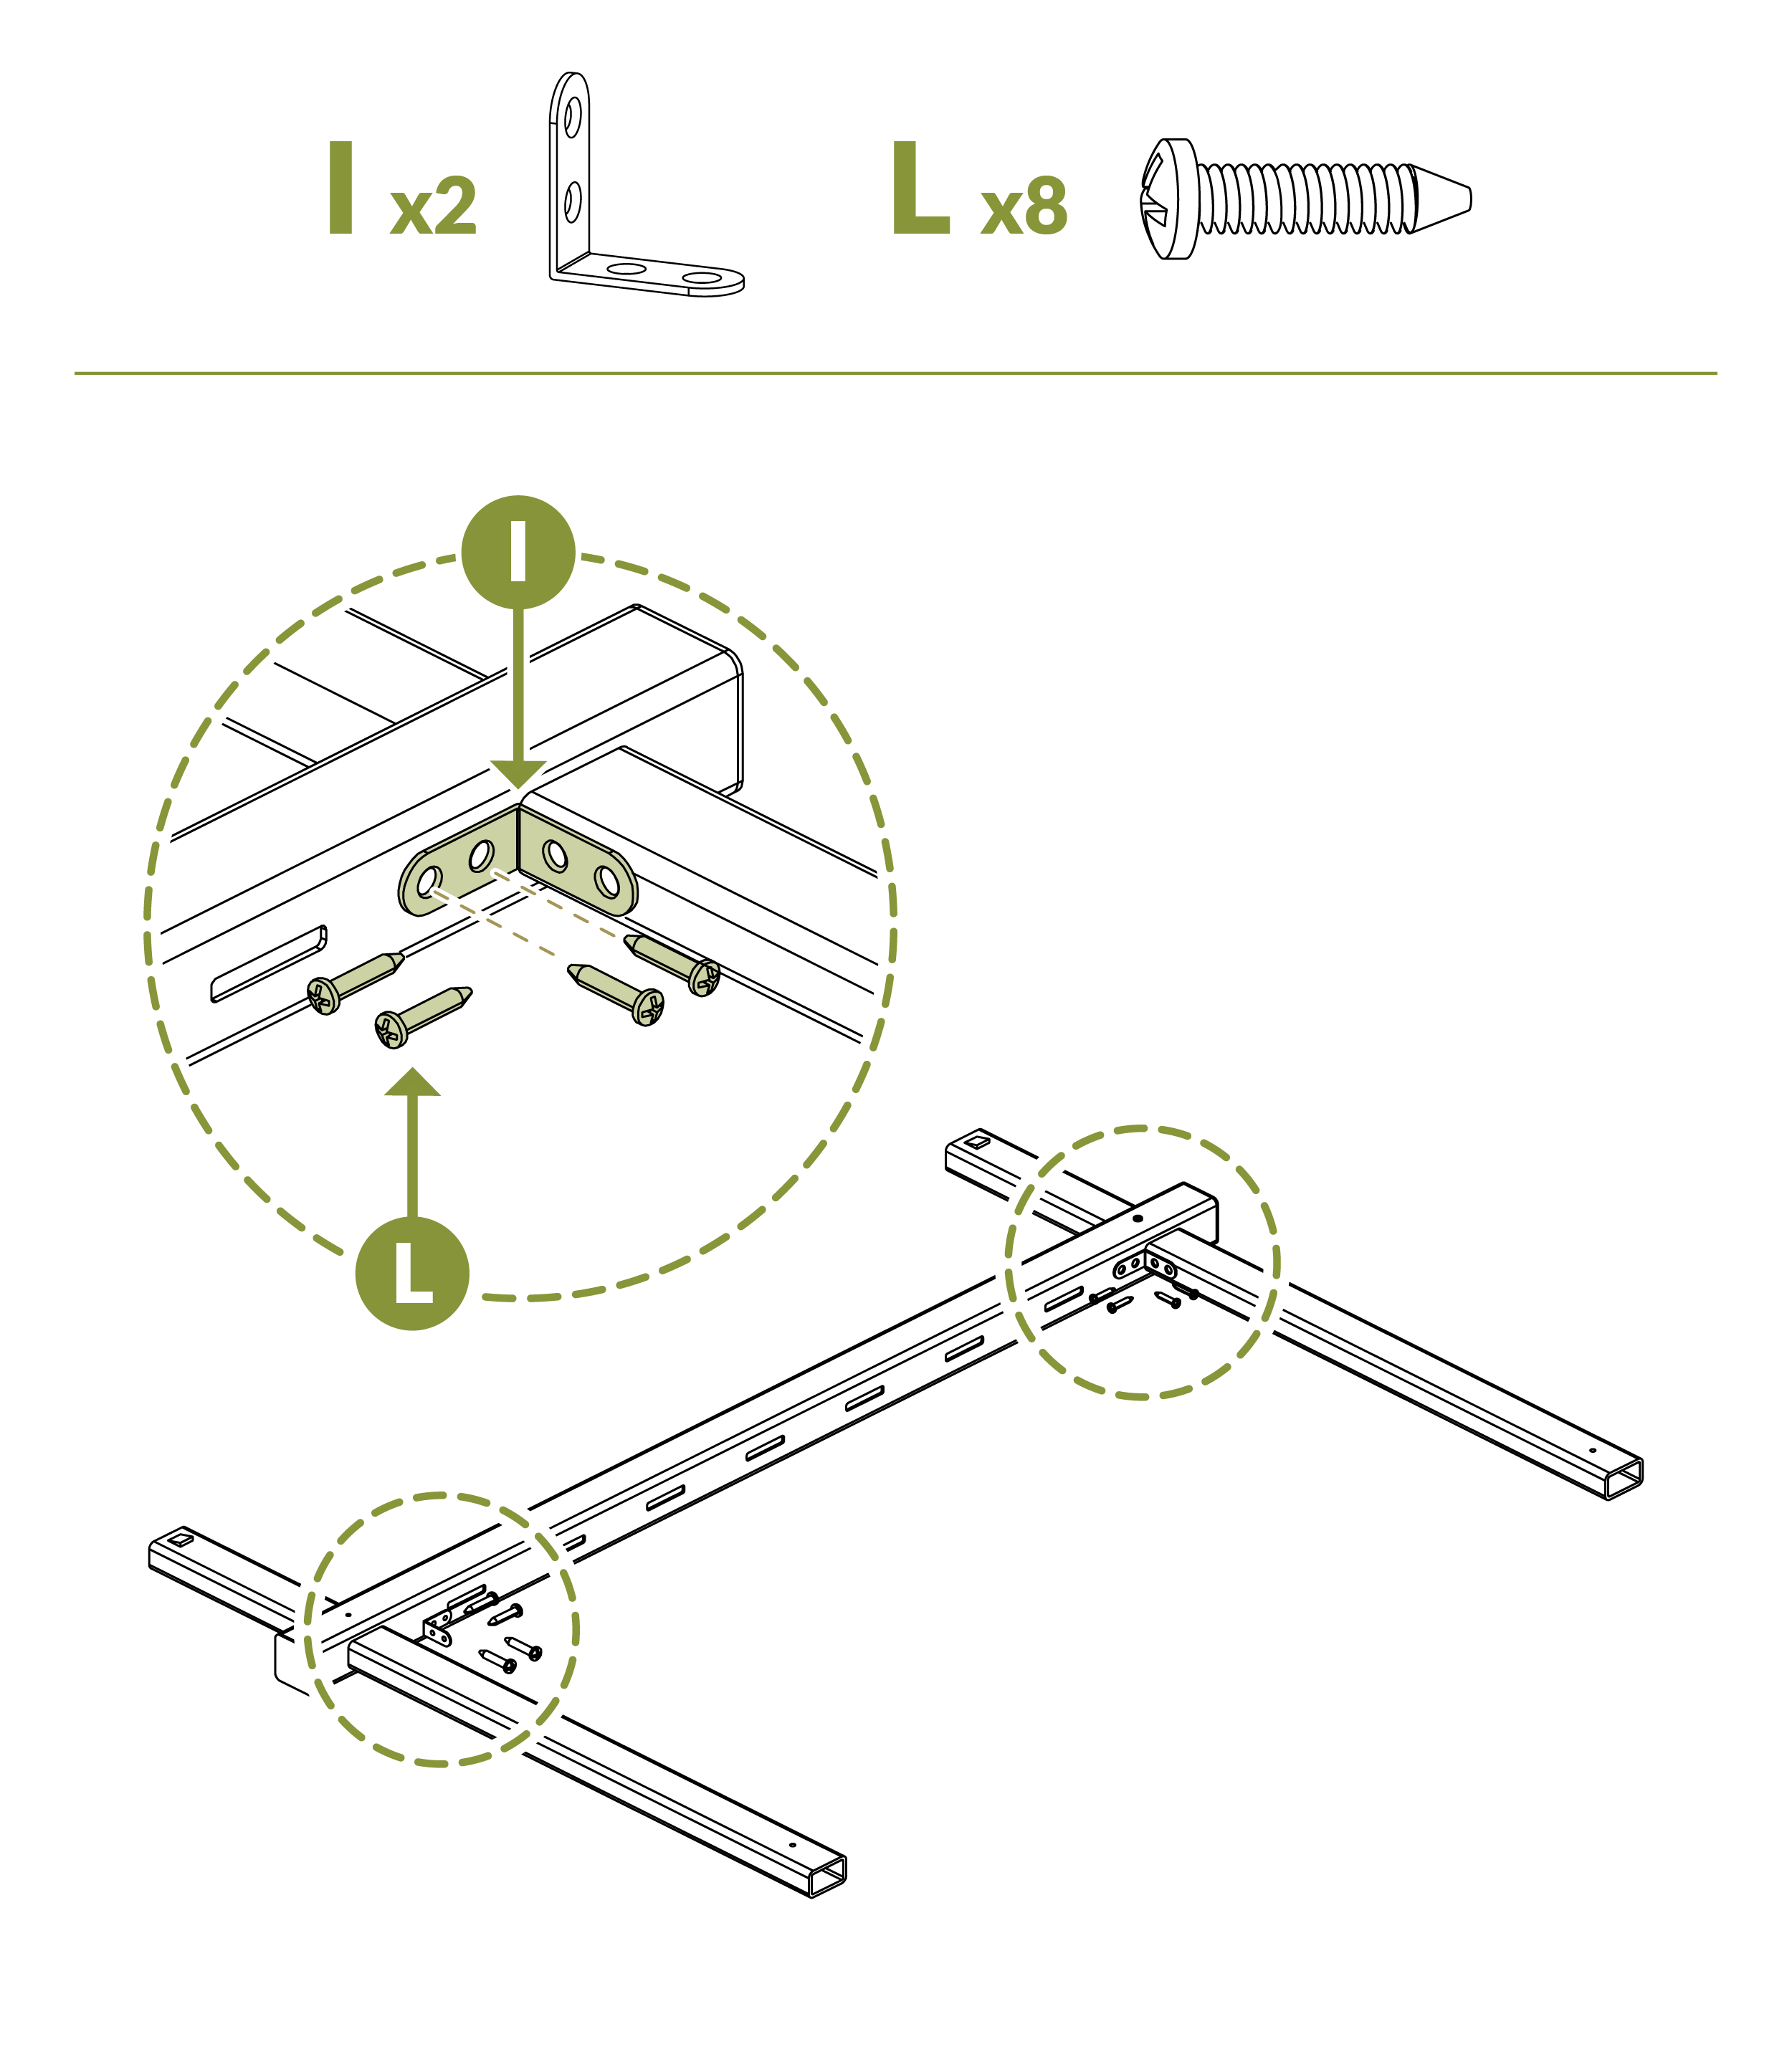
- Attach (2) Corner Brackets (I) with (8) ¾” Self-Tapping Stainless Steel Screws (L) to Top Gate Rail (D).
Step 5

-
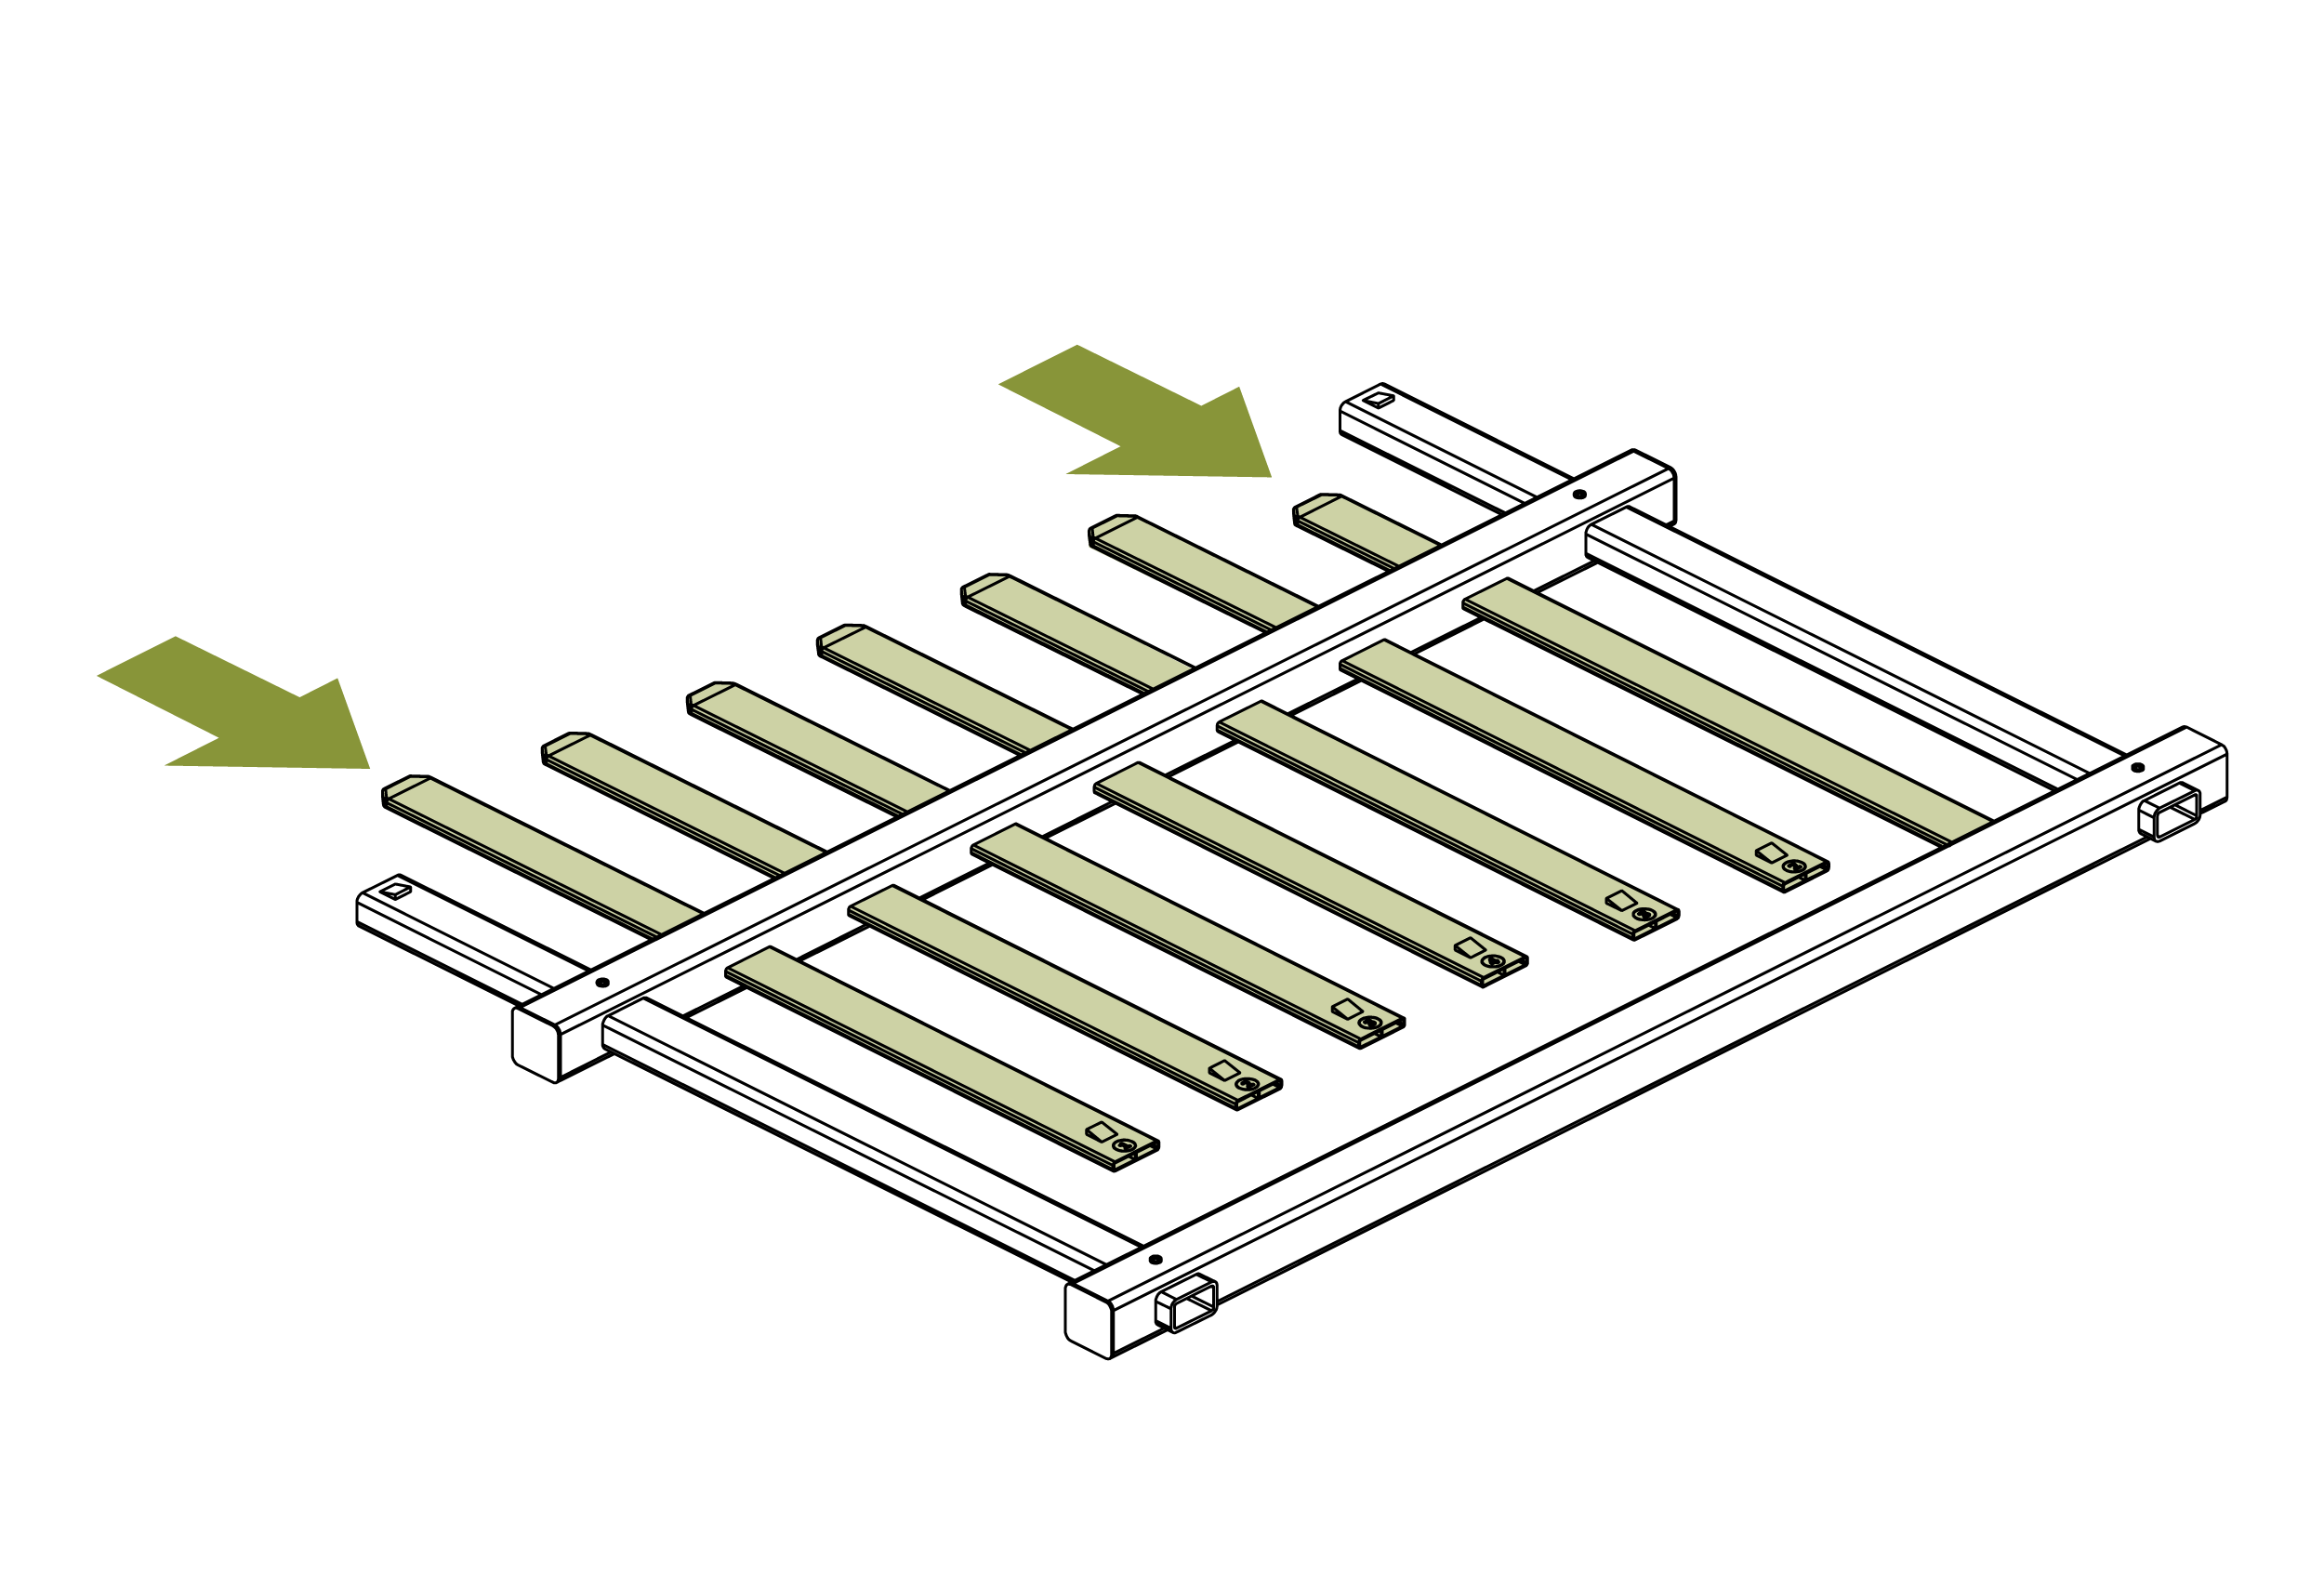
Each picket is numbered at the bottom of the picket. These will help you to determine which picket size you are installing.
-
Insert Pickets (H) into the Top Gate Rail (D).
Step 6
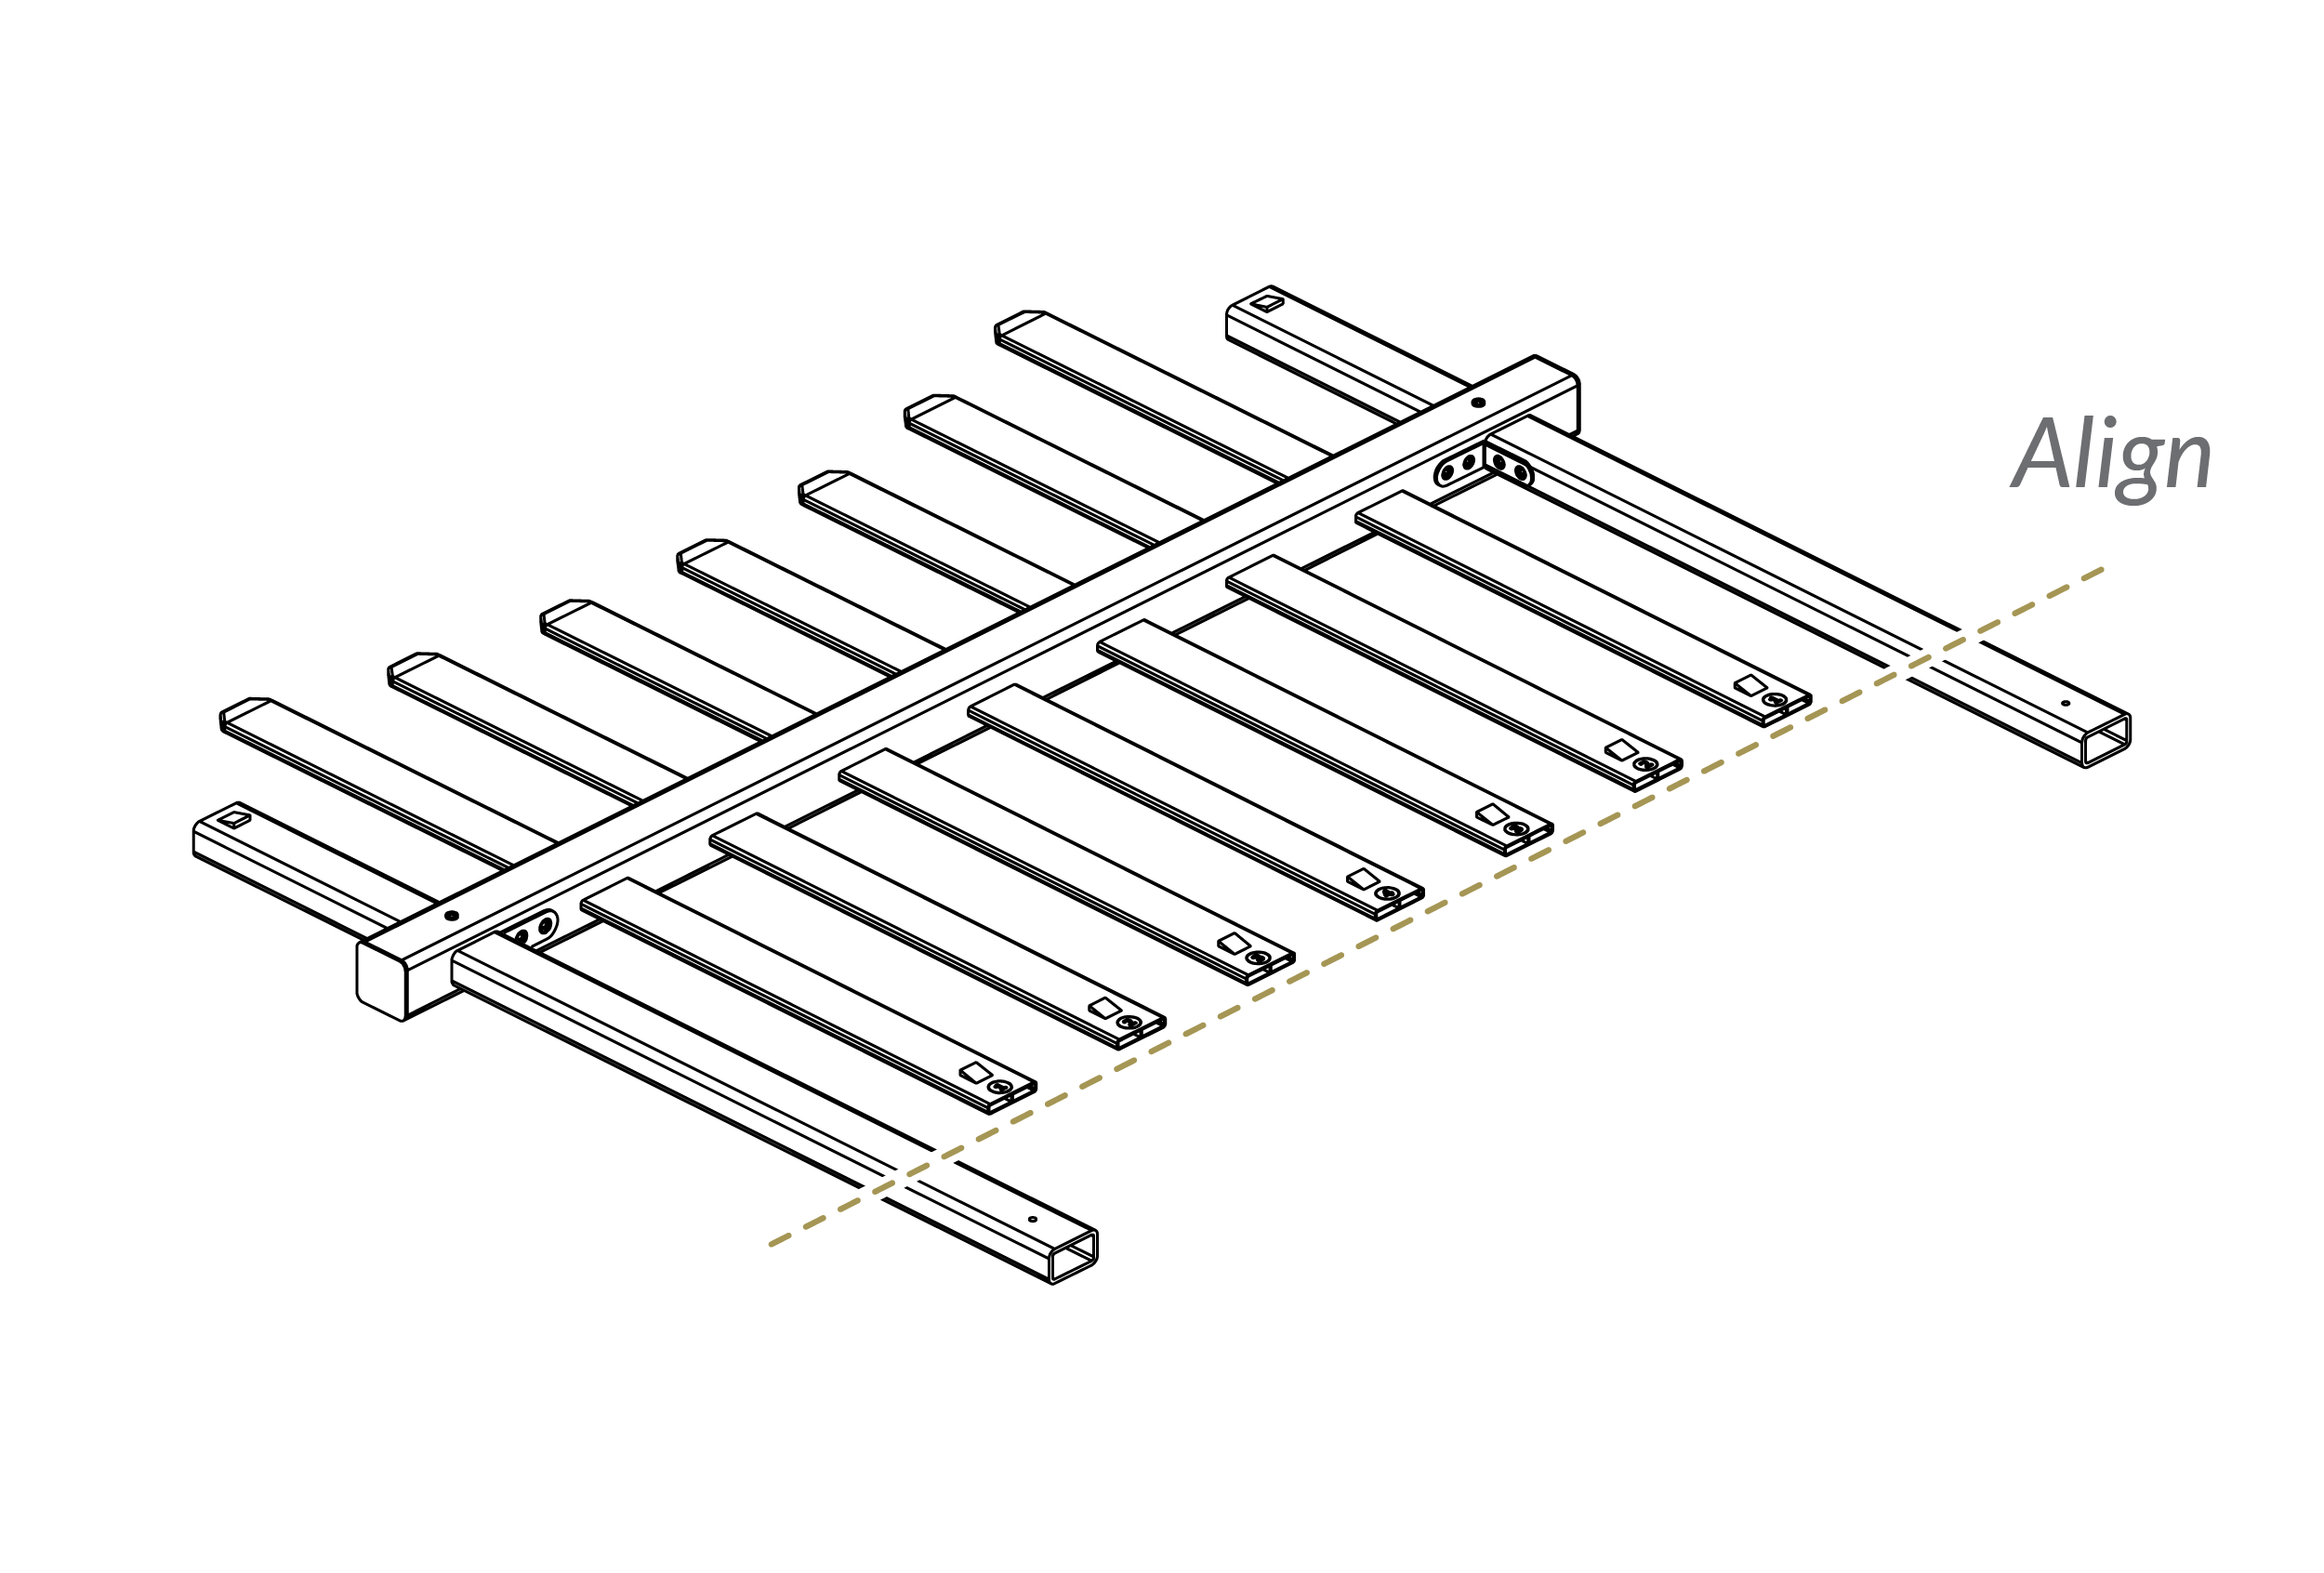
- Align the bottom of all inserted Pickets (H).
Step 7
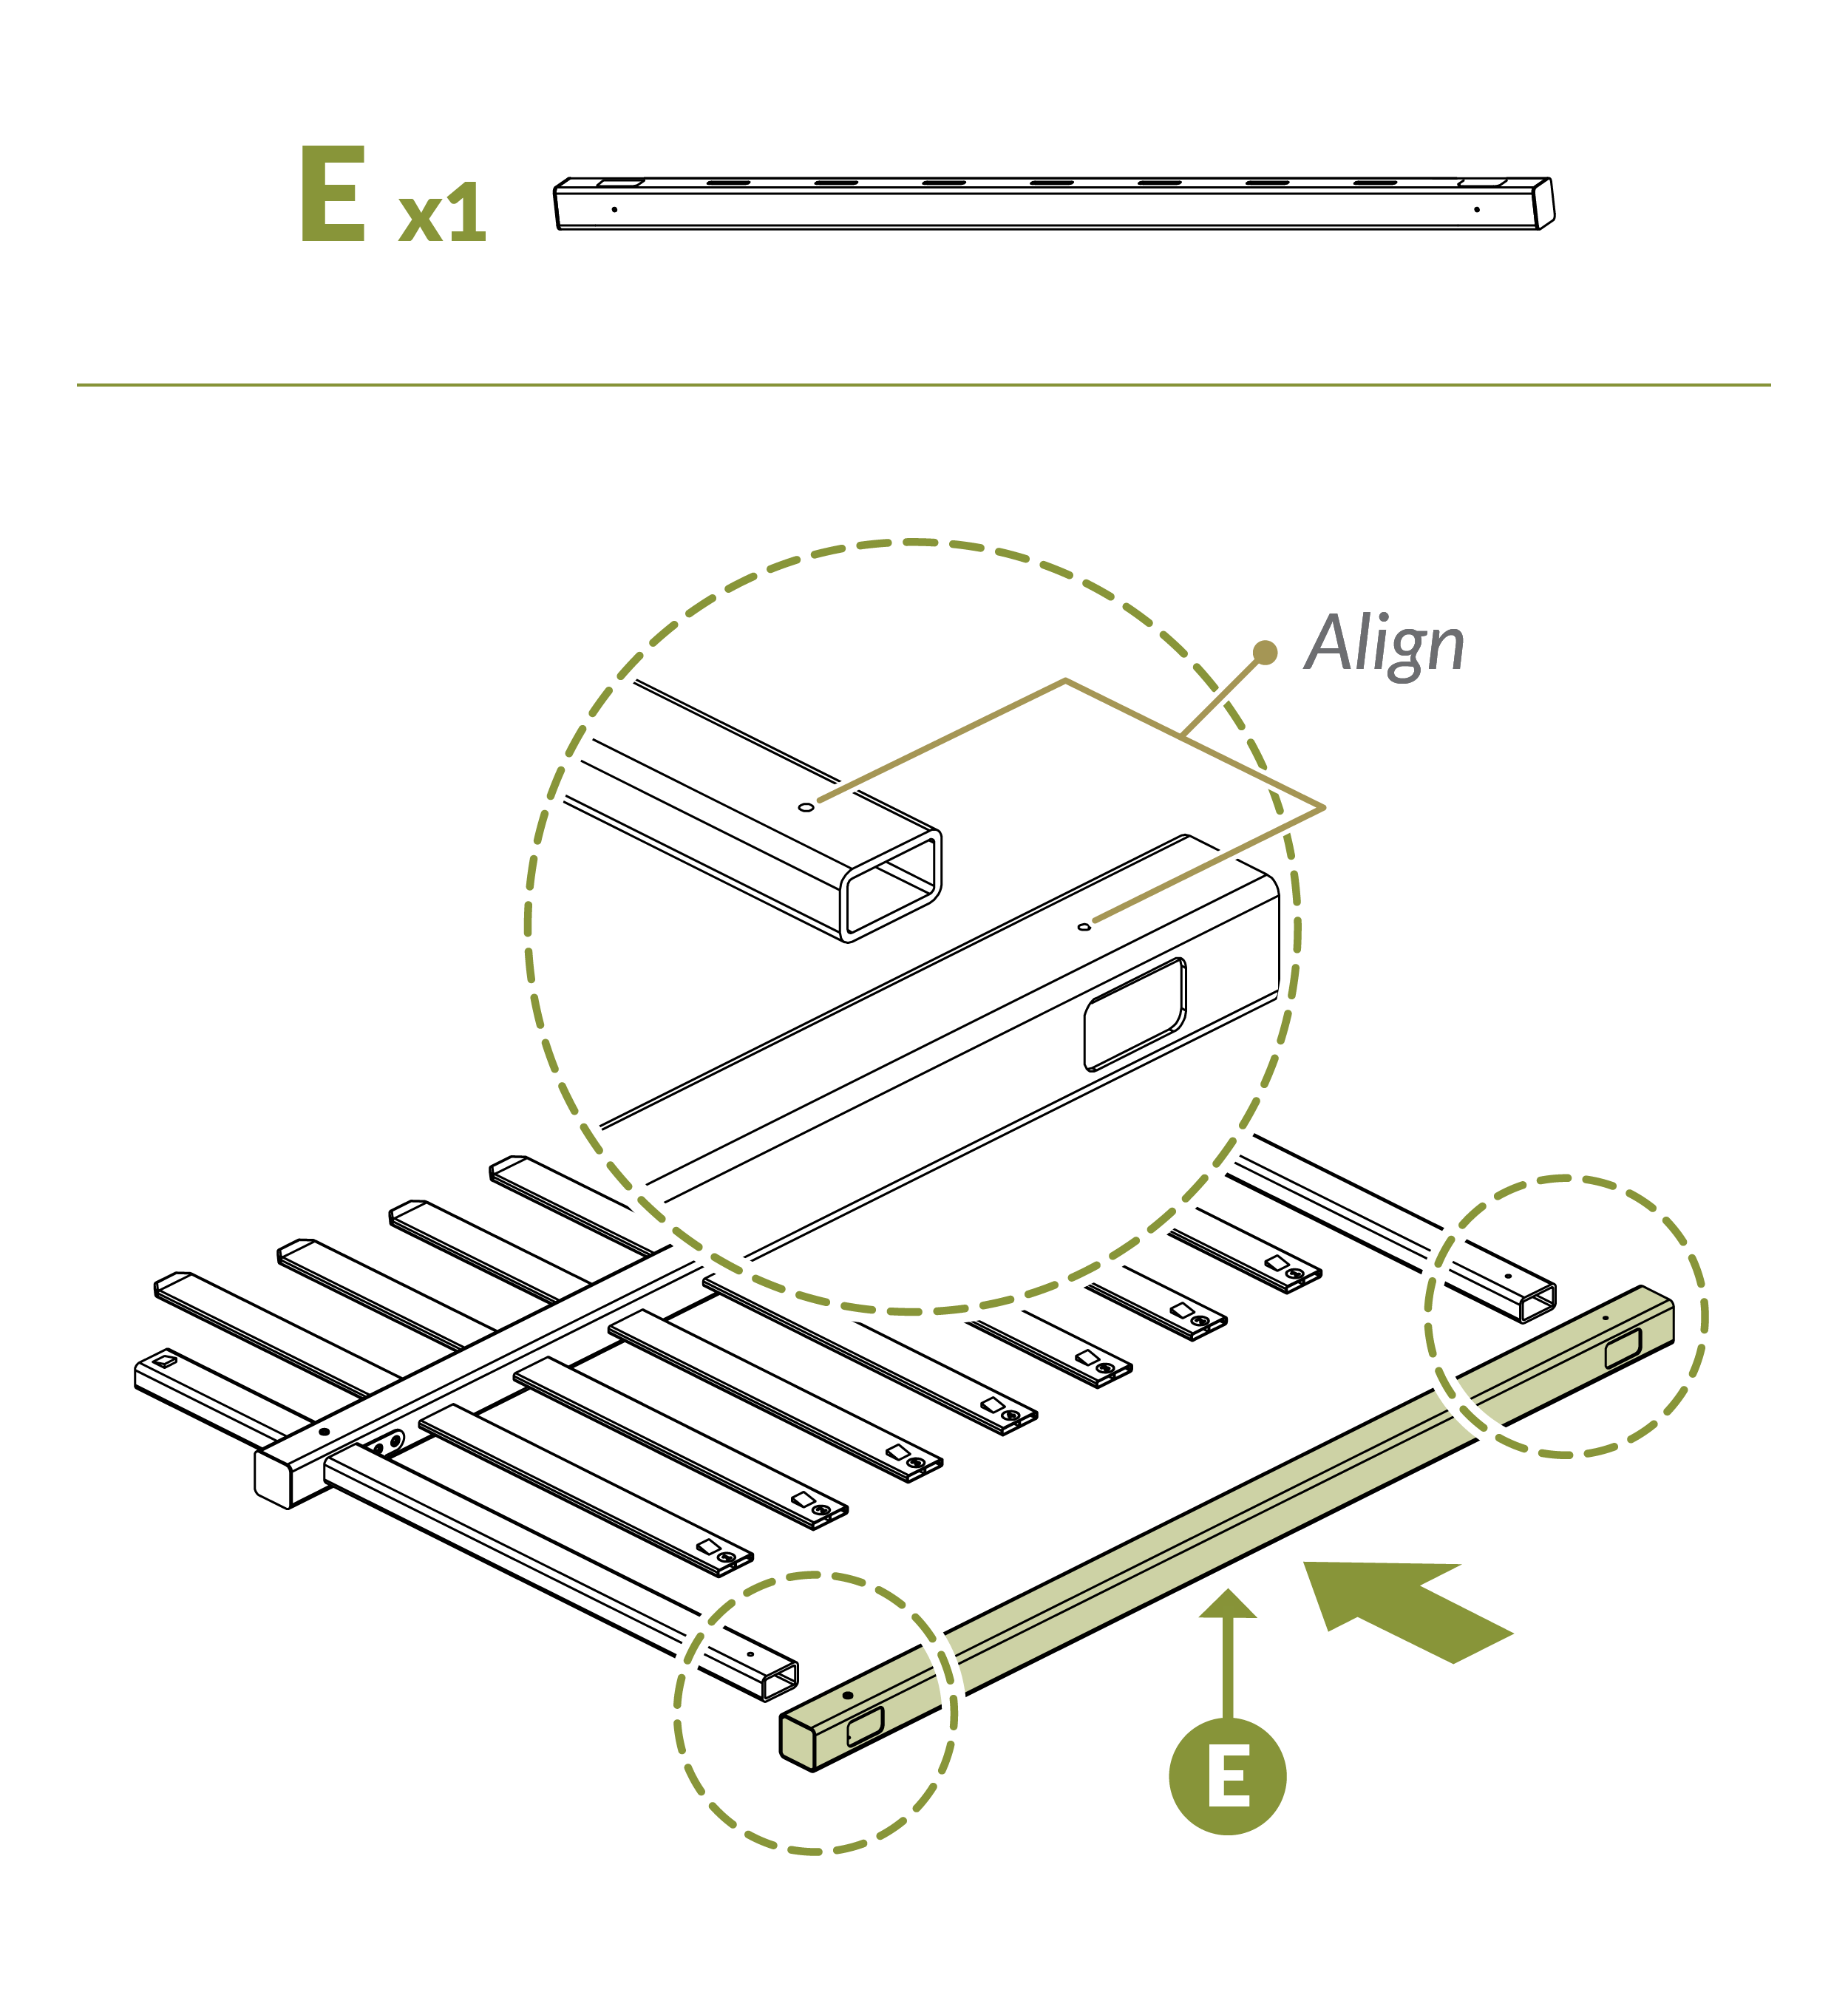
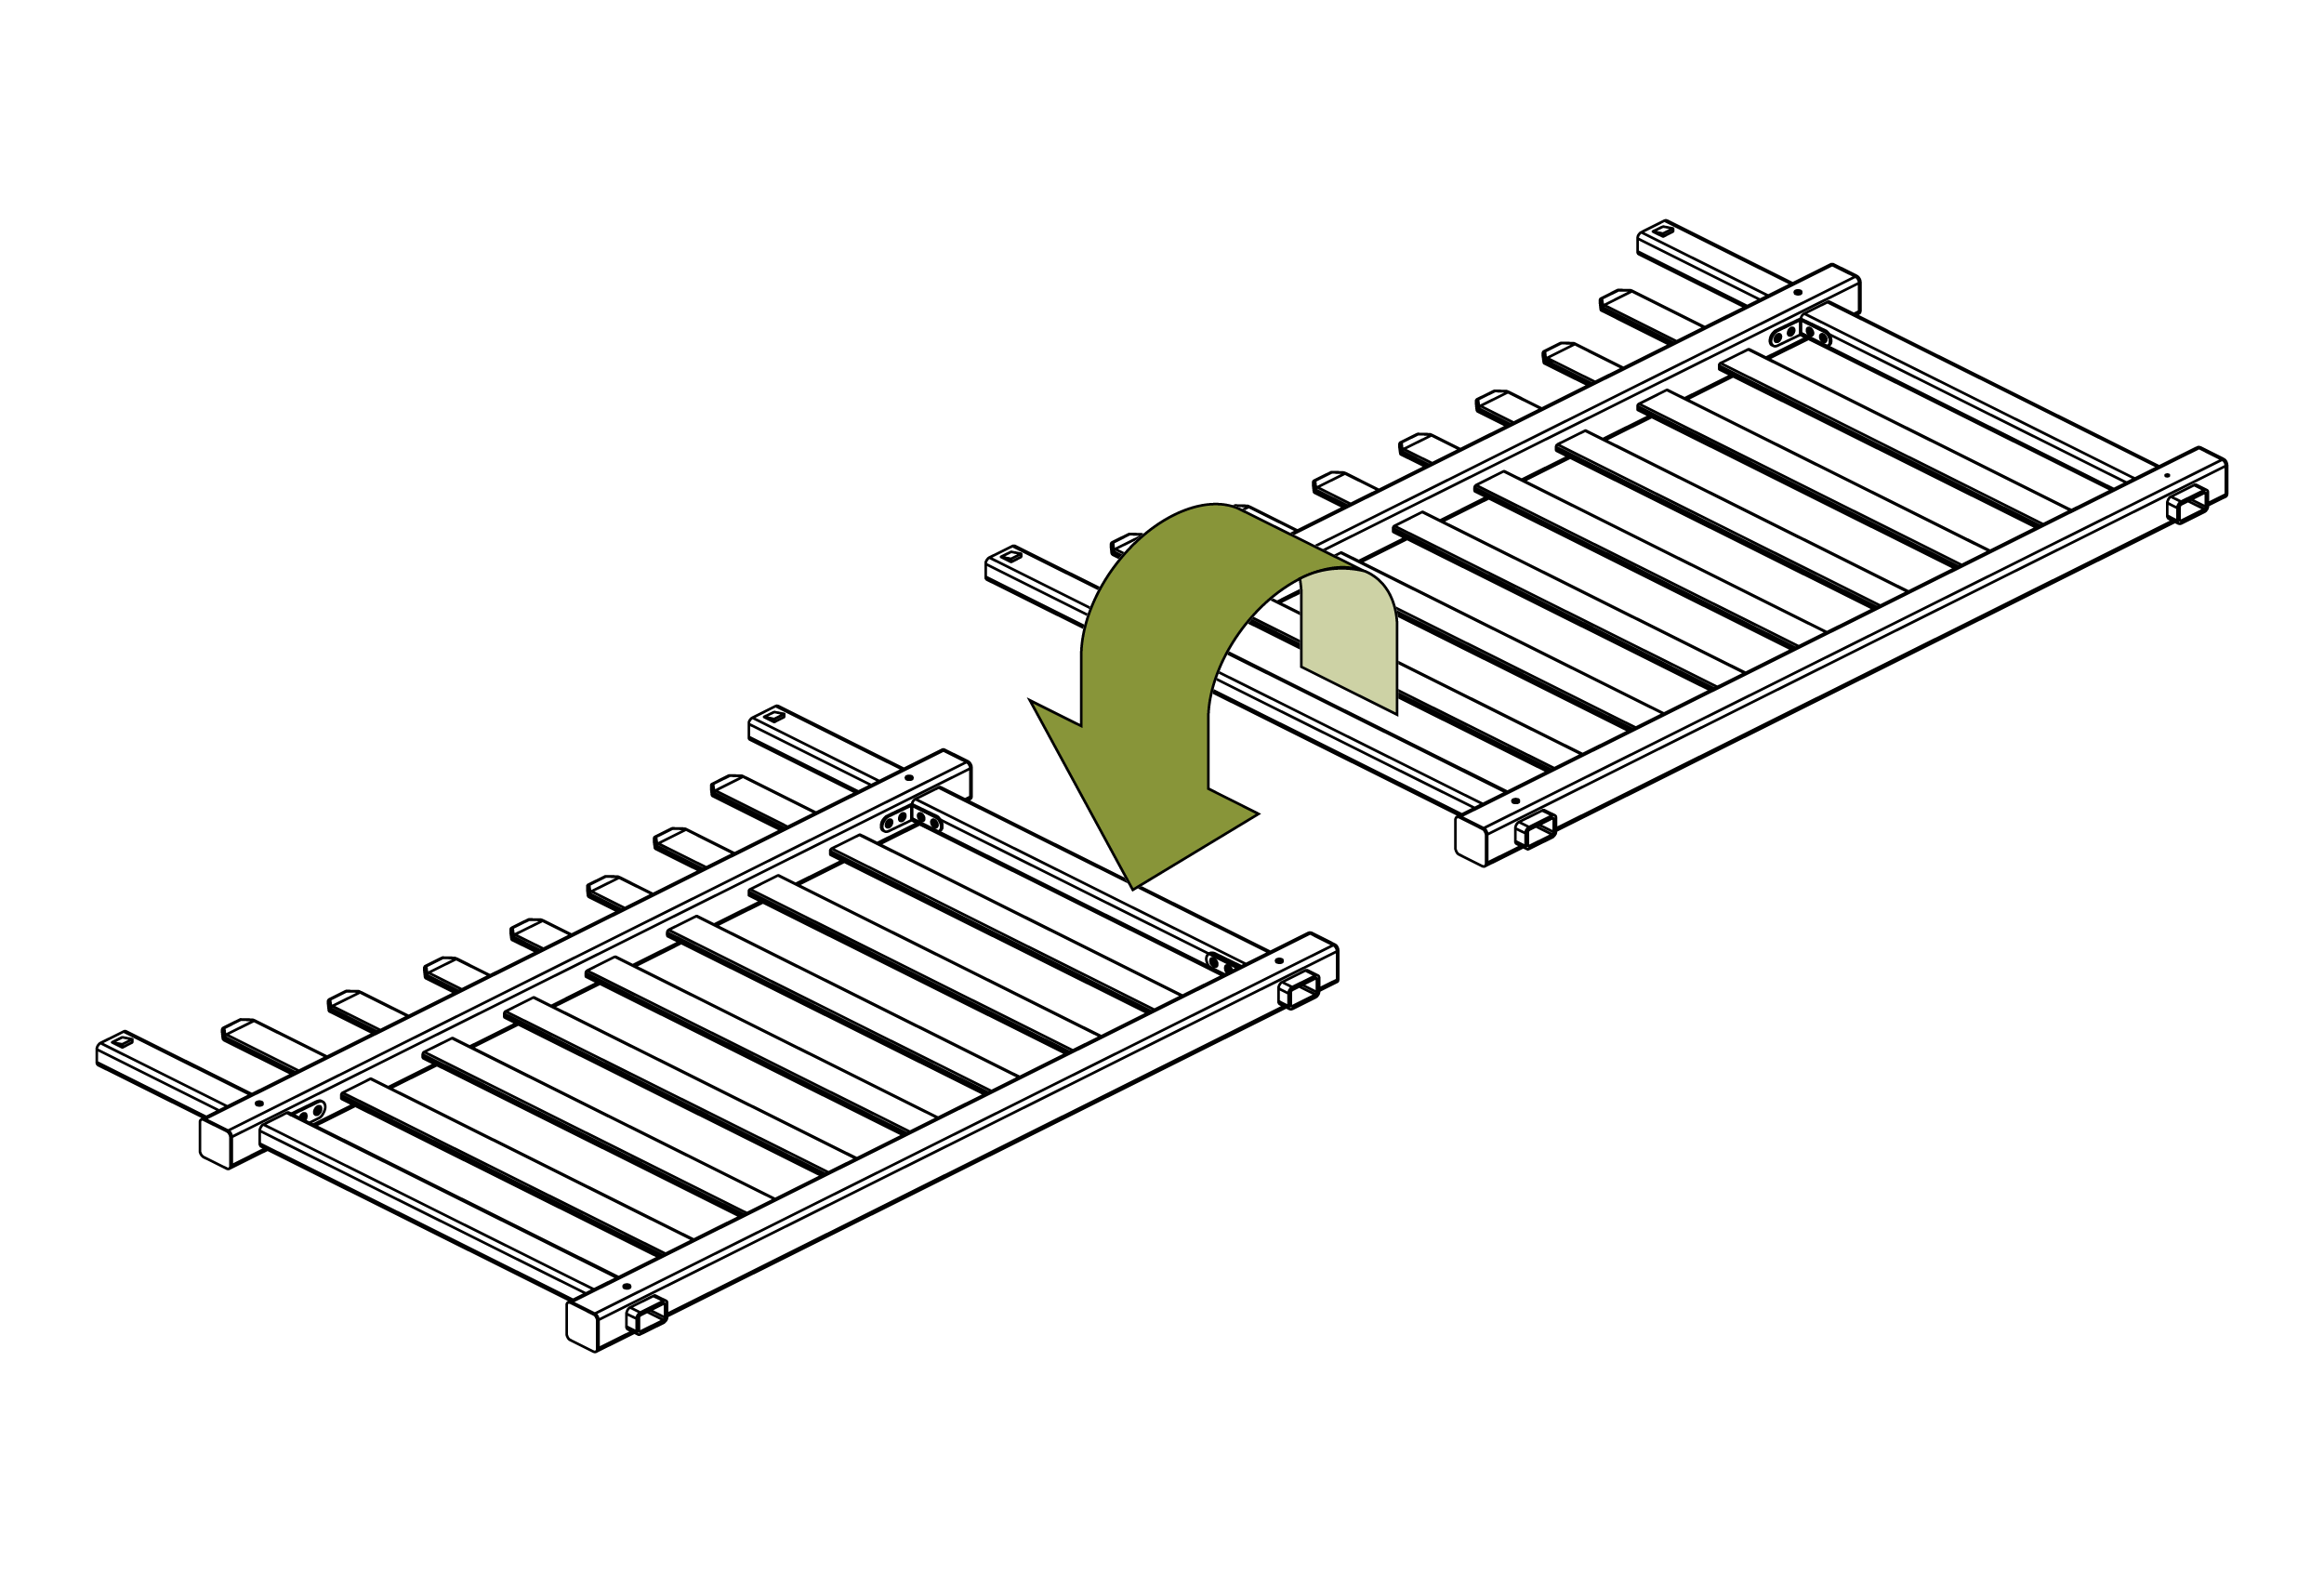
- Insert Bottom Gate Rail (E) through Gate Posts (F).
- Align pre-drilled screw holes.
Step 8
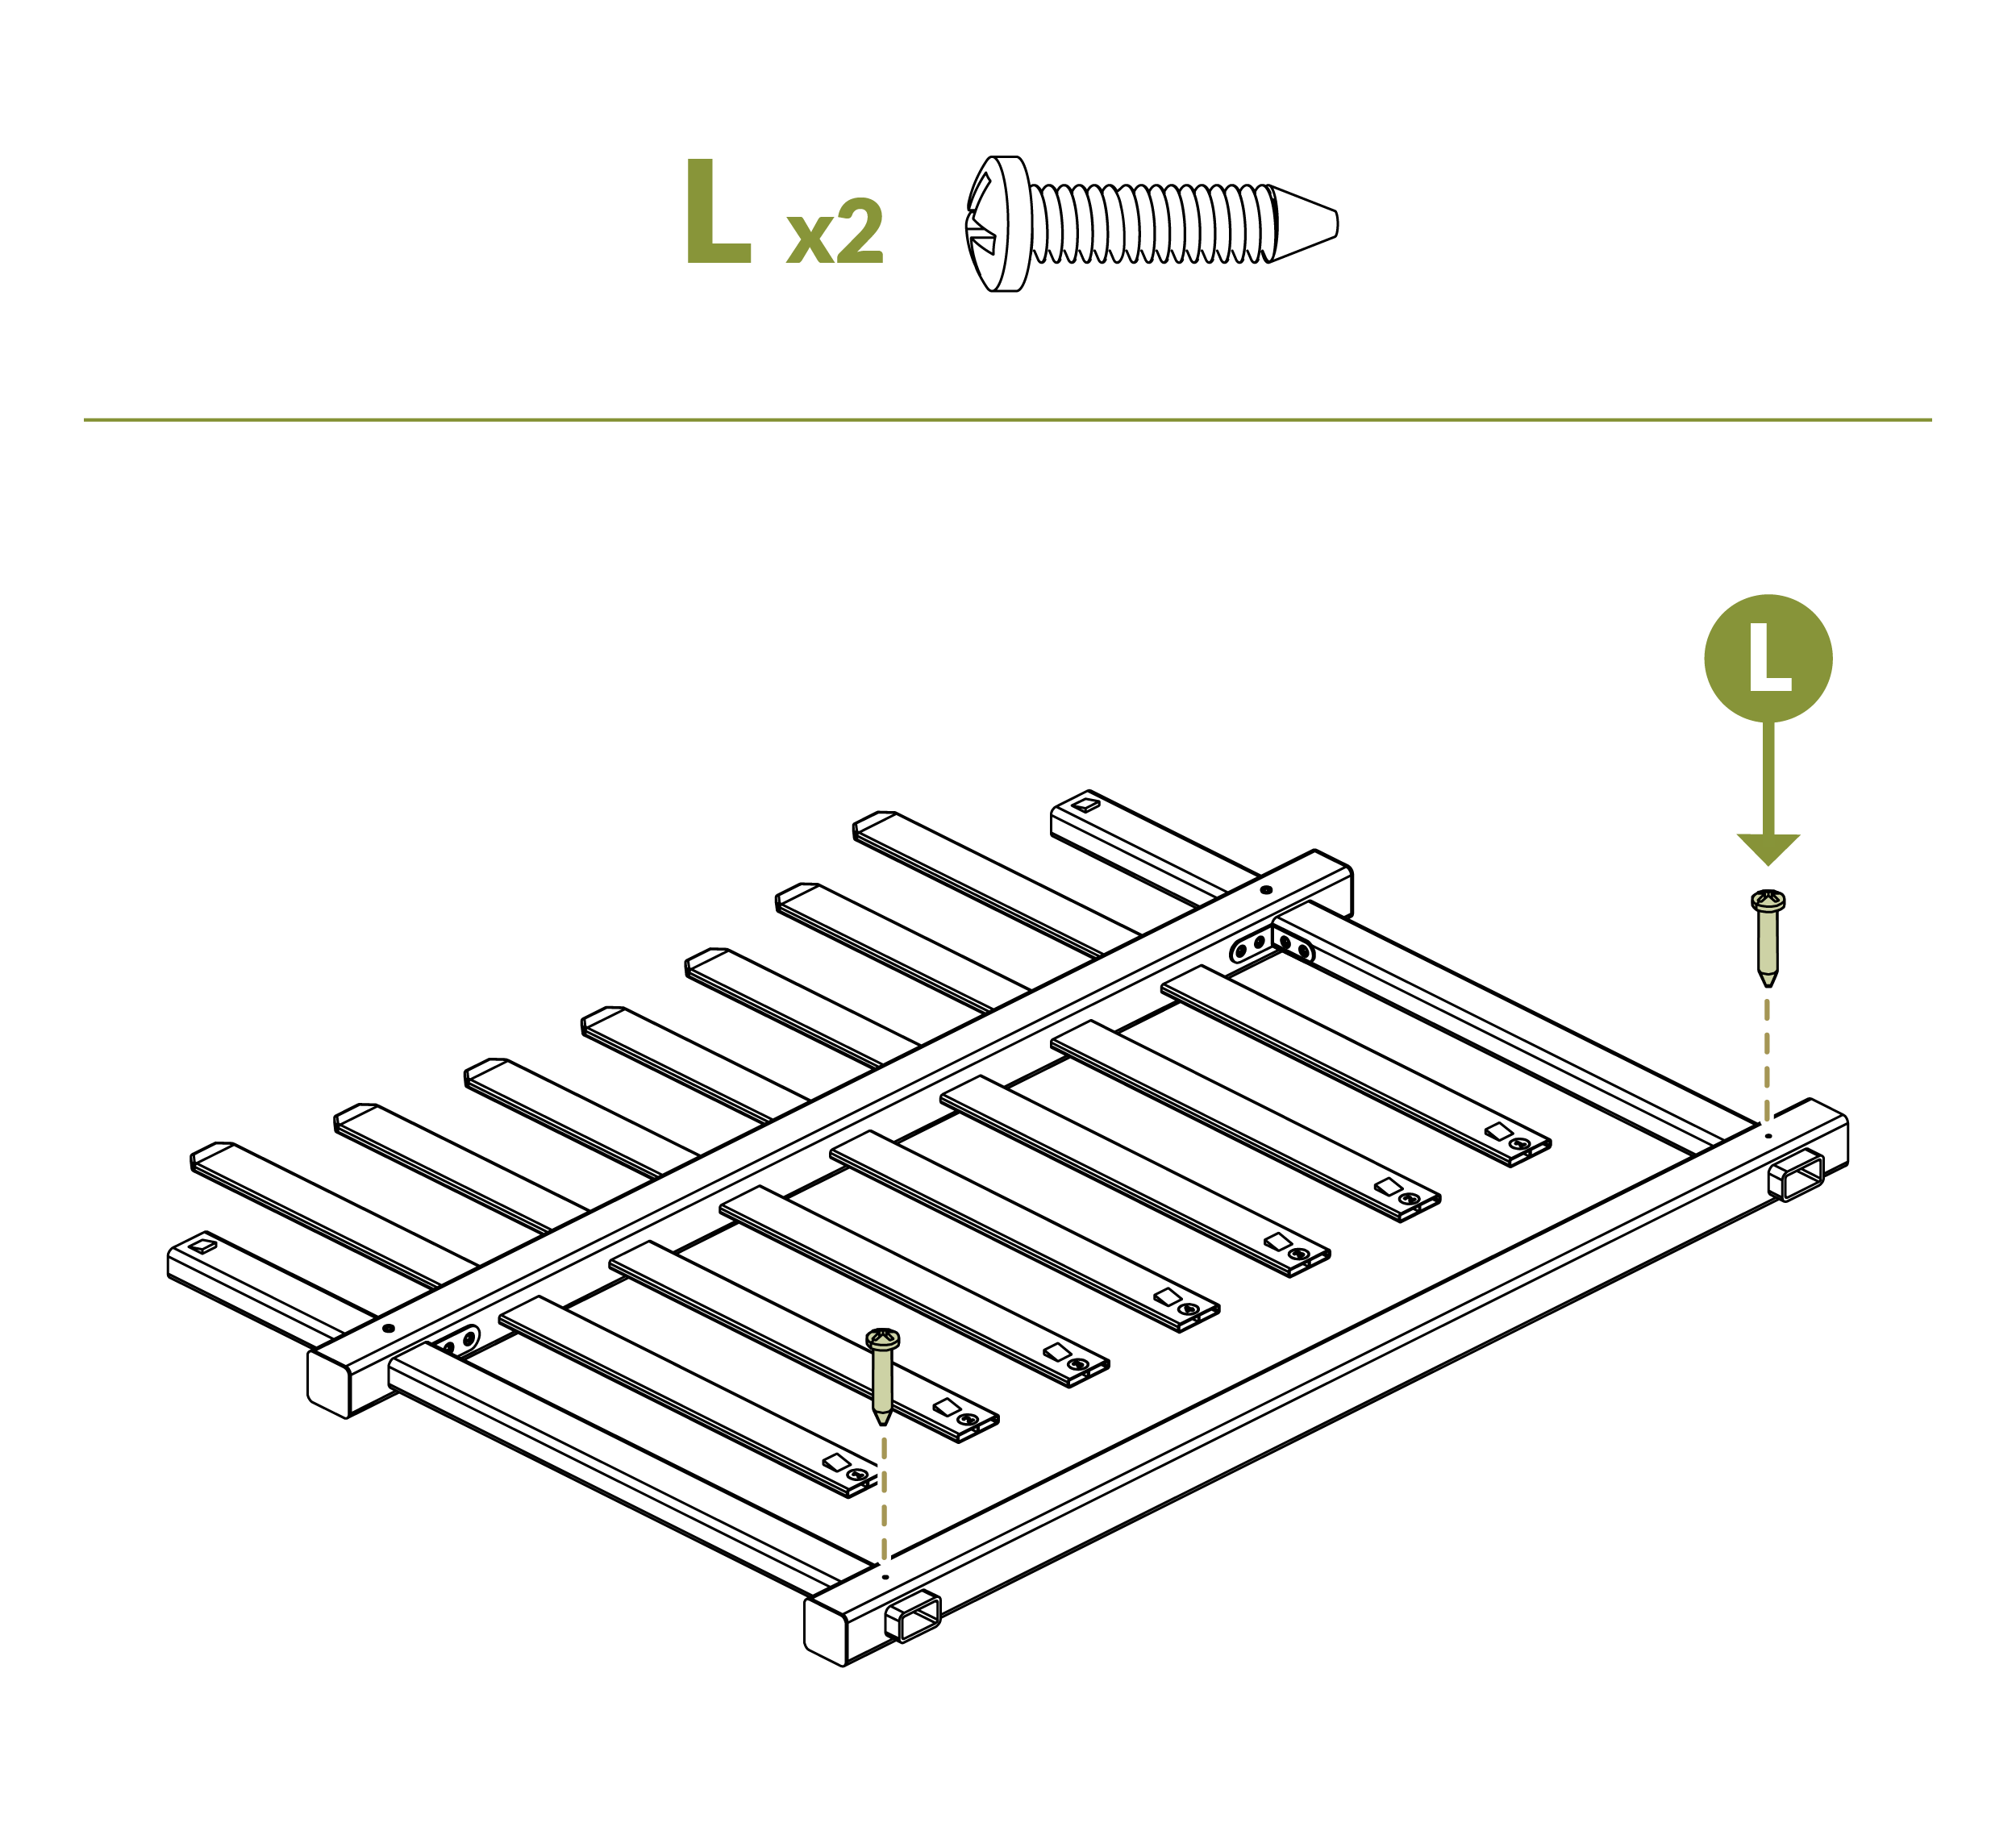
- Insert (2) ¾” Self-Tapping Stainless Steel Screws (L) into pre-drilled holes to secure Bottom Gate Rail (E).
Step 9
- Attach (2) Corner Brackets (I) with (8) ¾” Self-Tapping Stainless Steel Screws (L) to Bottom Gate Rail (E).
Step 10
- Fully insert each Picket (H) into the slots on the Bottom Gate Rail (E).
- It will take a bit of force to get the tab at the bottom of the picket into the rail as it will be a tight fit.
Step 11
- Flip gate over 180 degrees.
Step 12
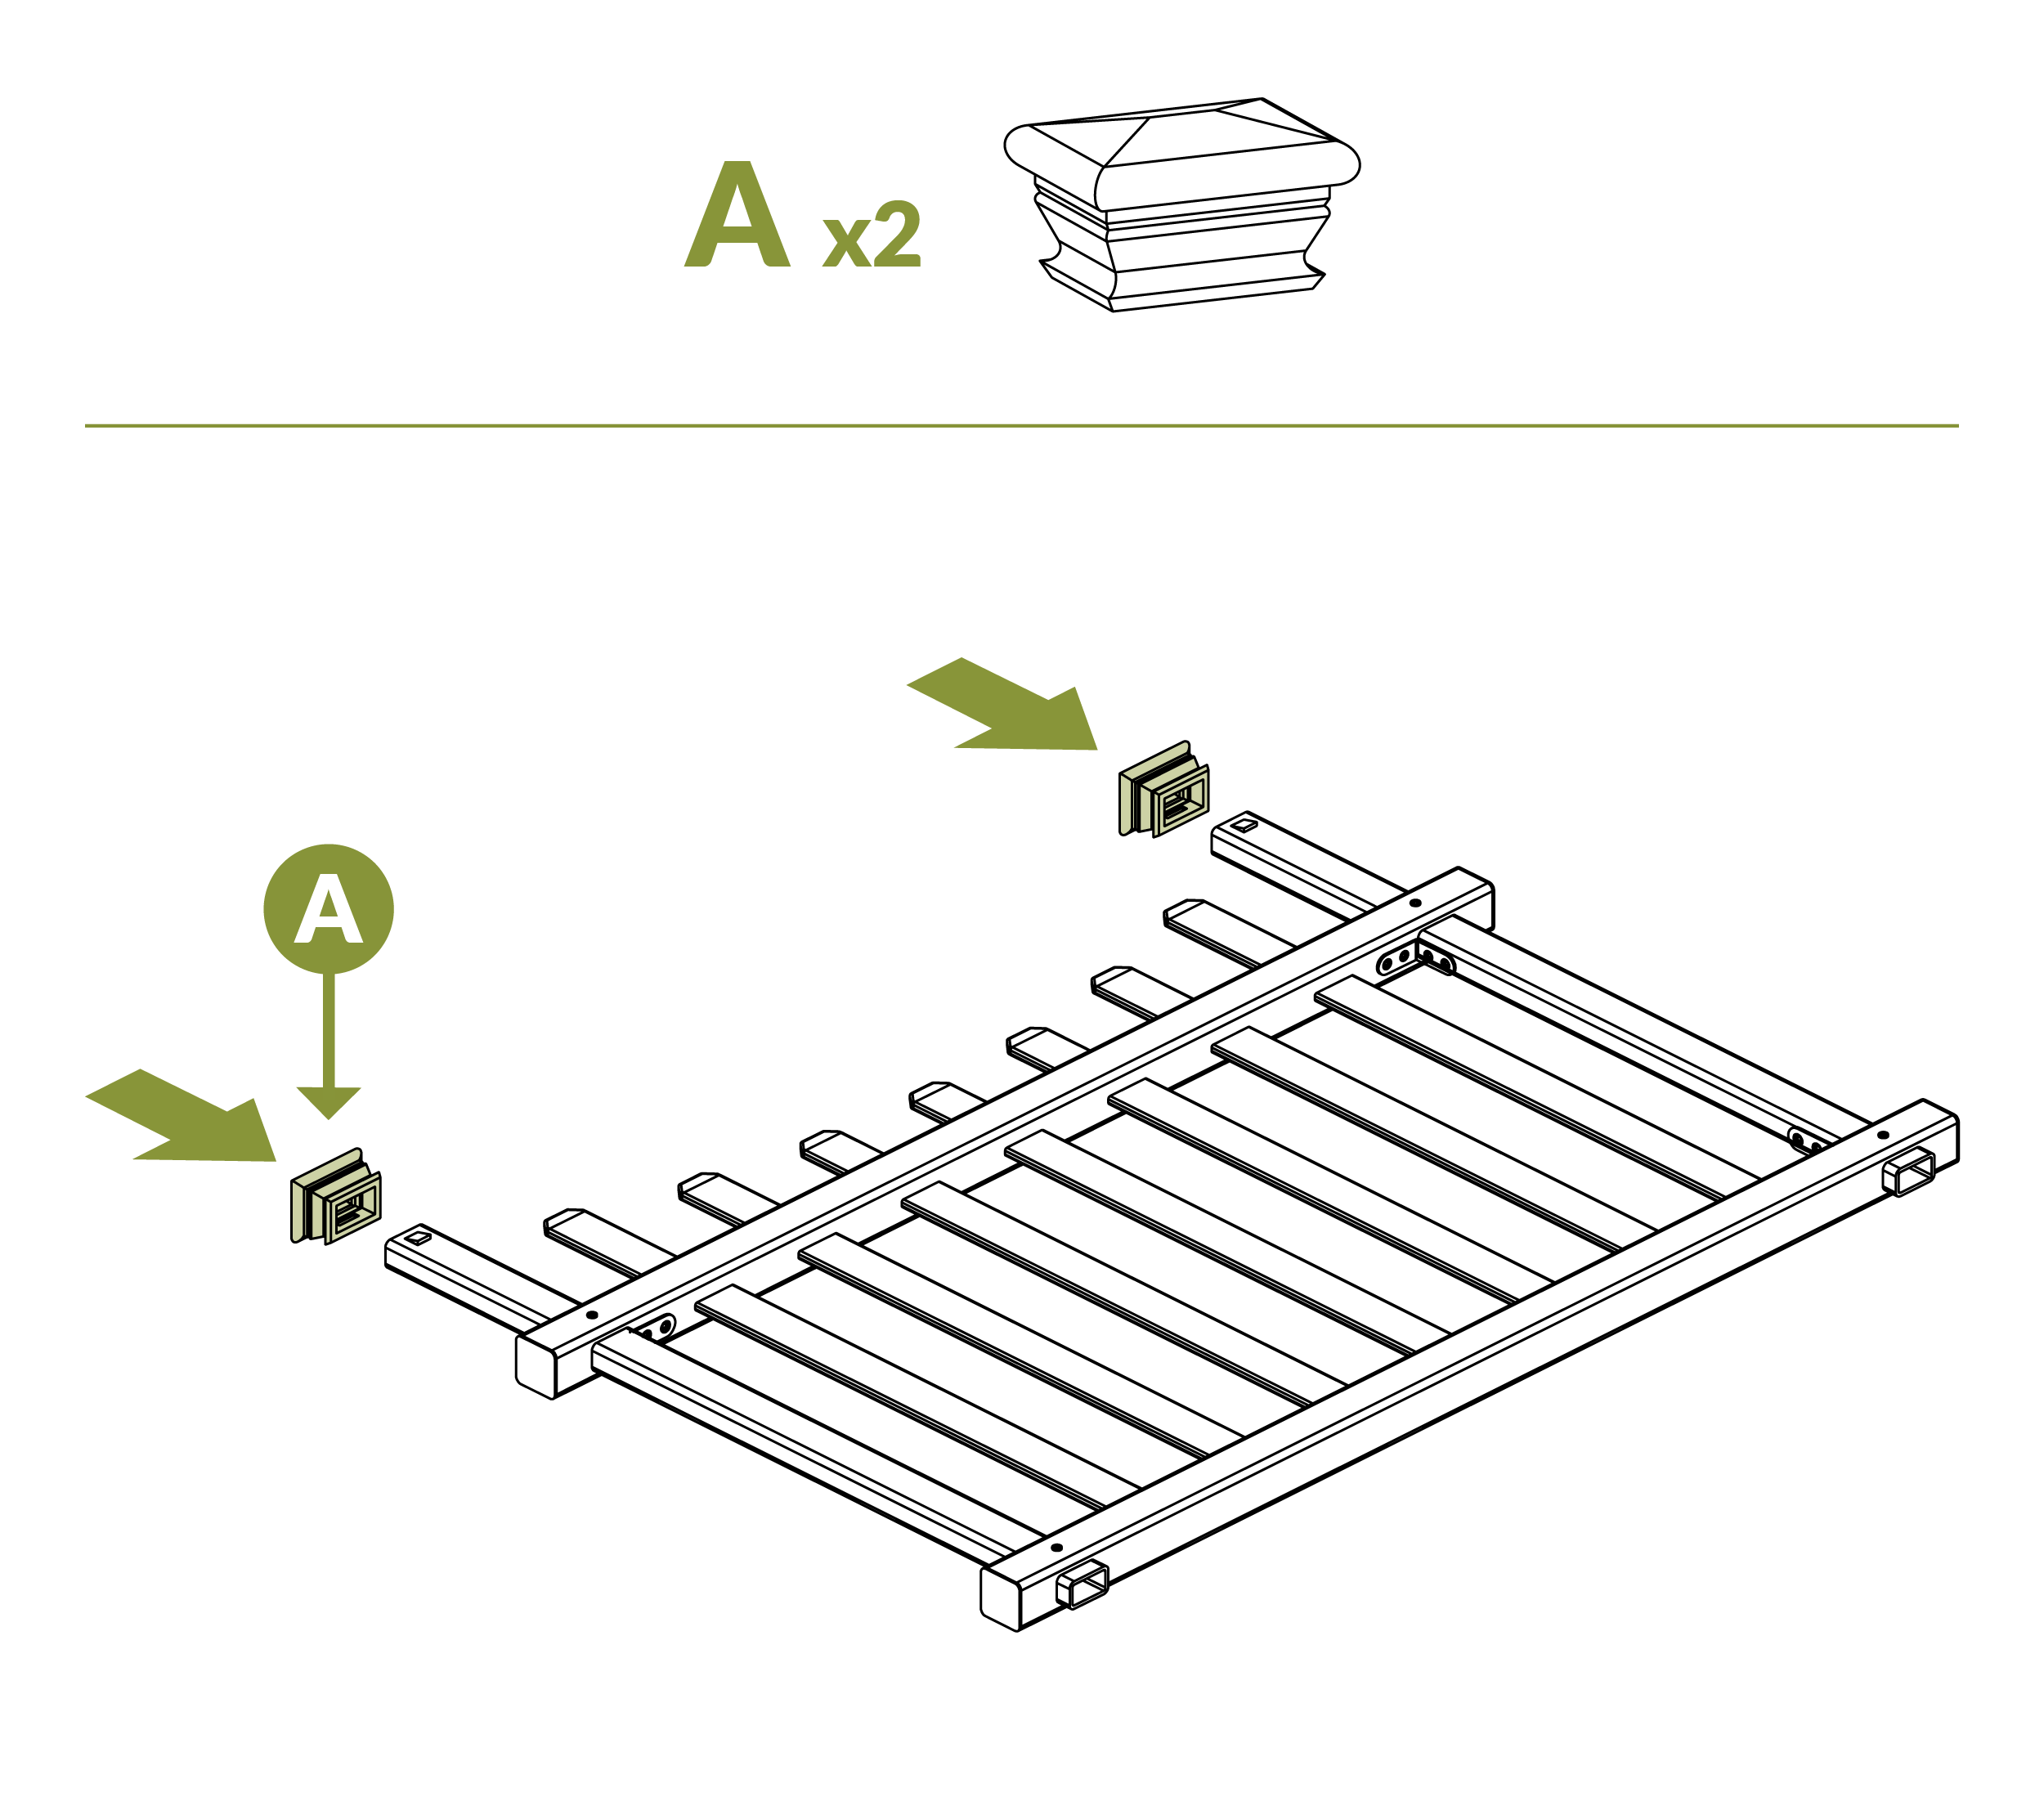
- Insert (2) Post Caps (A) on to Gate Posts (F).
Step 13
- Use the (2) Gate Hinges (J) as a template to drill holes for screws in gate frame using the 1/16” Drill Bit (N).
Step 14
- Insert (6) ¾” Black Self-Drilling Stainless Steel Screws (O) to secure the 2 Gate Hinges (J) on the gate frame.
Step 15
- Insert (2) ¾” Self-Tapping Stainless Steel Screws (L) into pre-drilled holes on latch side of gate.
Step 16
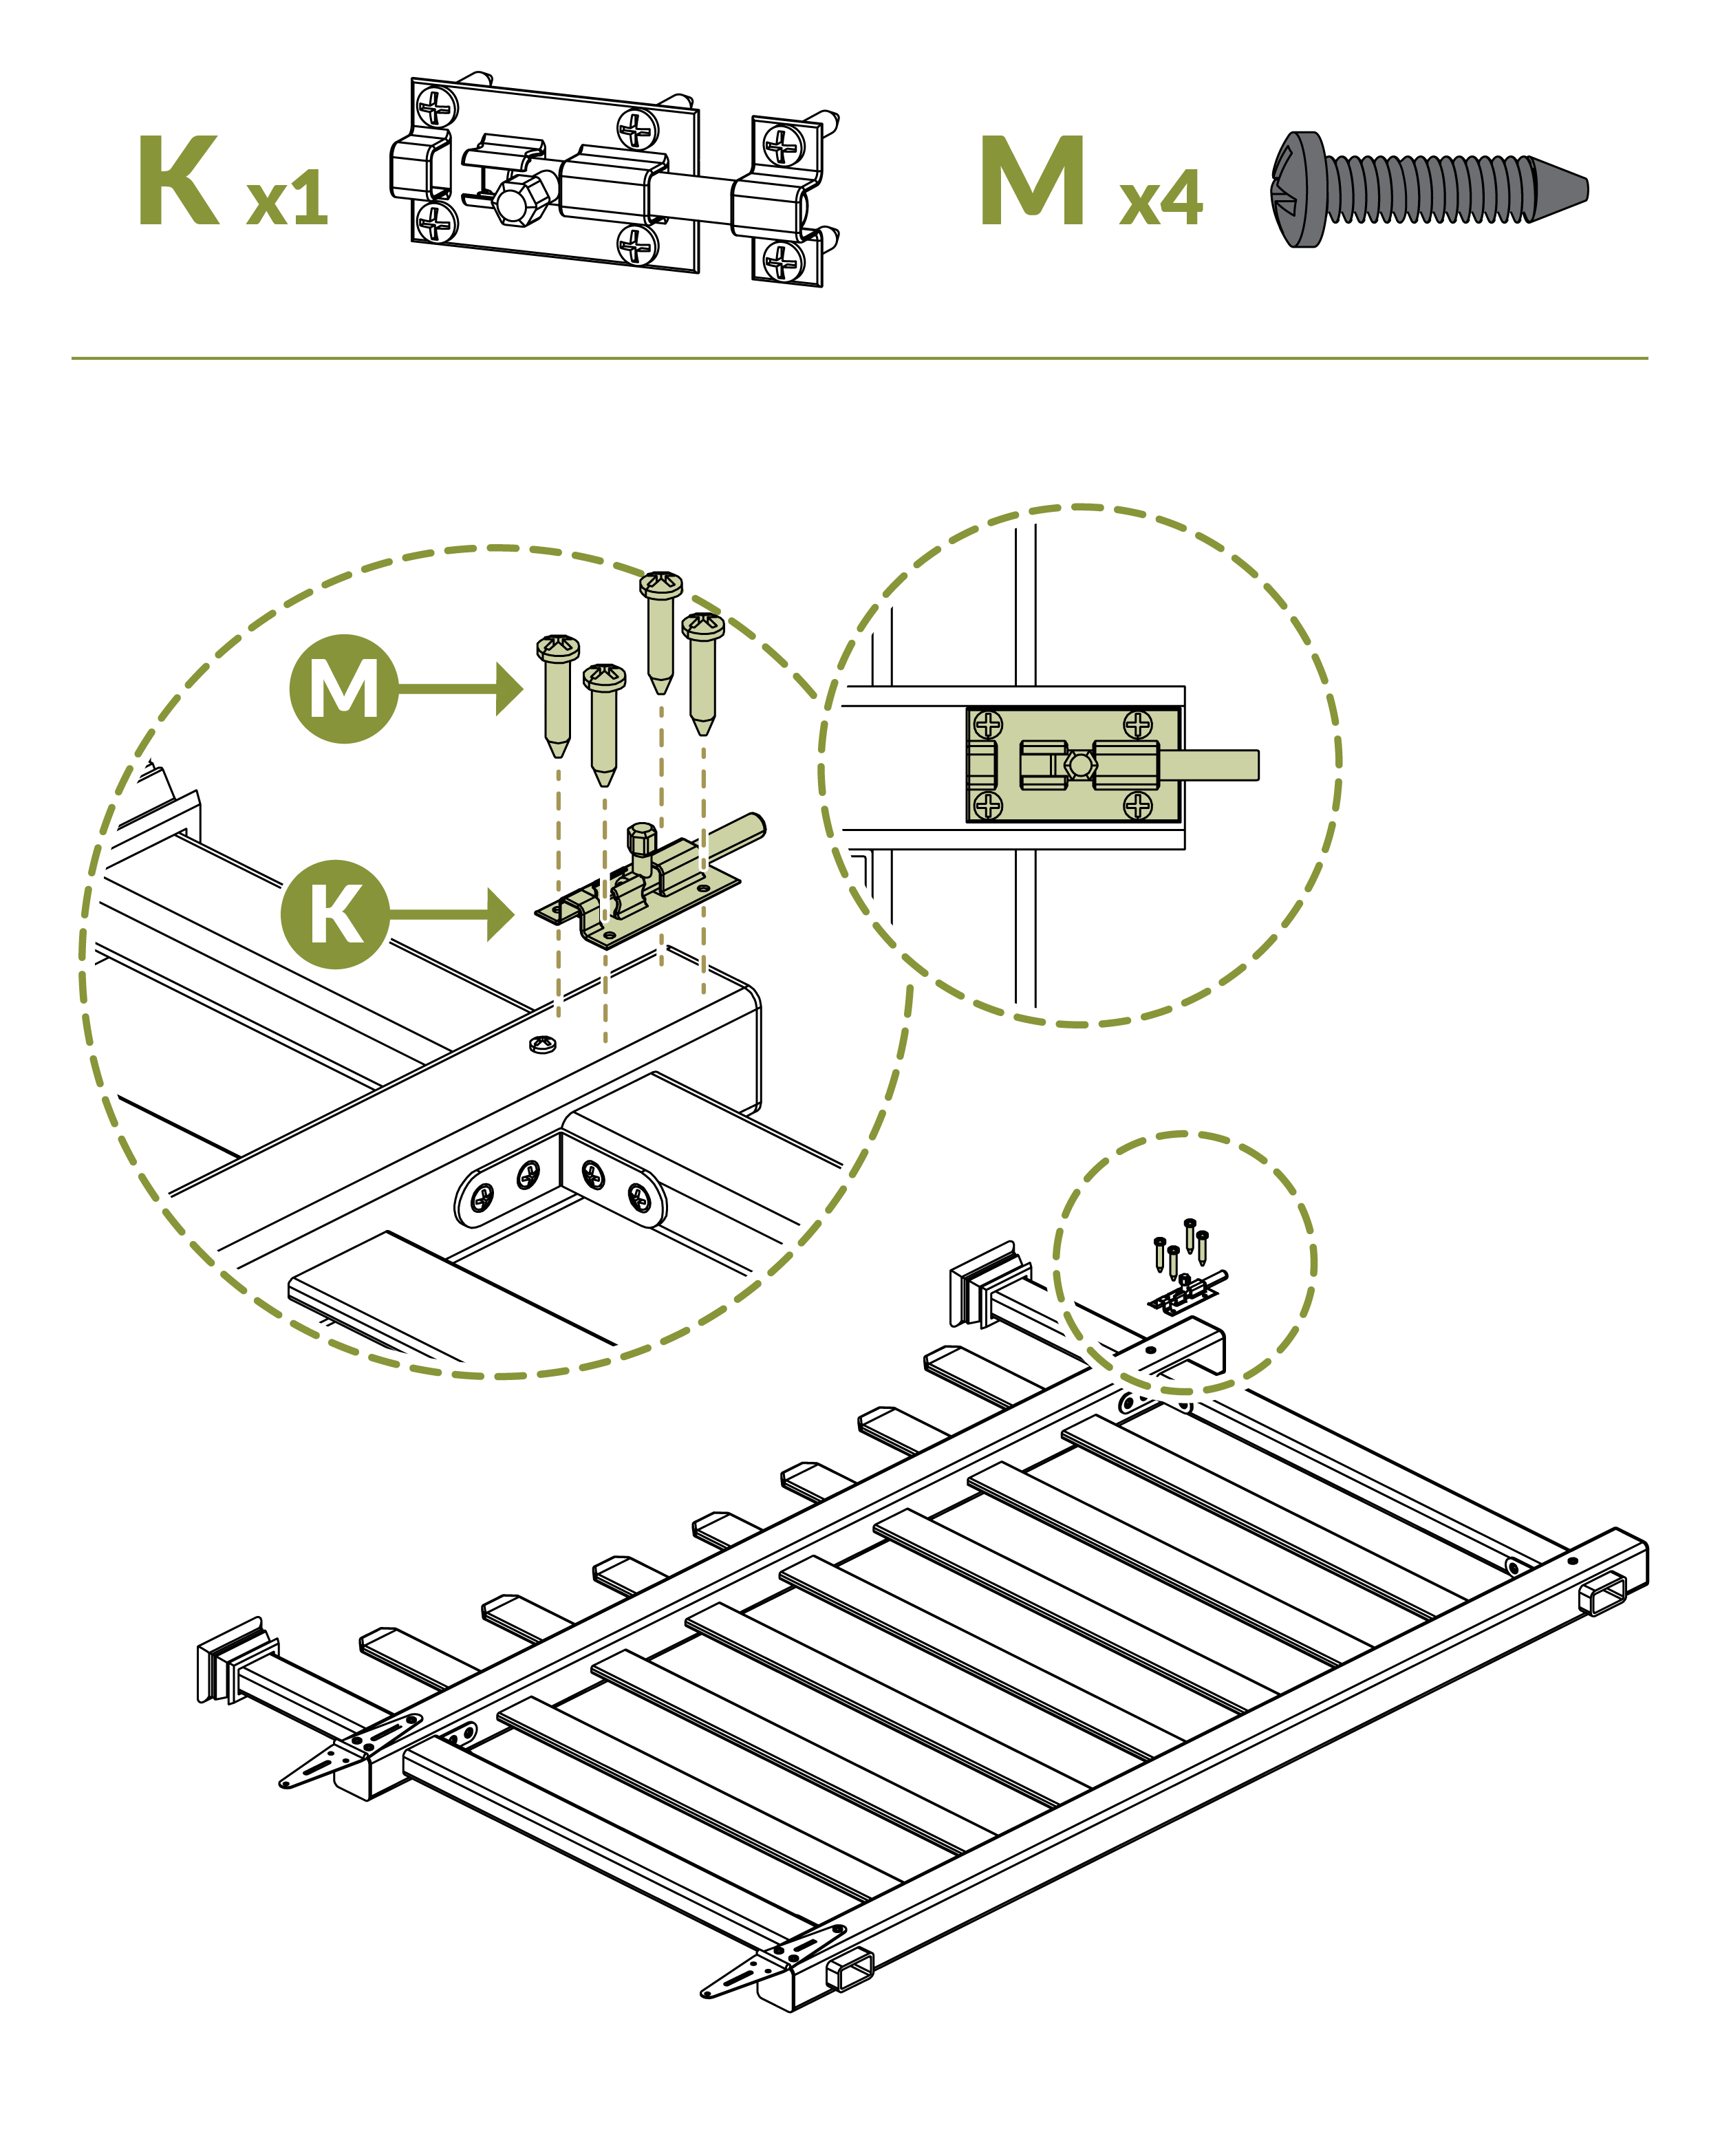
- Install Gate Latch (K) using (4) 1/8” Black Self-Drilling Stainless Steel Screws (M).
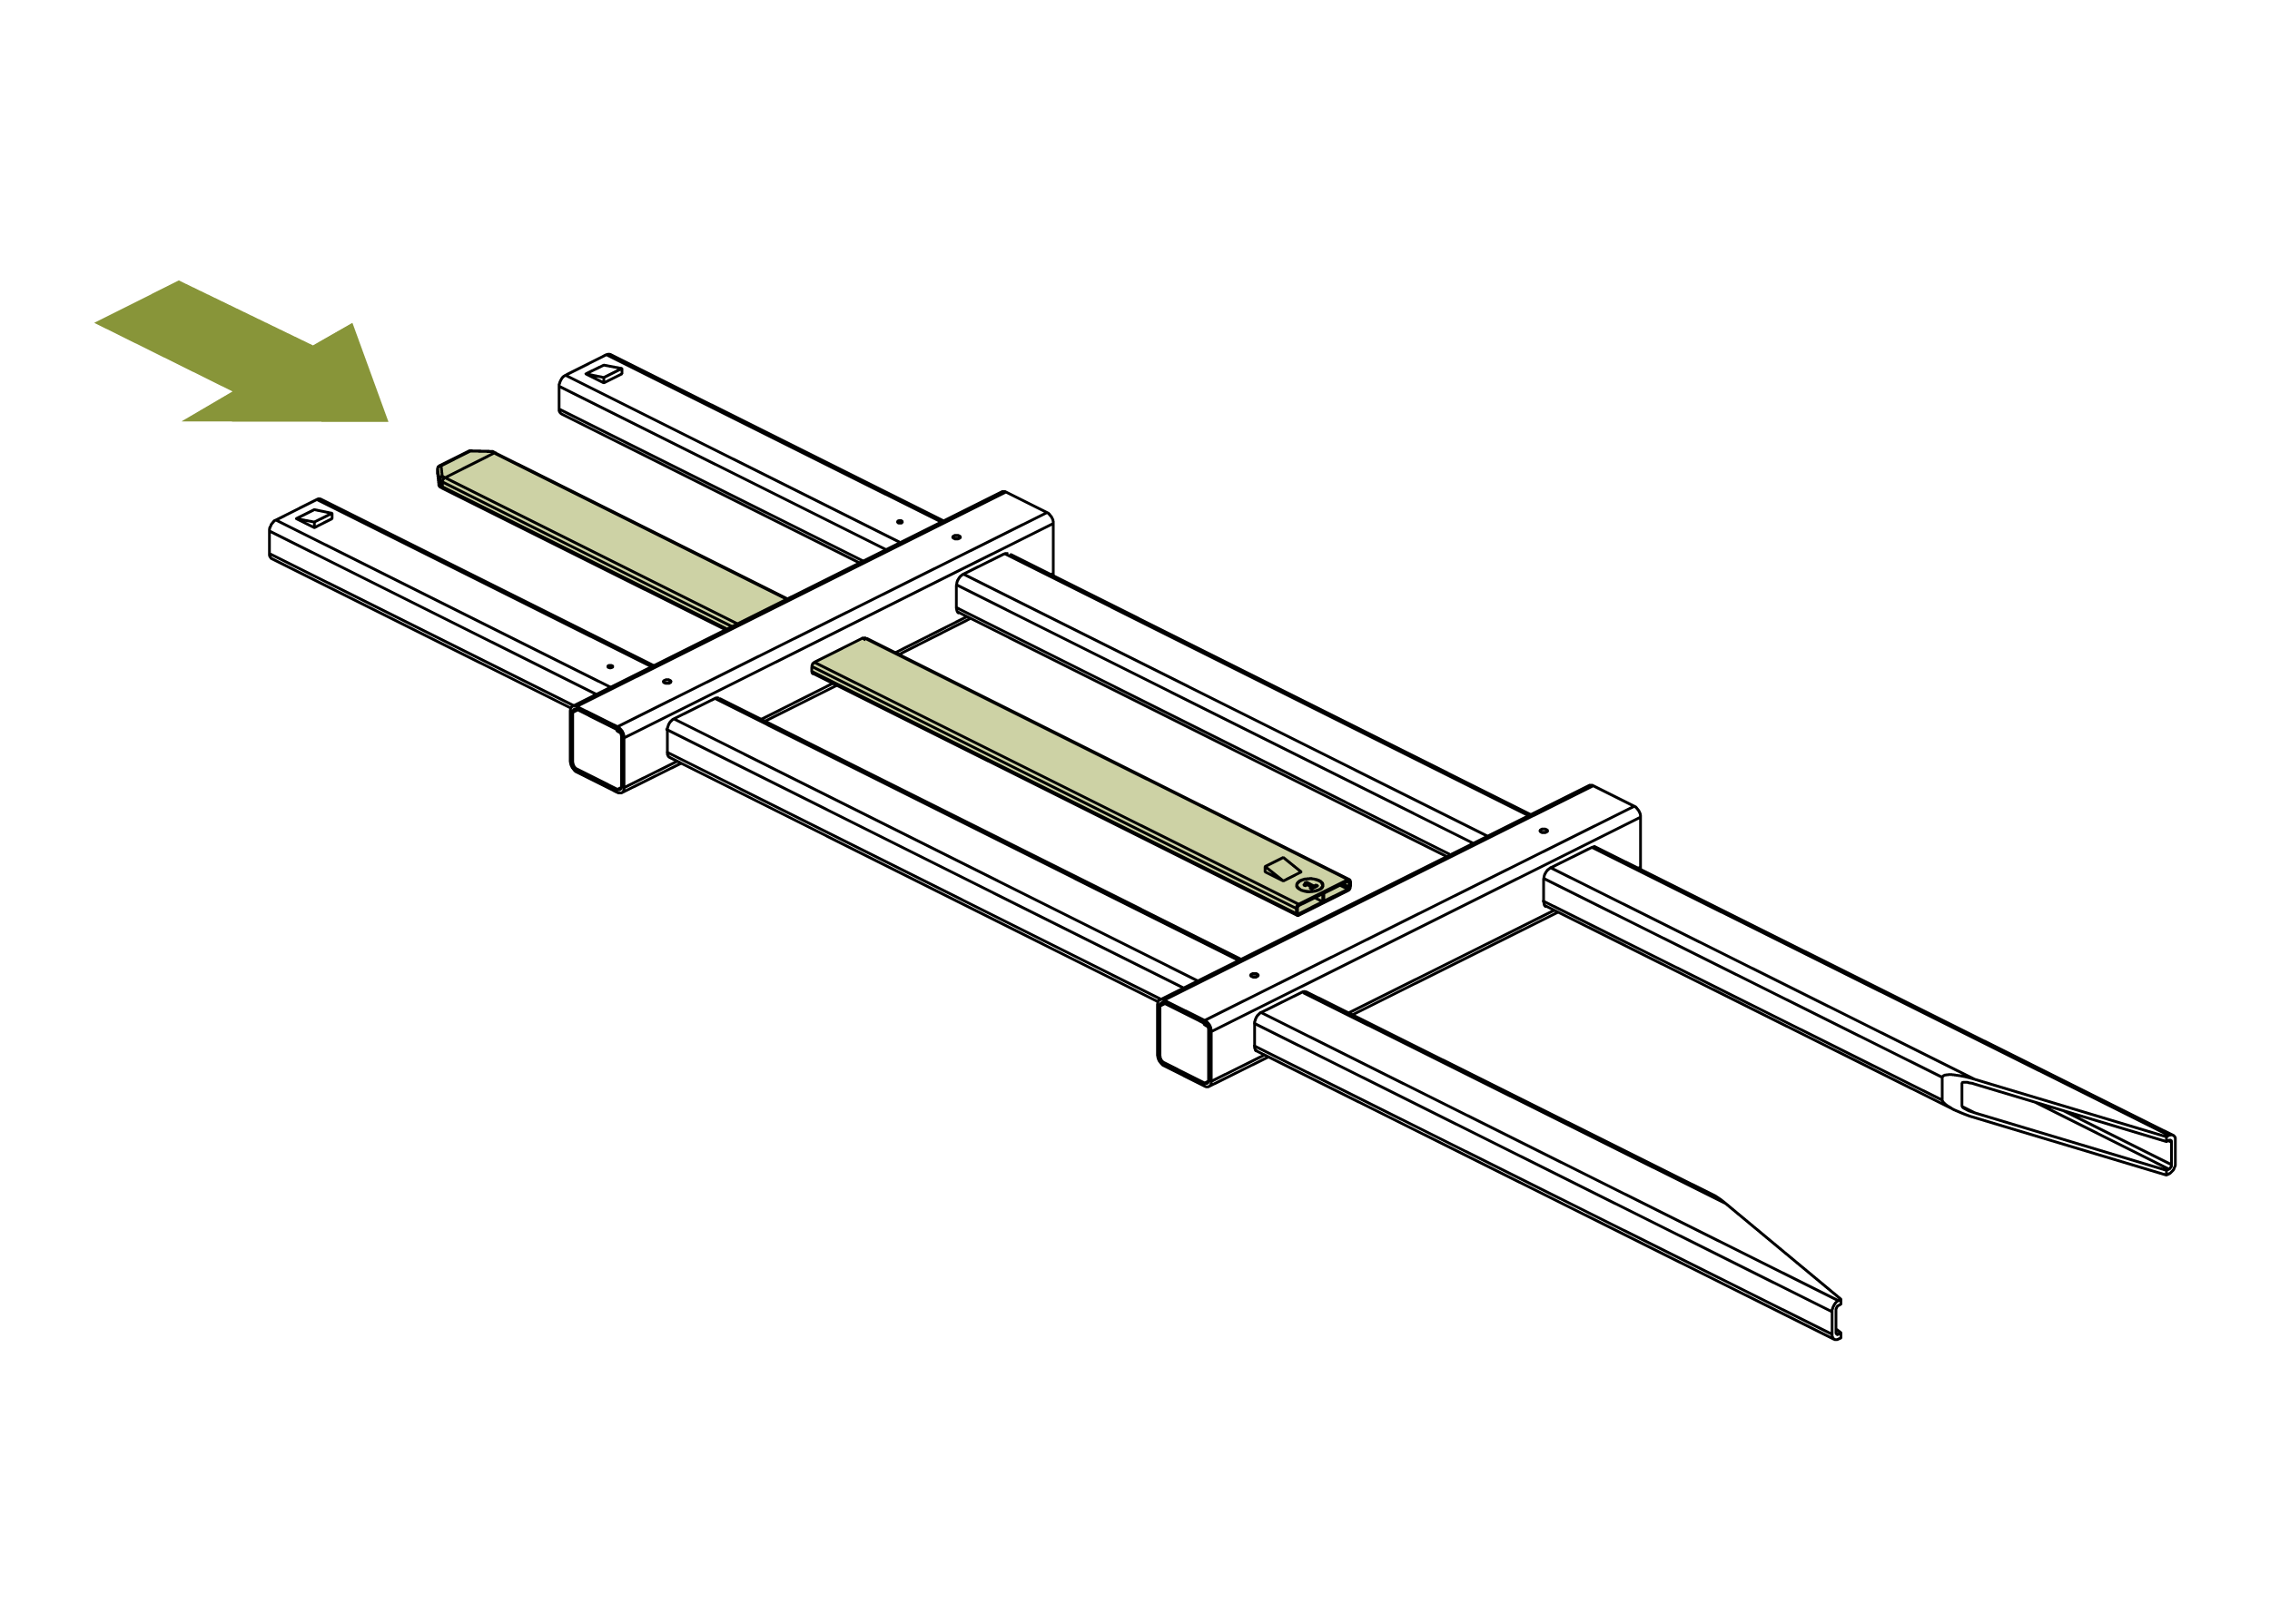
Step 17: Assemble Posts
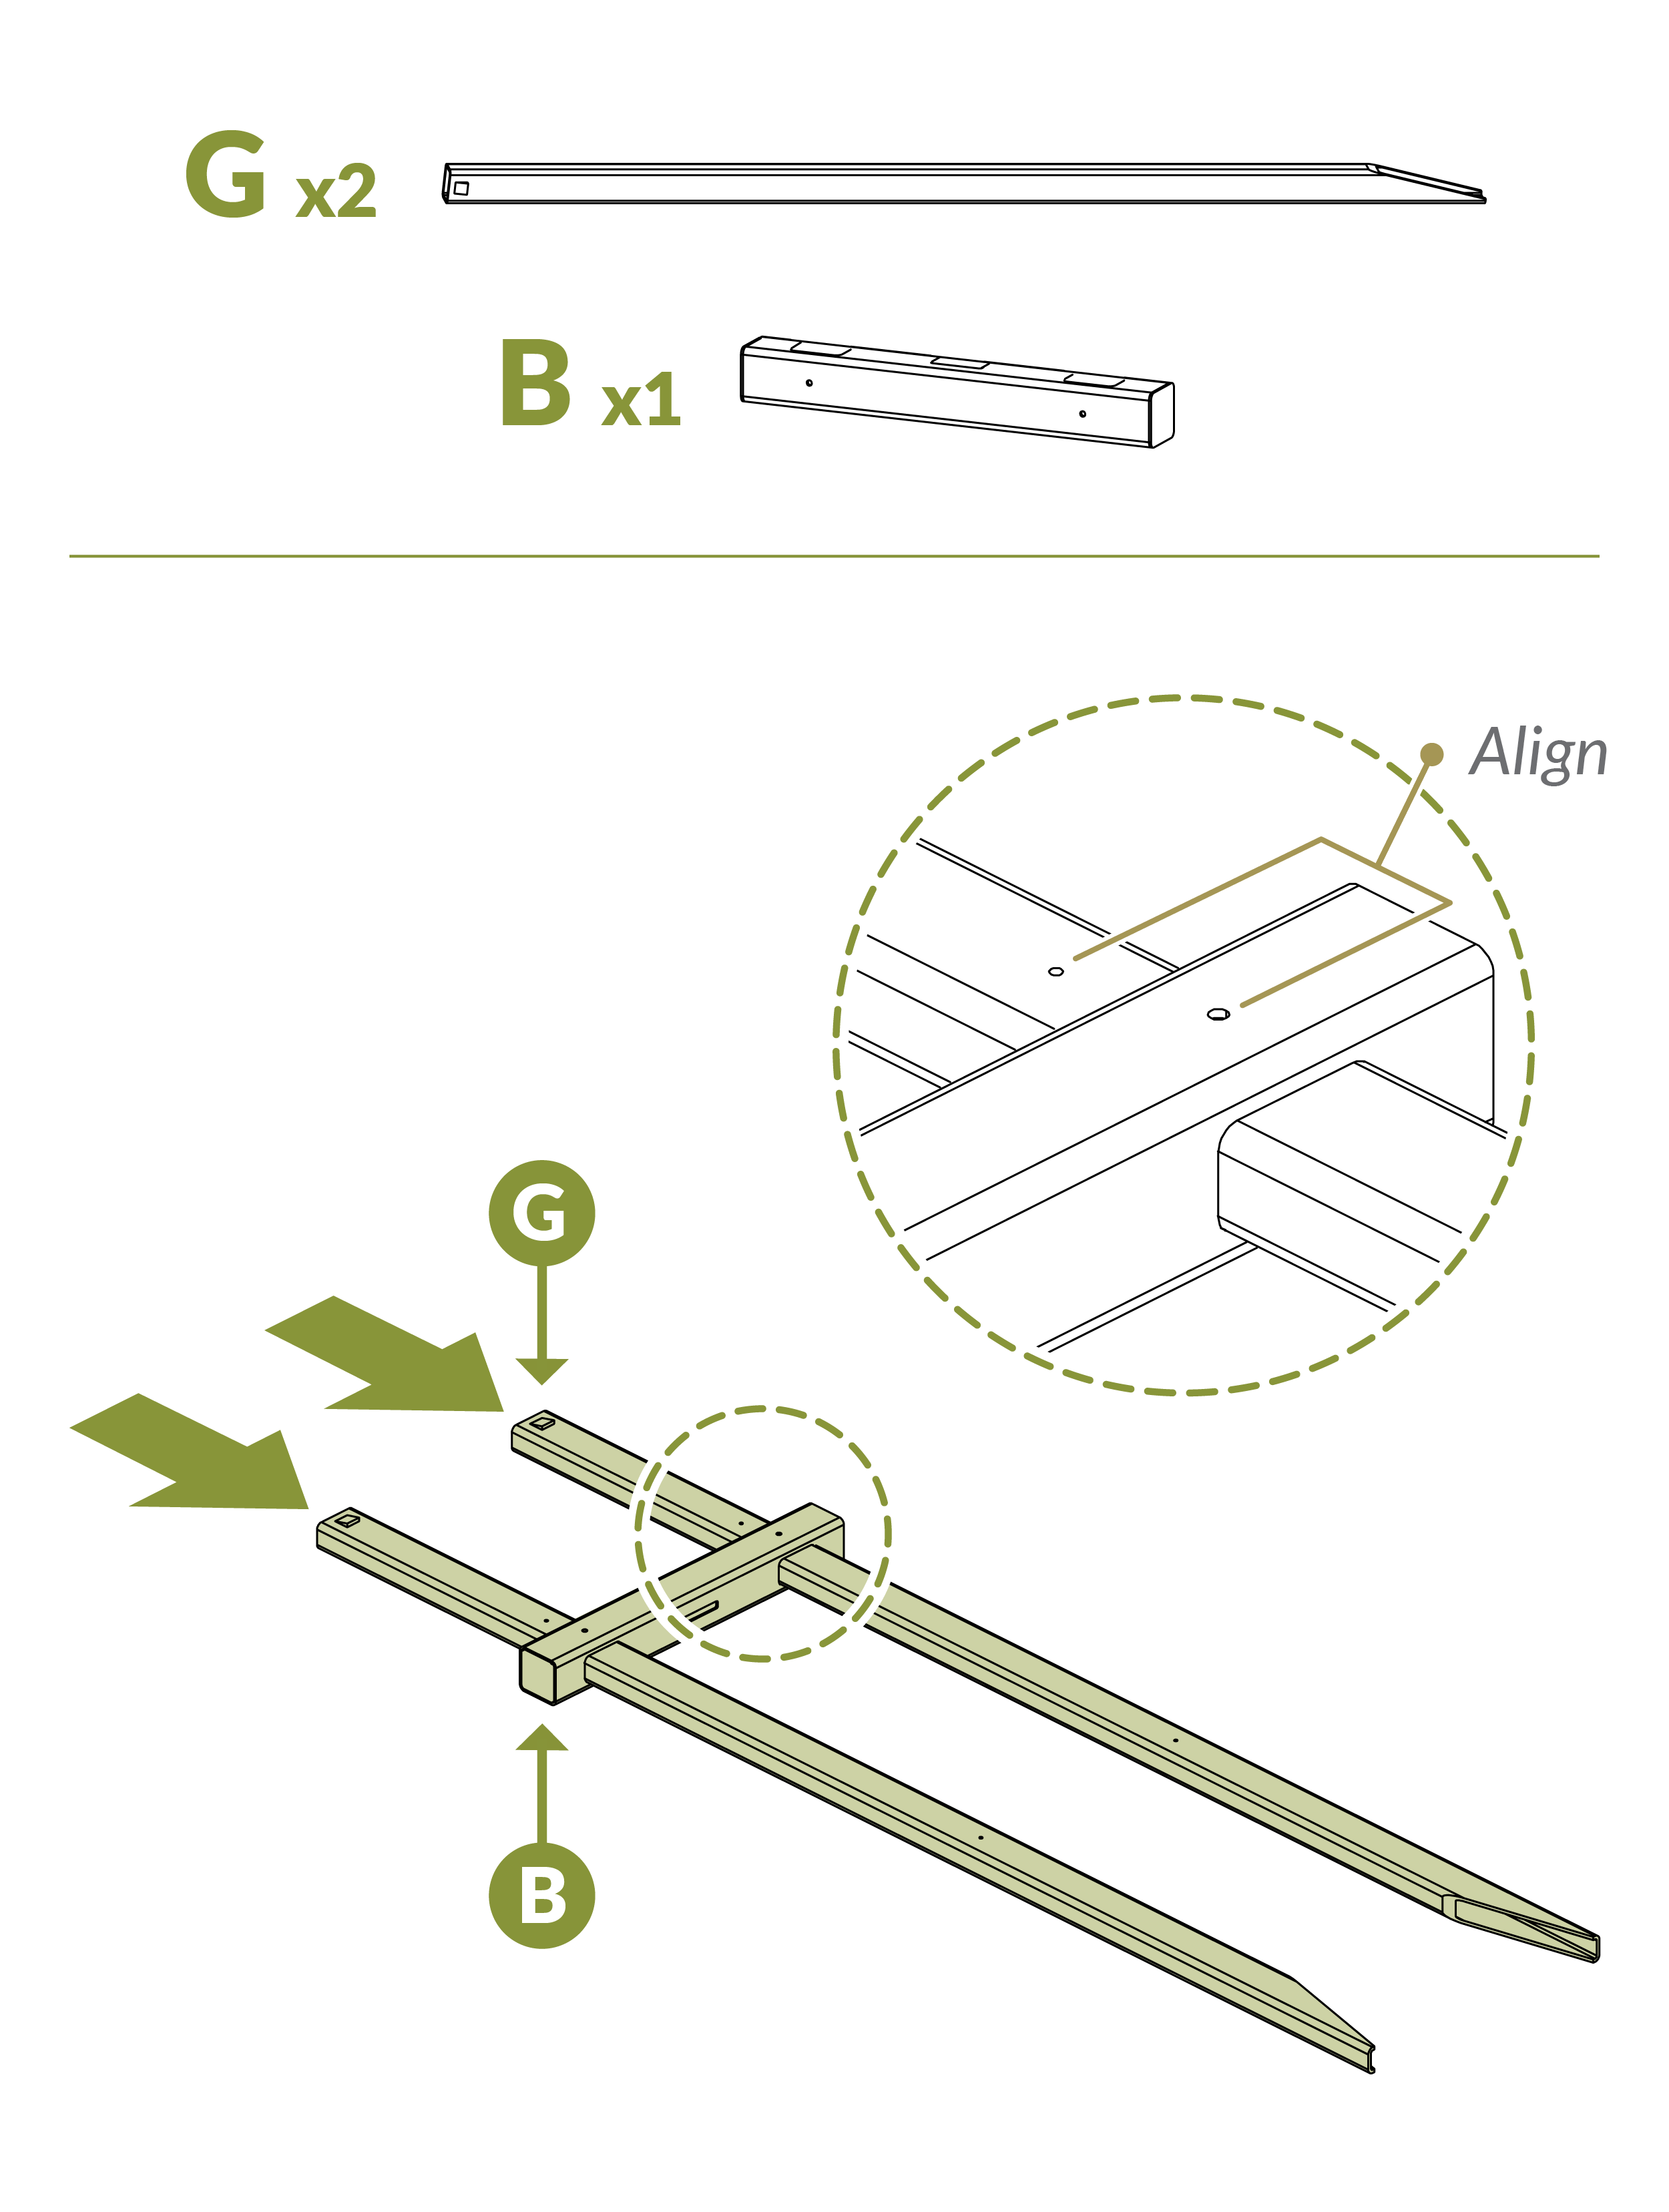
- Insert (2) Posts (G) into Top Rail (B).
Step 18
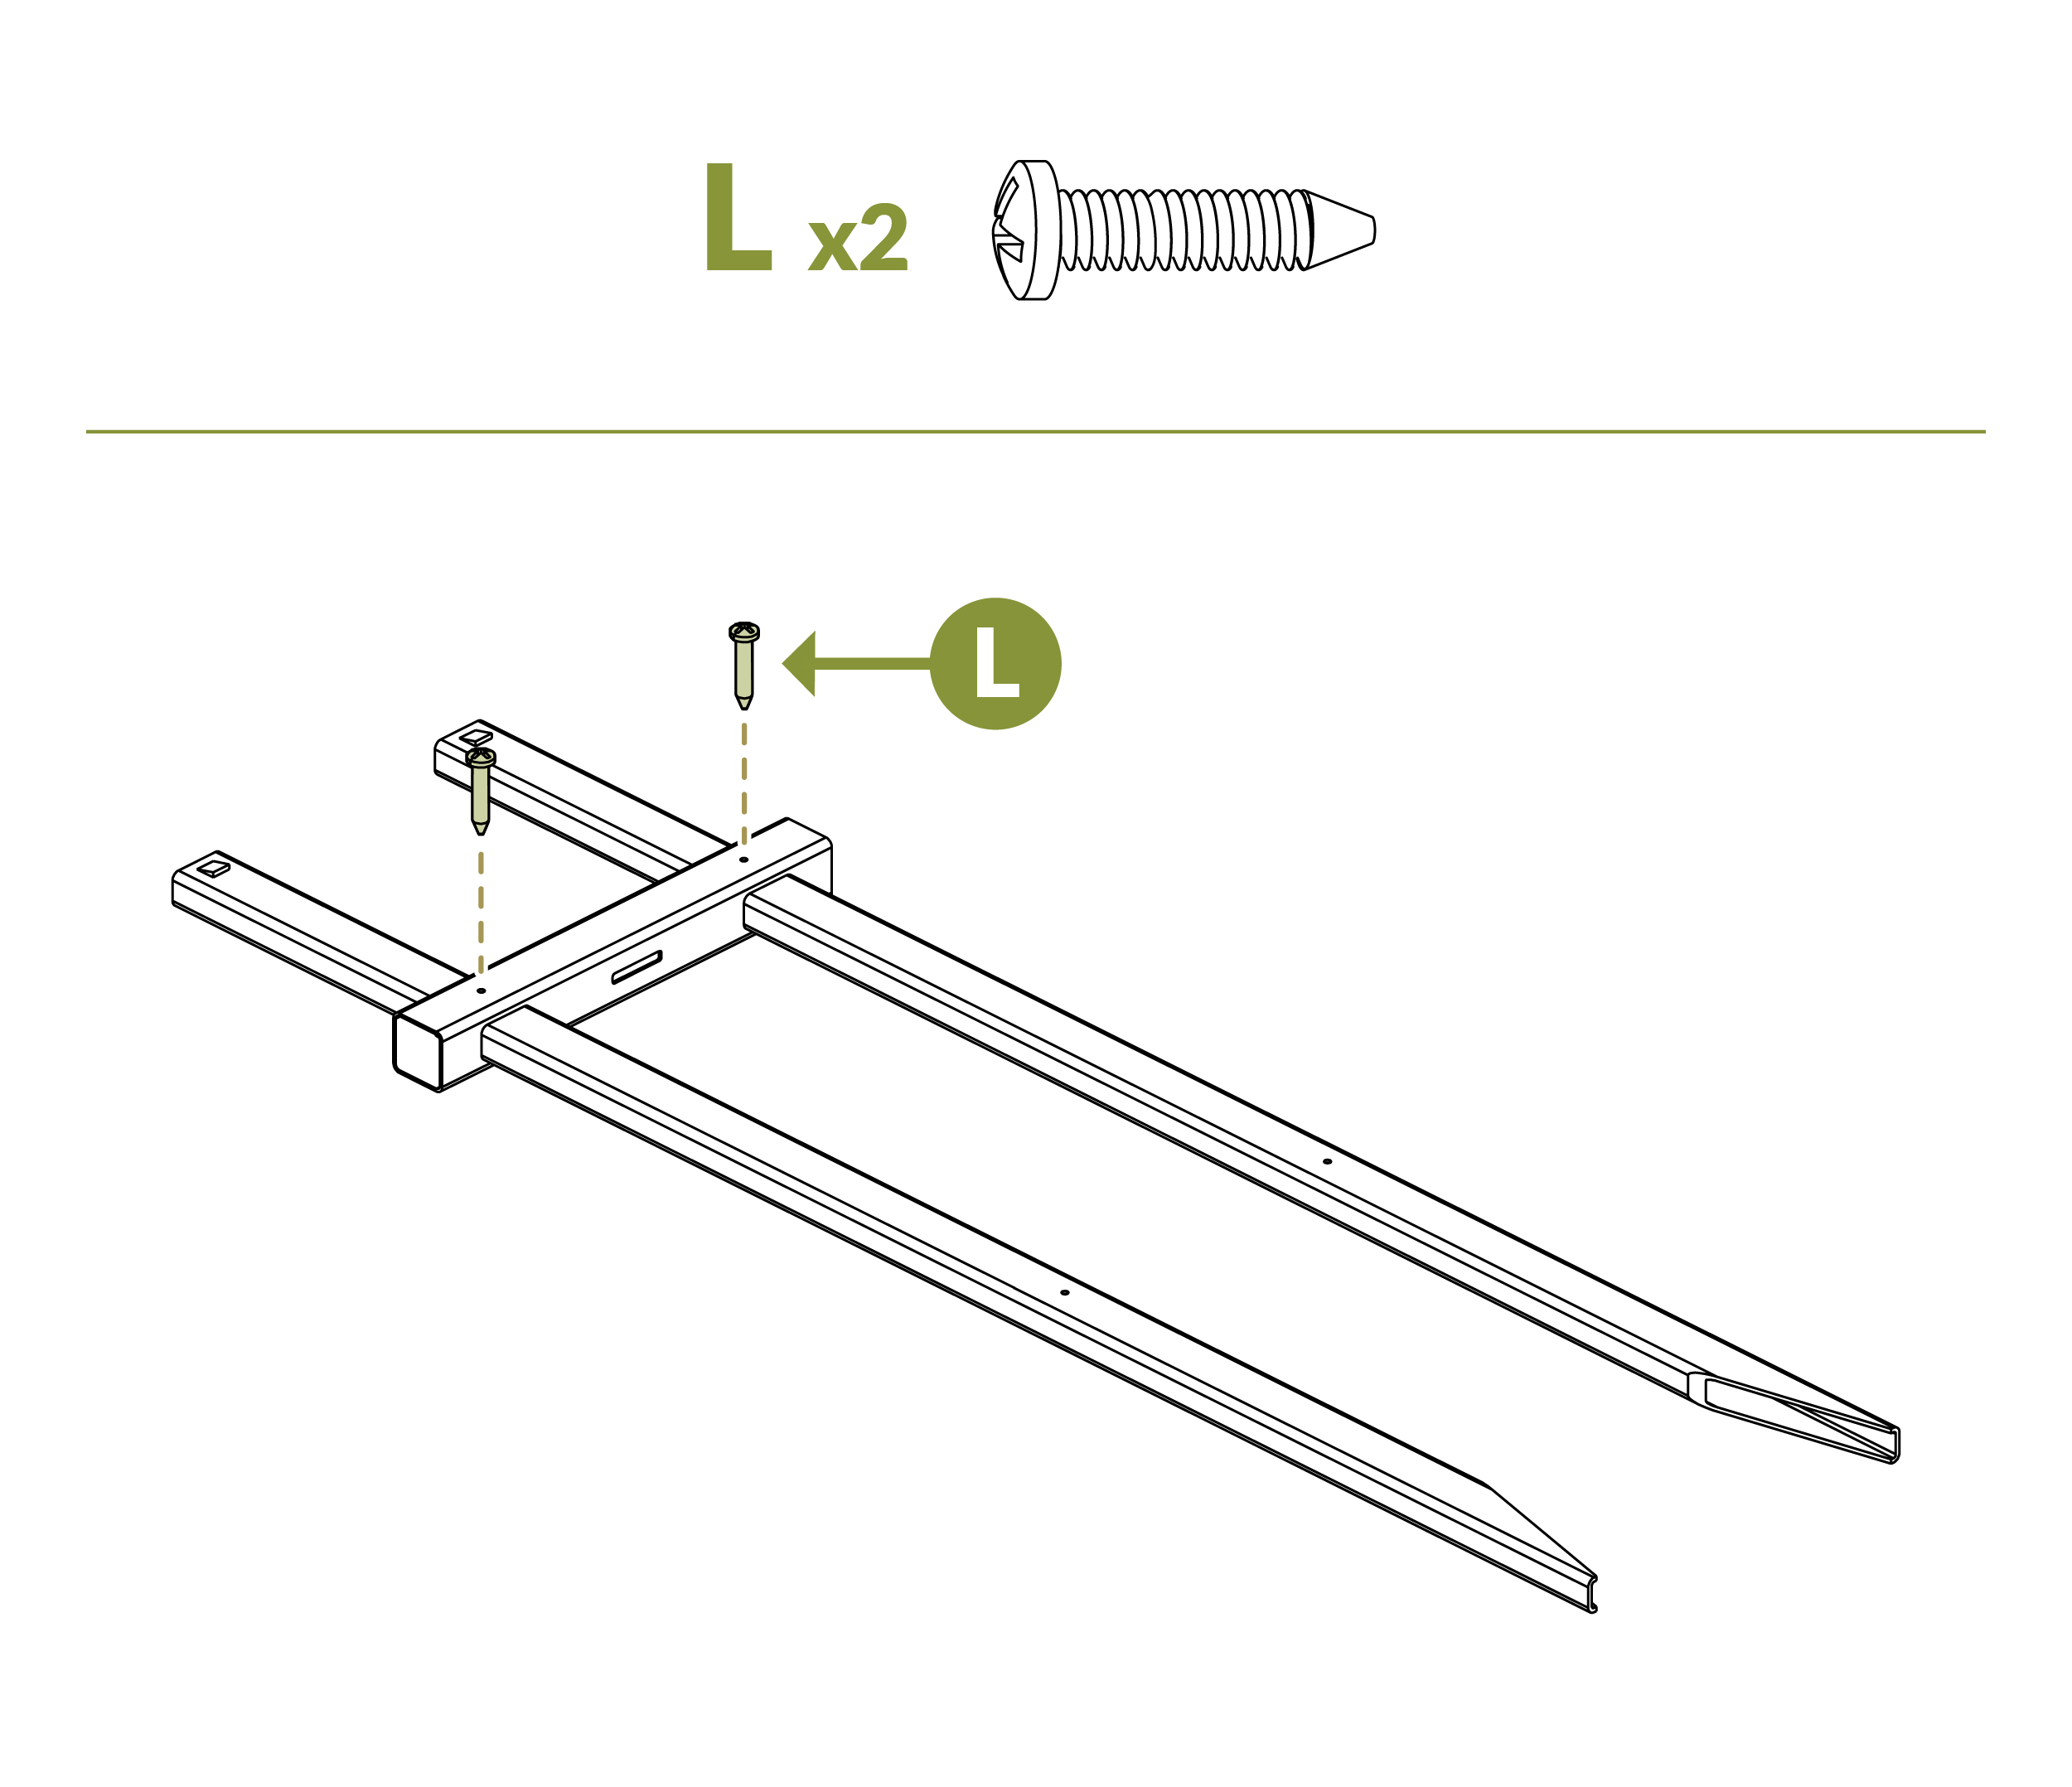
- Insert (2) ¾” Self-Tapping Stainless Steel Screws (L) into pre-drilled holes on Top Rail (B).
Step 19
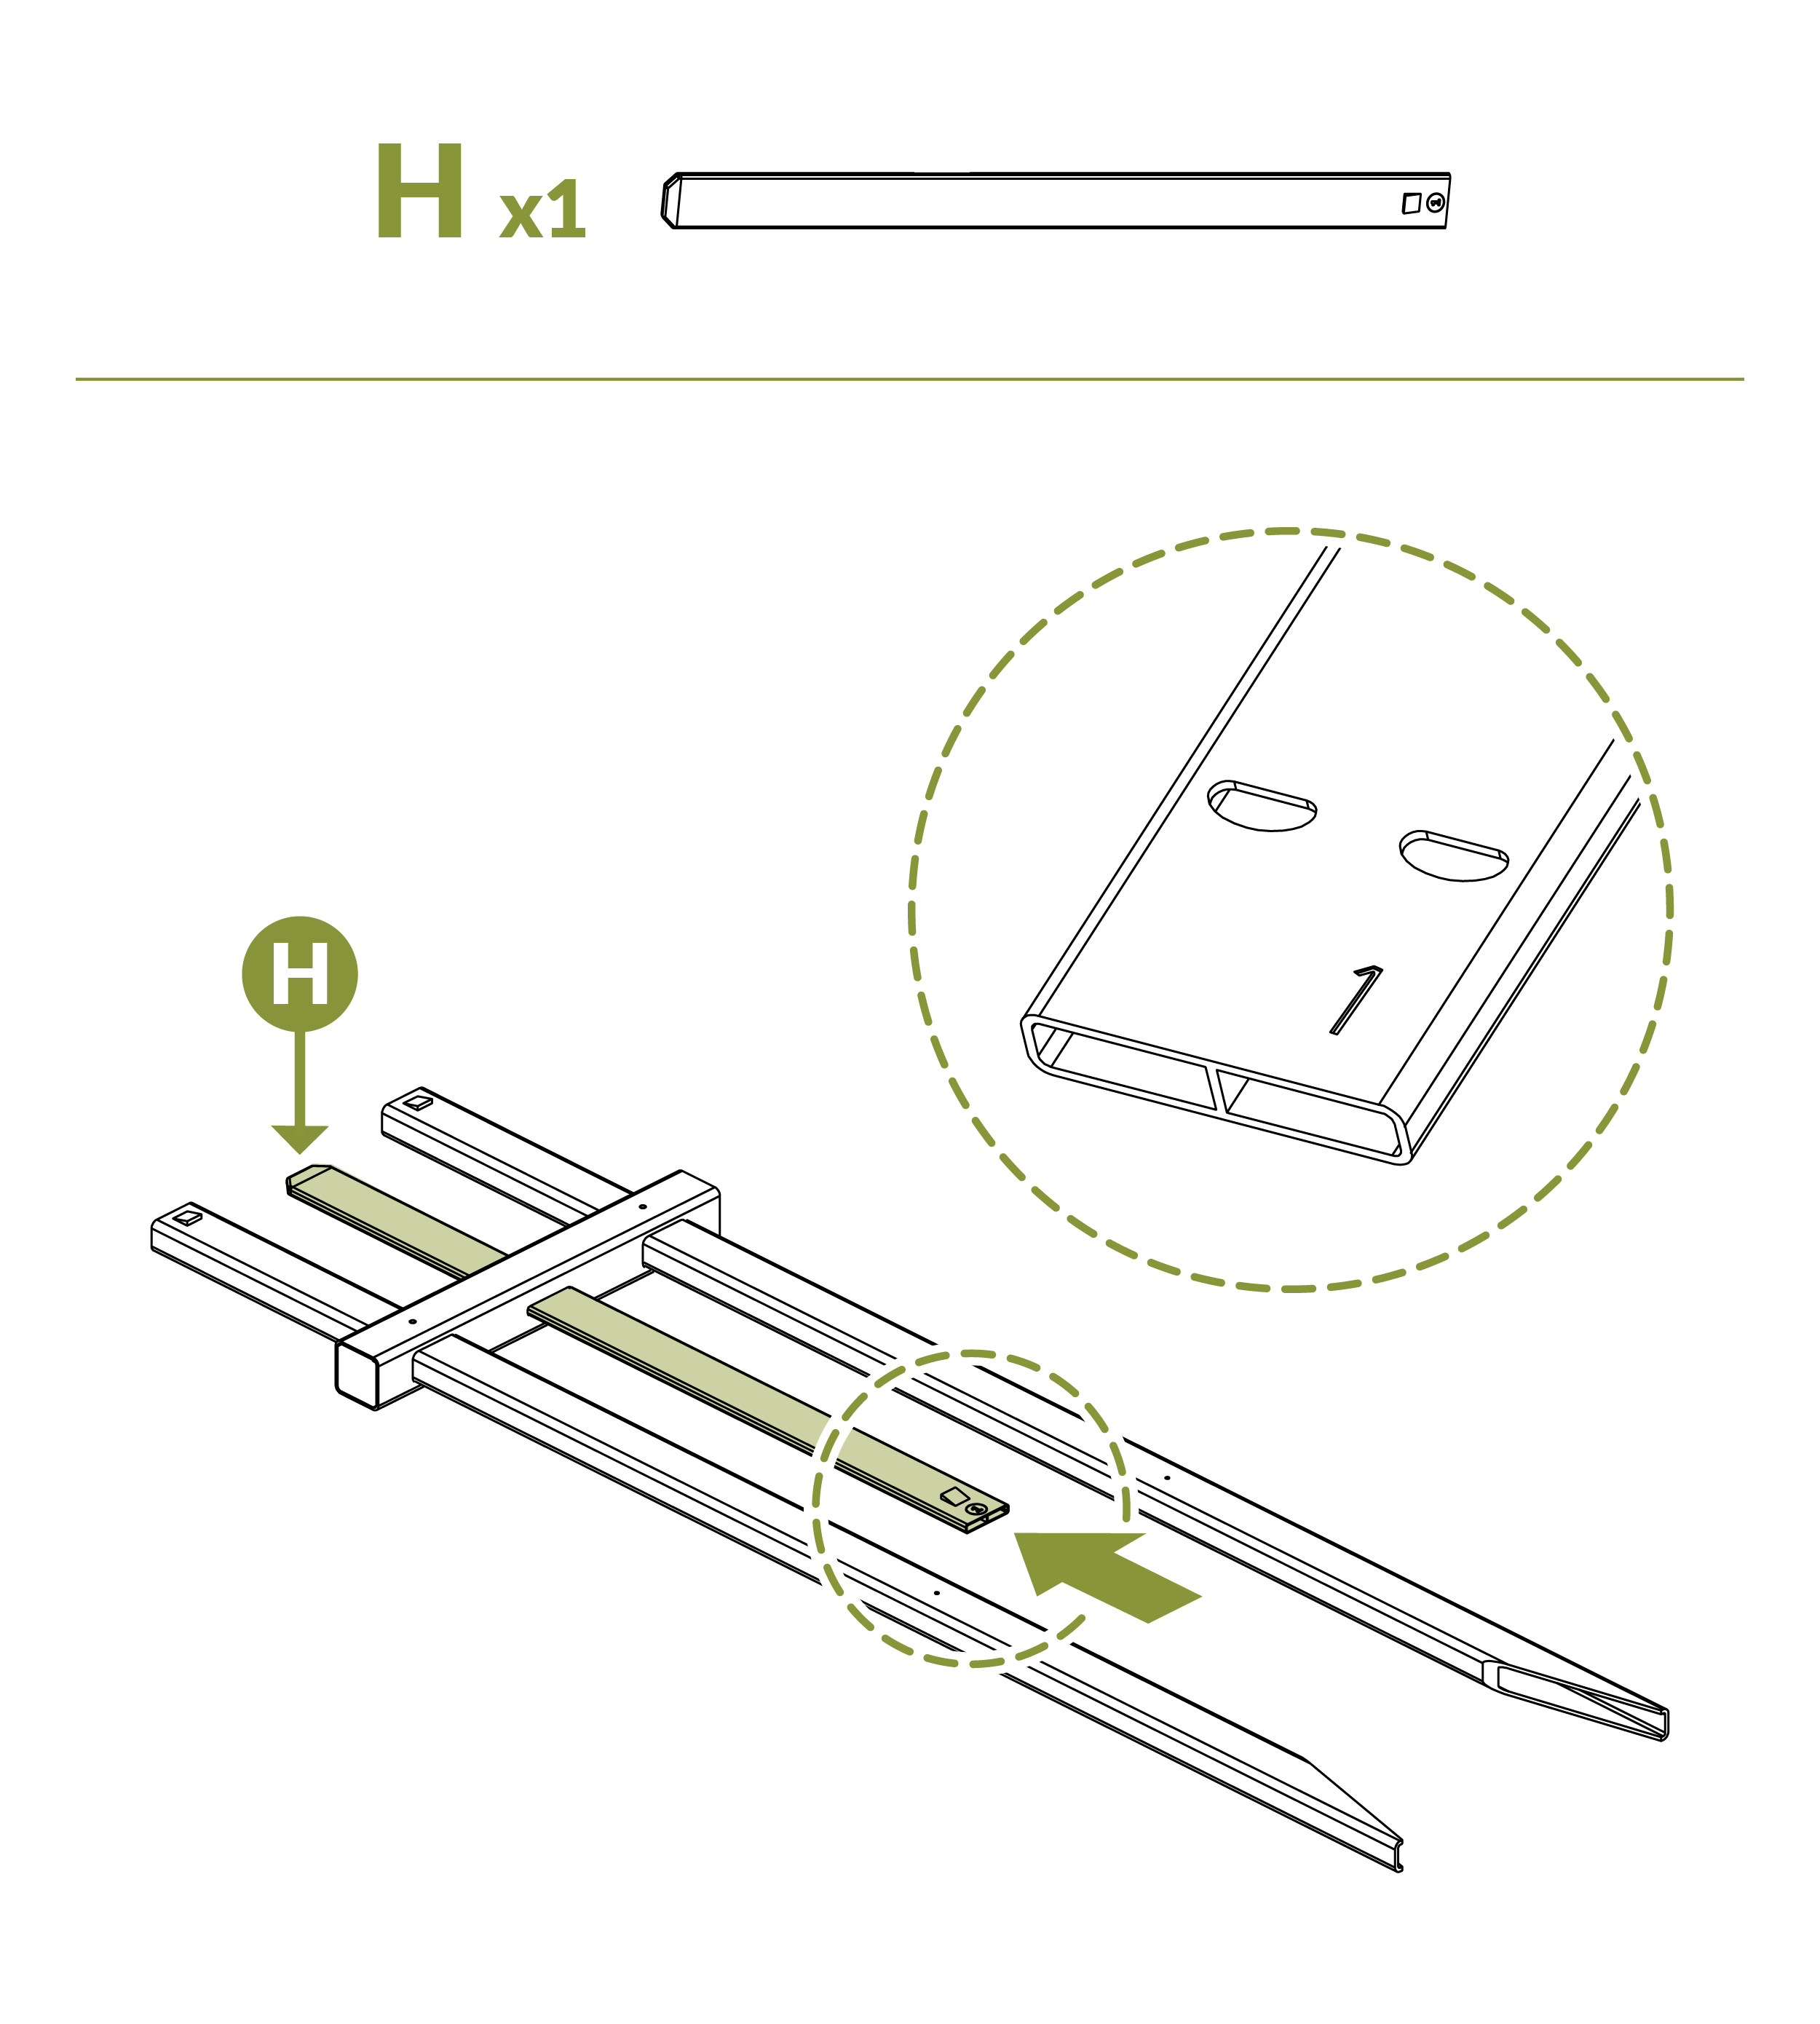
-
Make sure to check at bottom of picket for a stamped number 1 to ensure it is the correct picket.
-
Insert (1) Picket (H) into the Top Rail (B).
Step 20
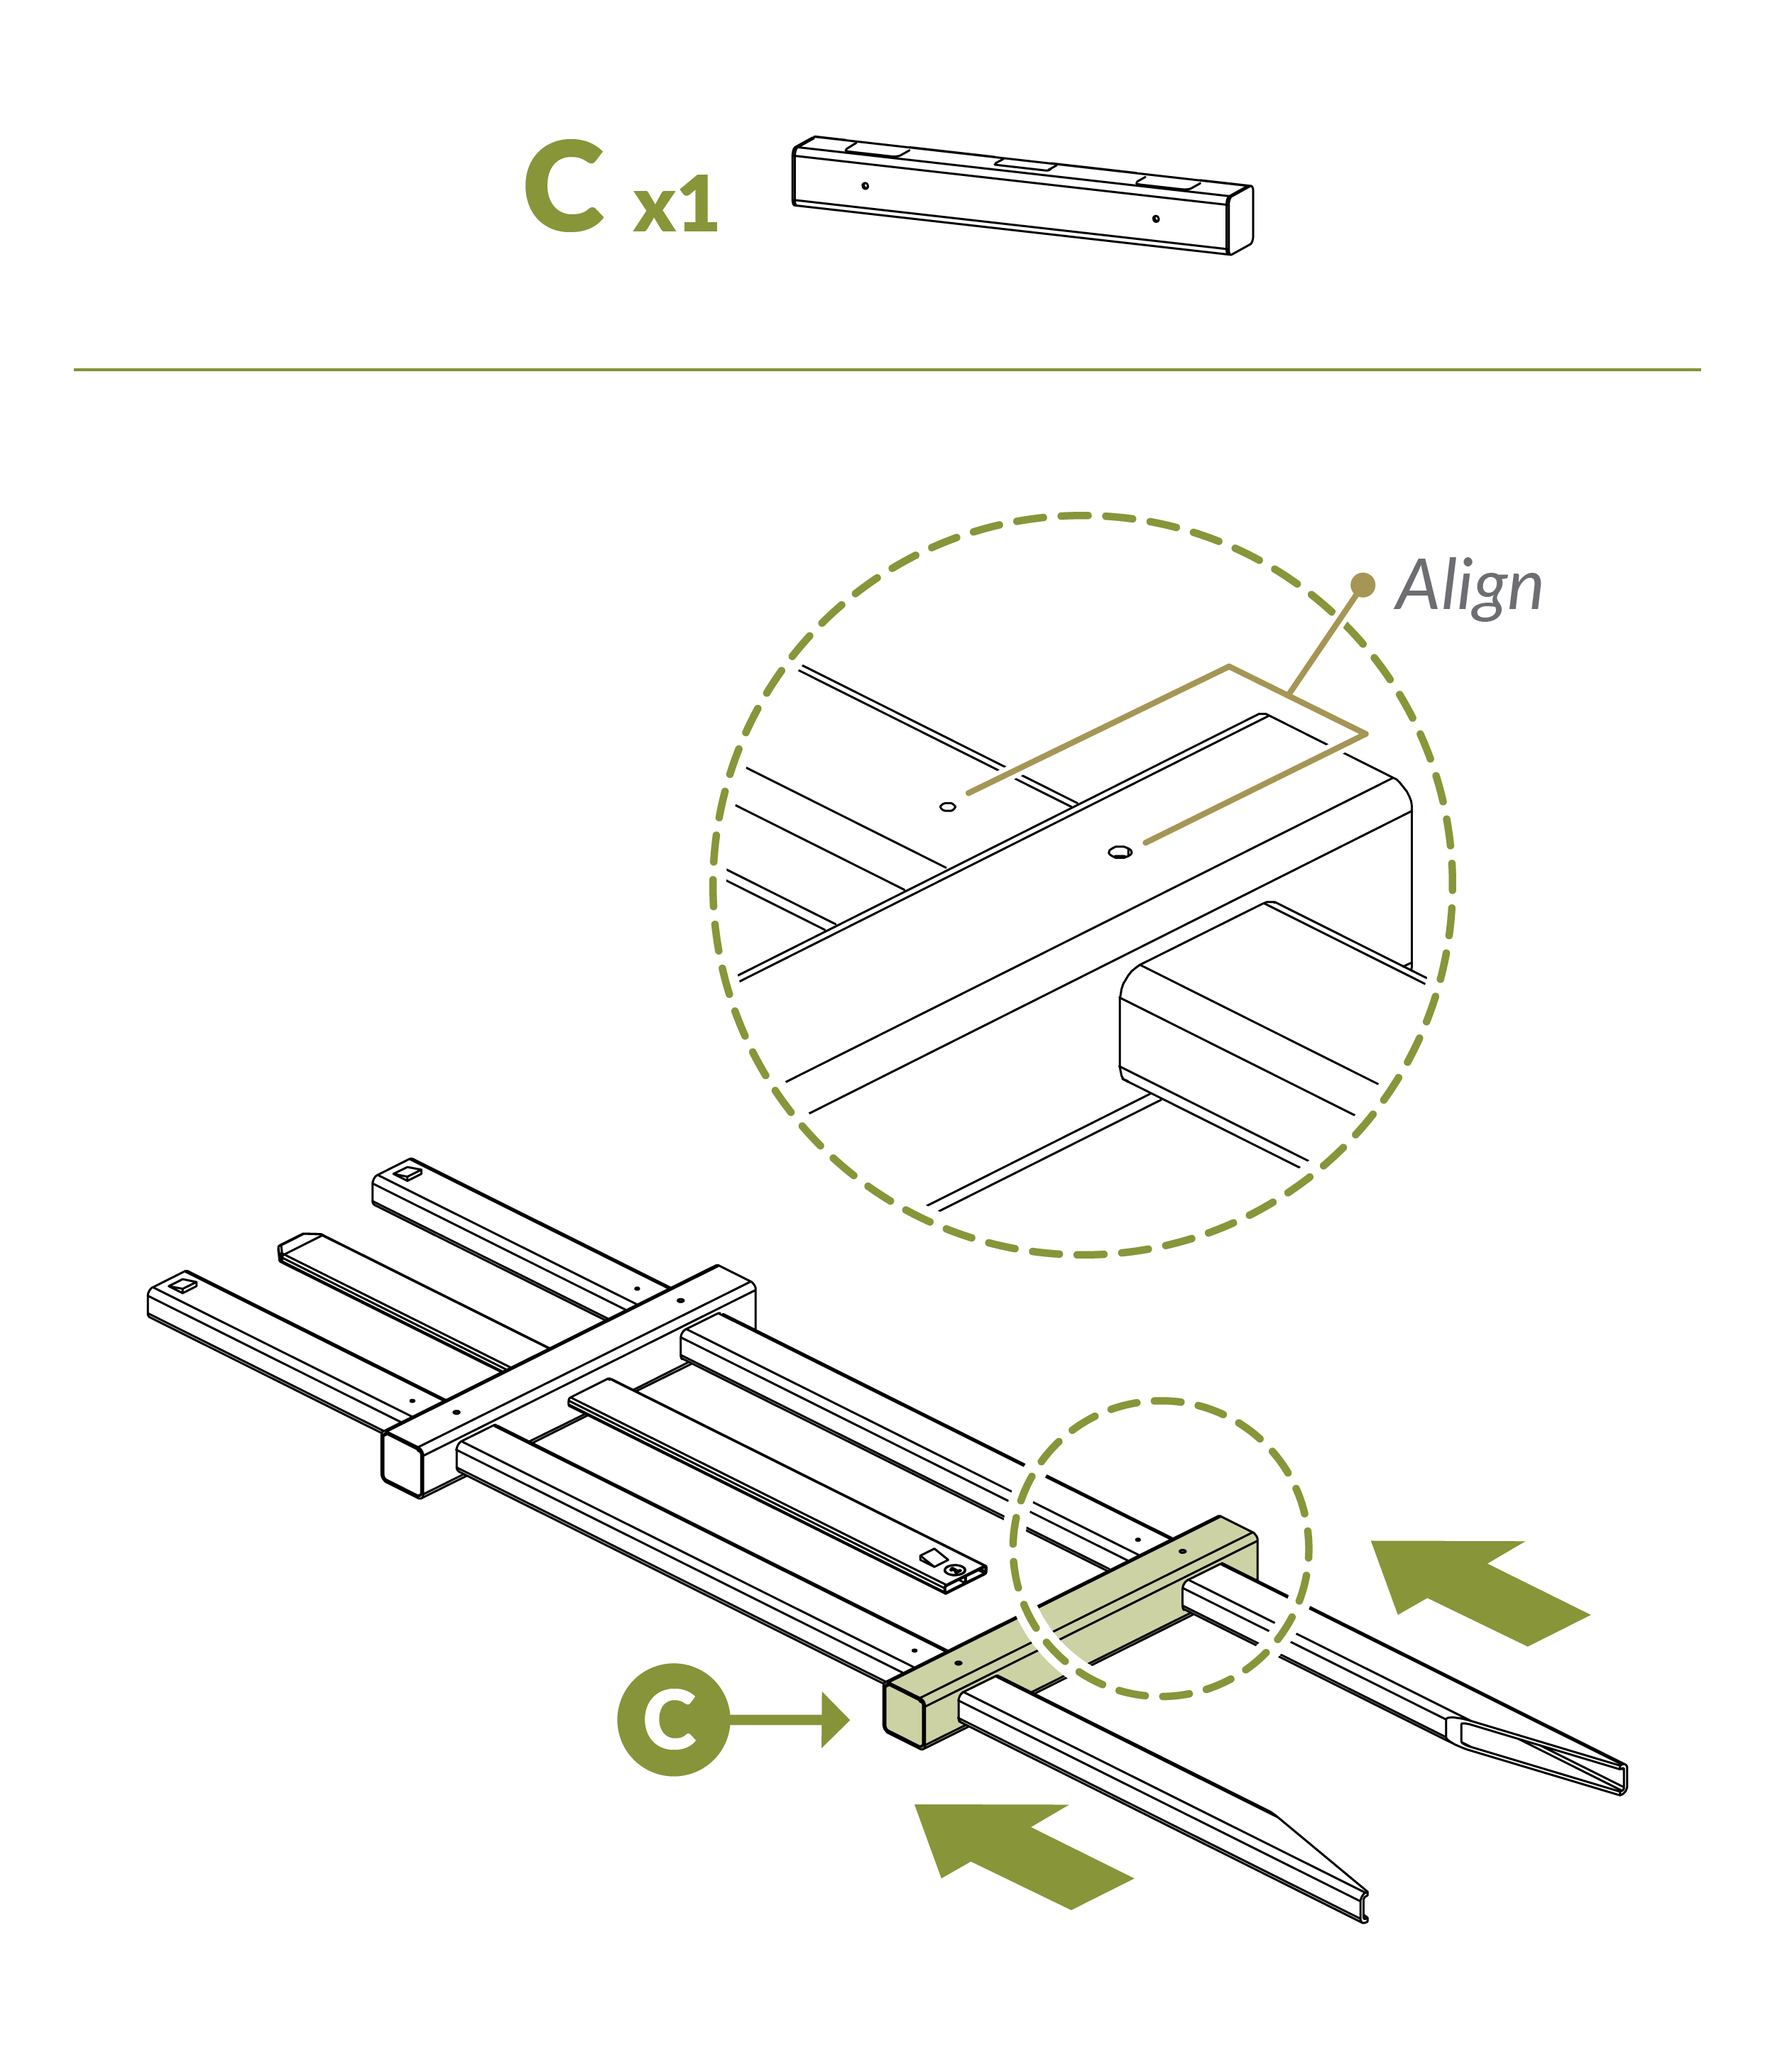
- Slide Bottom Rail (C) through the bottom of Posts (G).
- Align pre-drilled screw holes on rail and posts.
Step 21

- Insert (2) ¾” Self-Tapping Stainless Steel Screws (L) into pre-drilled holes on Bottom Rail (C).
Step 22
- Fully insert Picket (H) into Bottom Rail (C).
- It will take a bit of force to get the tab at the bottom of the picket into the rail as it will be a tight fit.
Step 23
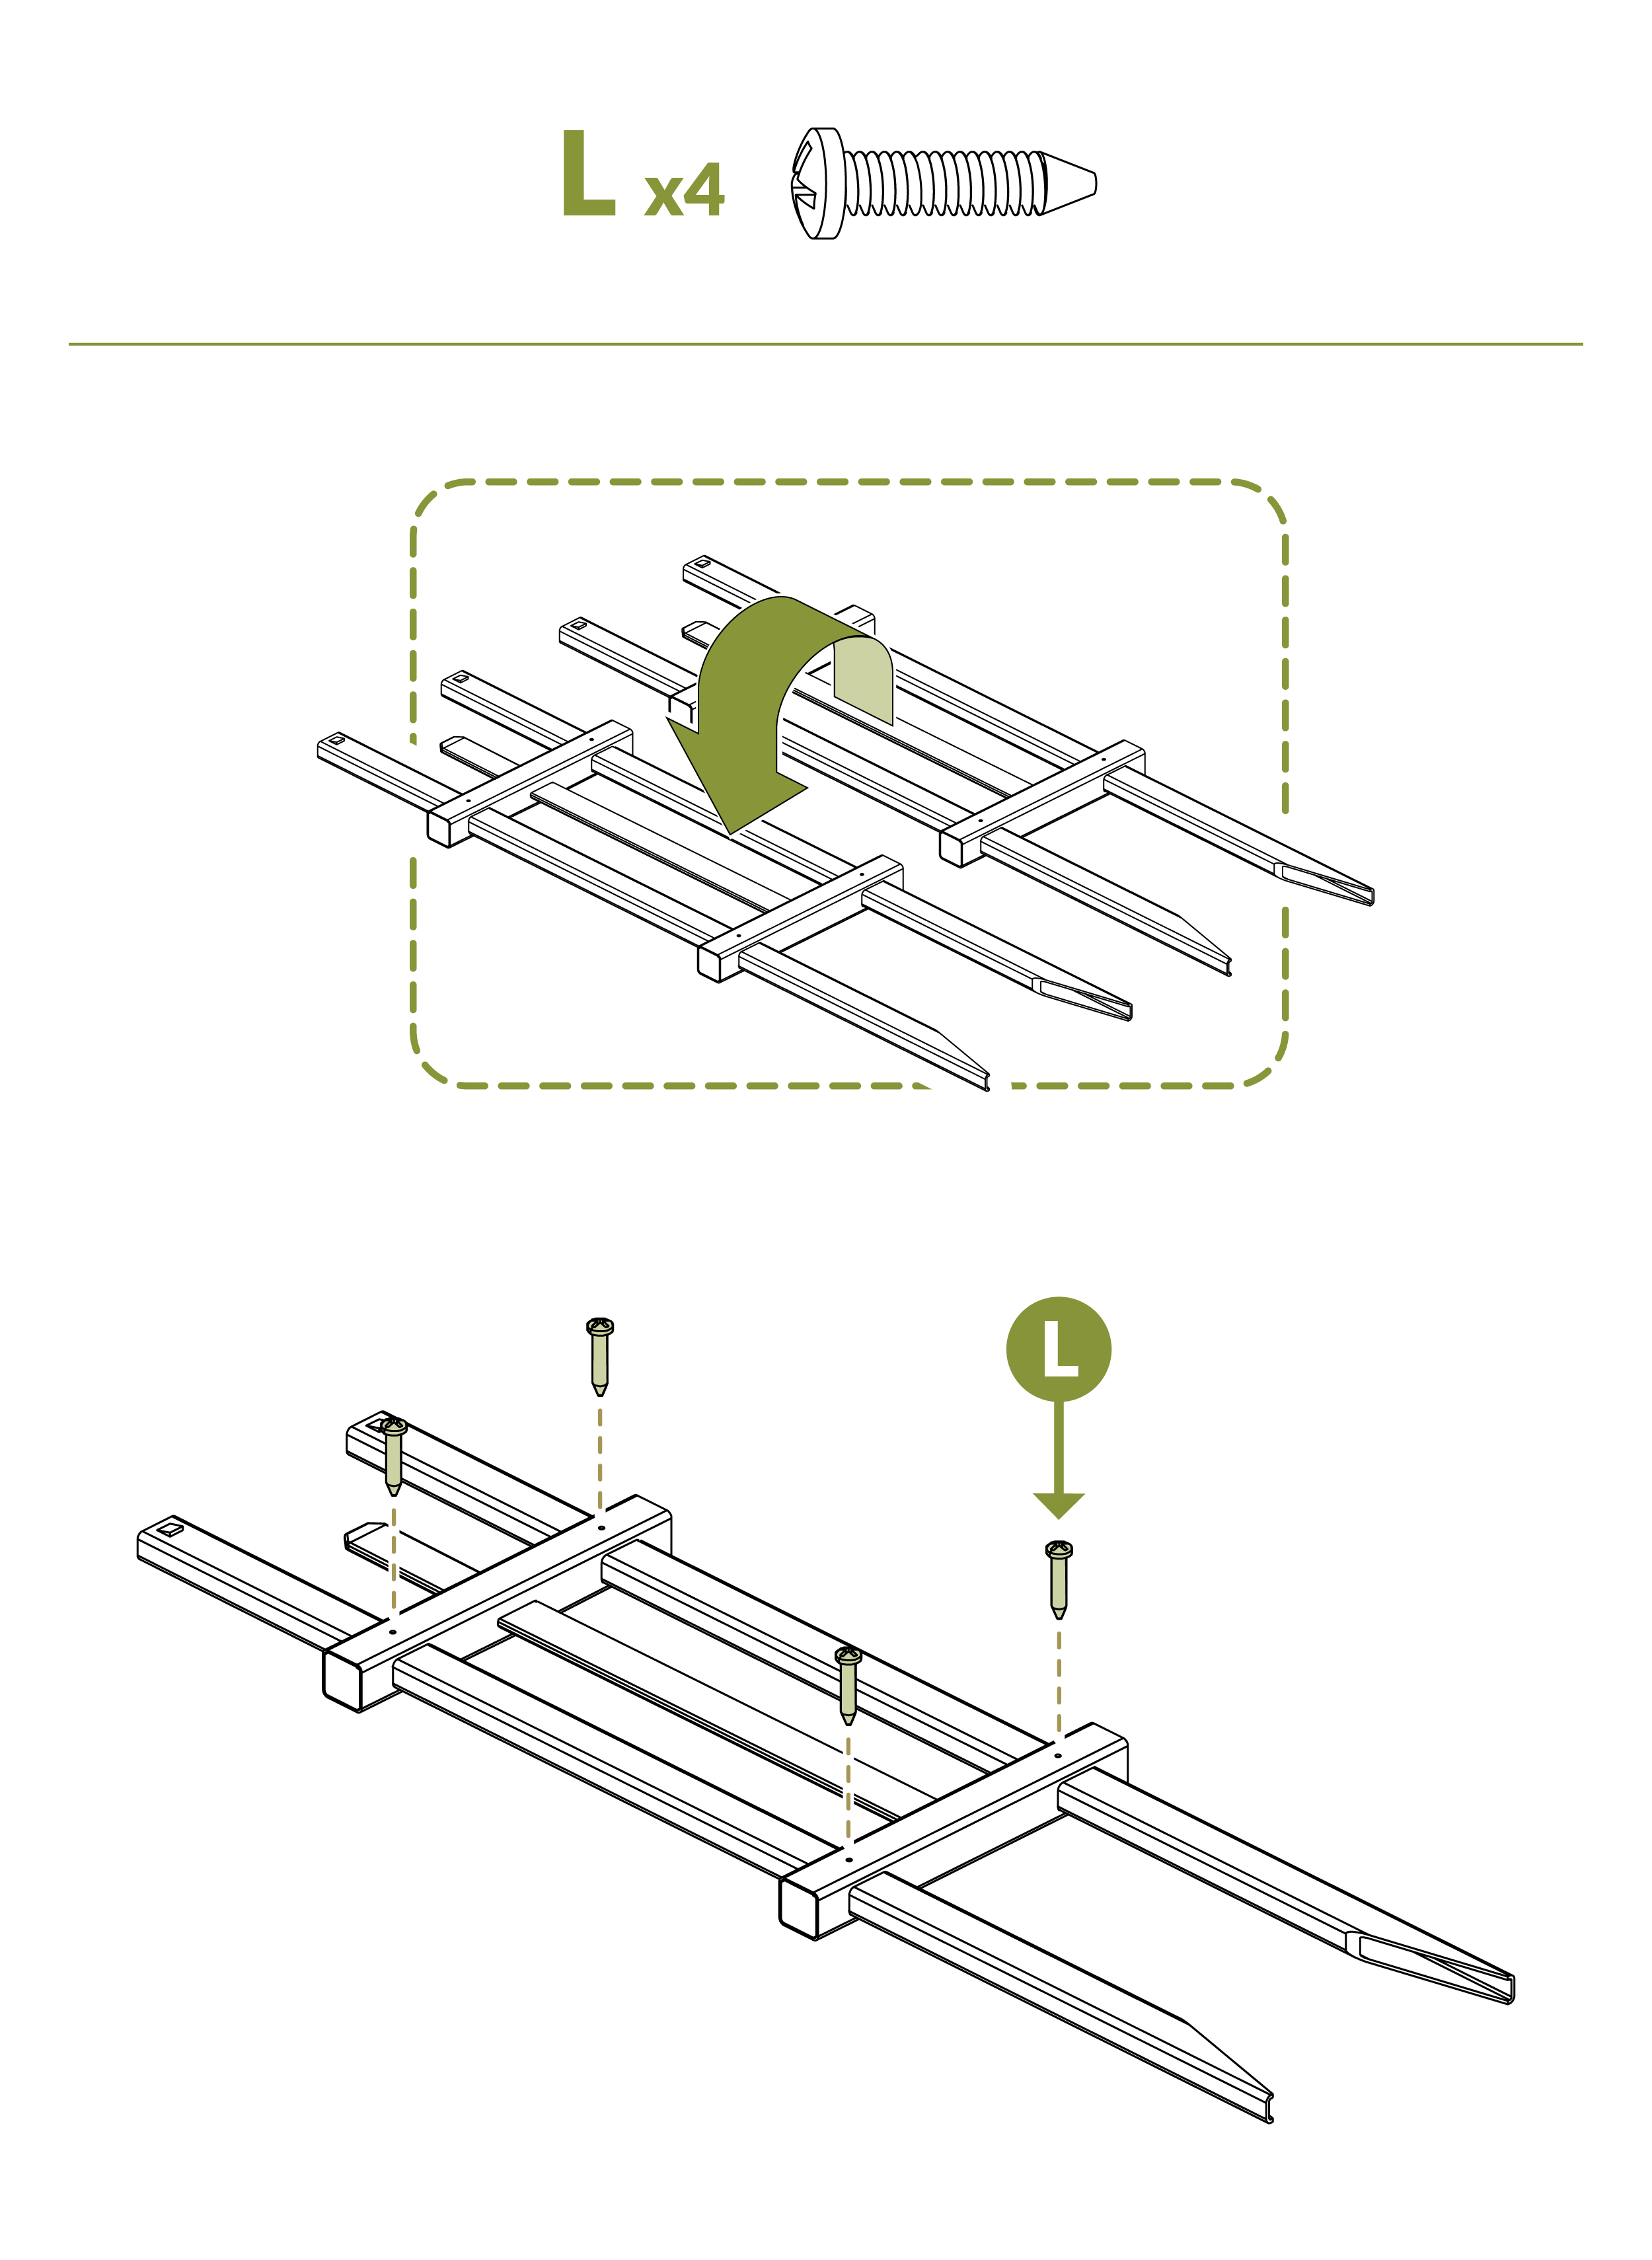
- Flip panel over 180 degrees.
- Insert (4) ¾” Self-Tapping Stainless Steel Screws (L) into pre-drilled holes on rails.
Step 24
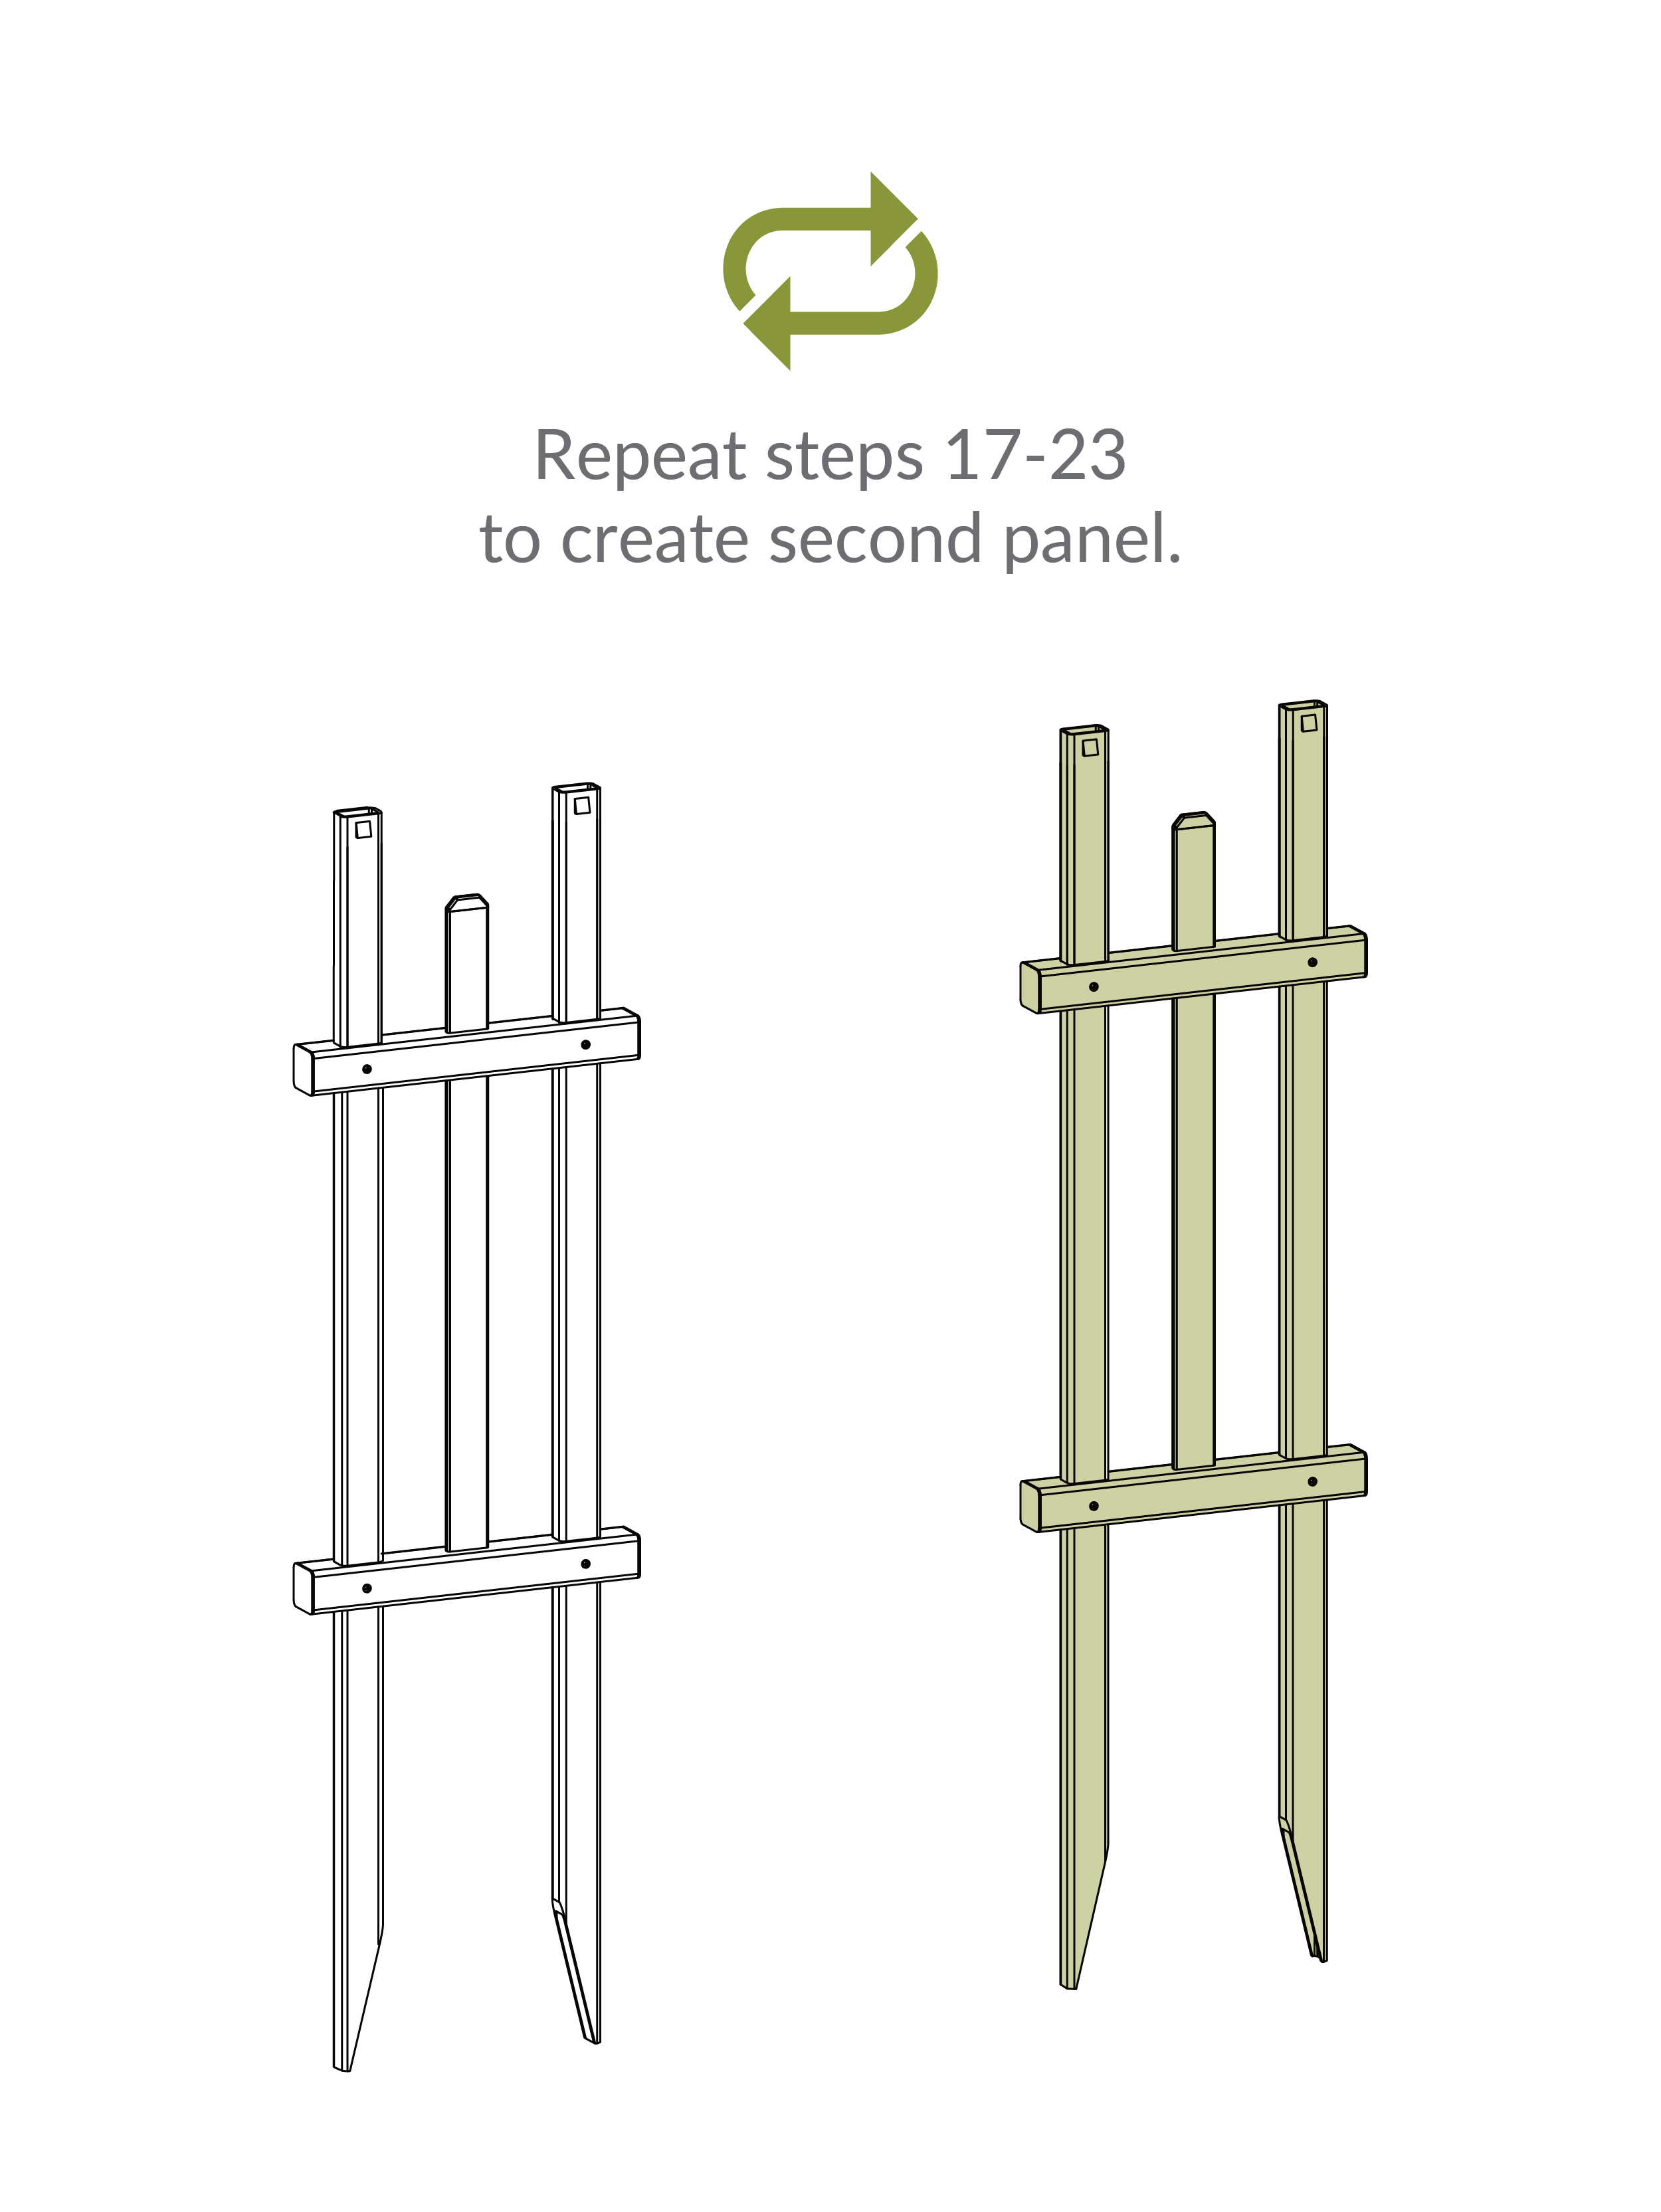
- Repeat steps 17-23 in order to create one additional panel.
Step 25

- Ensure distance between panels is 39 3/8" for when you go to hang your gate.
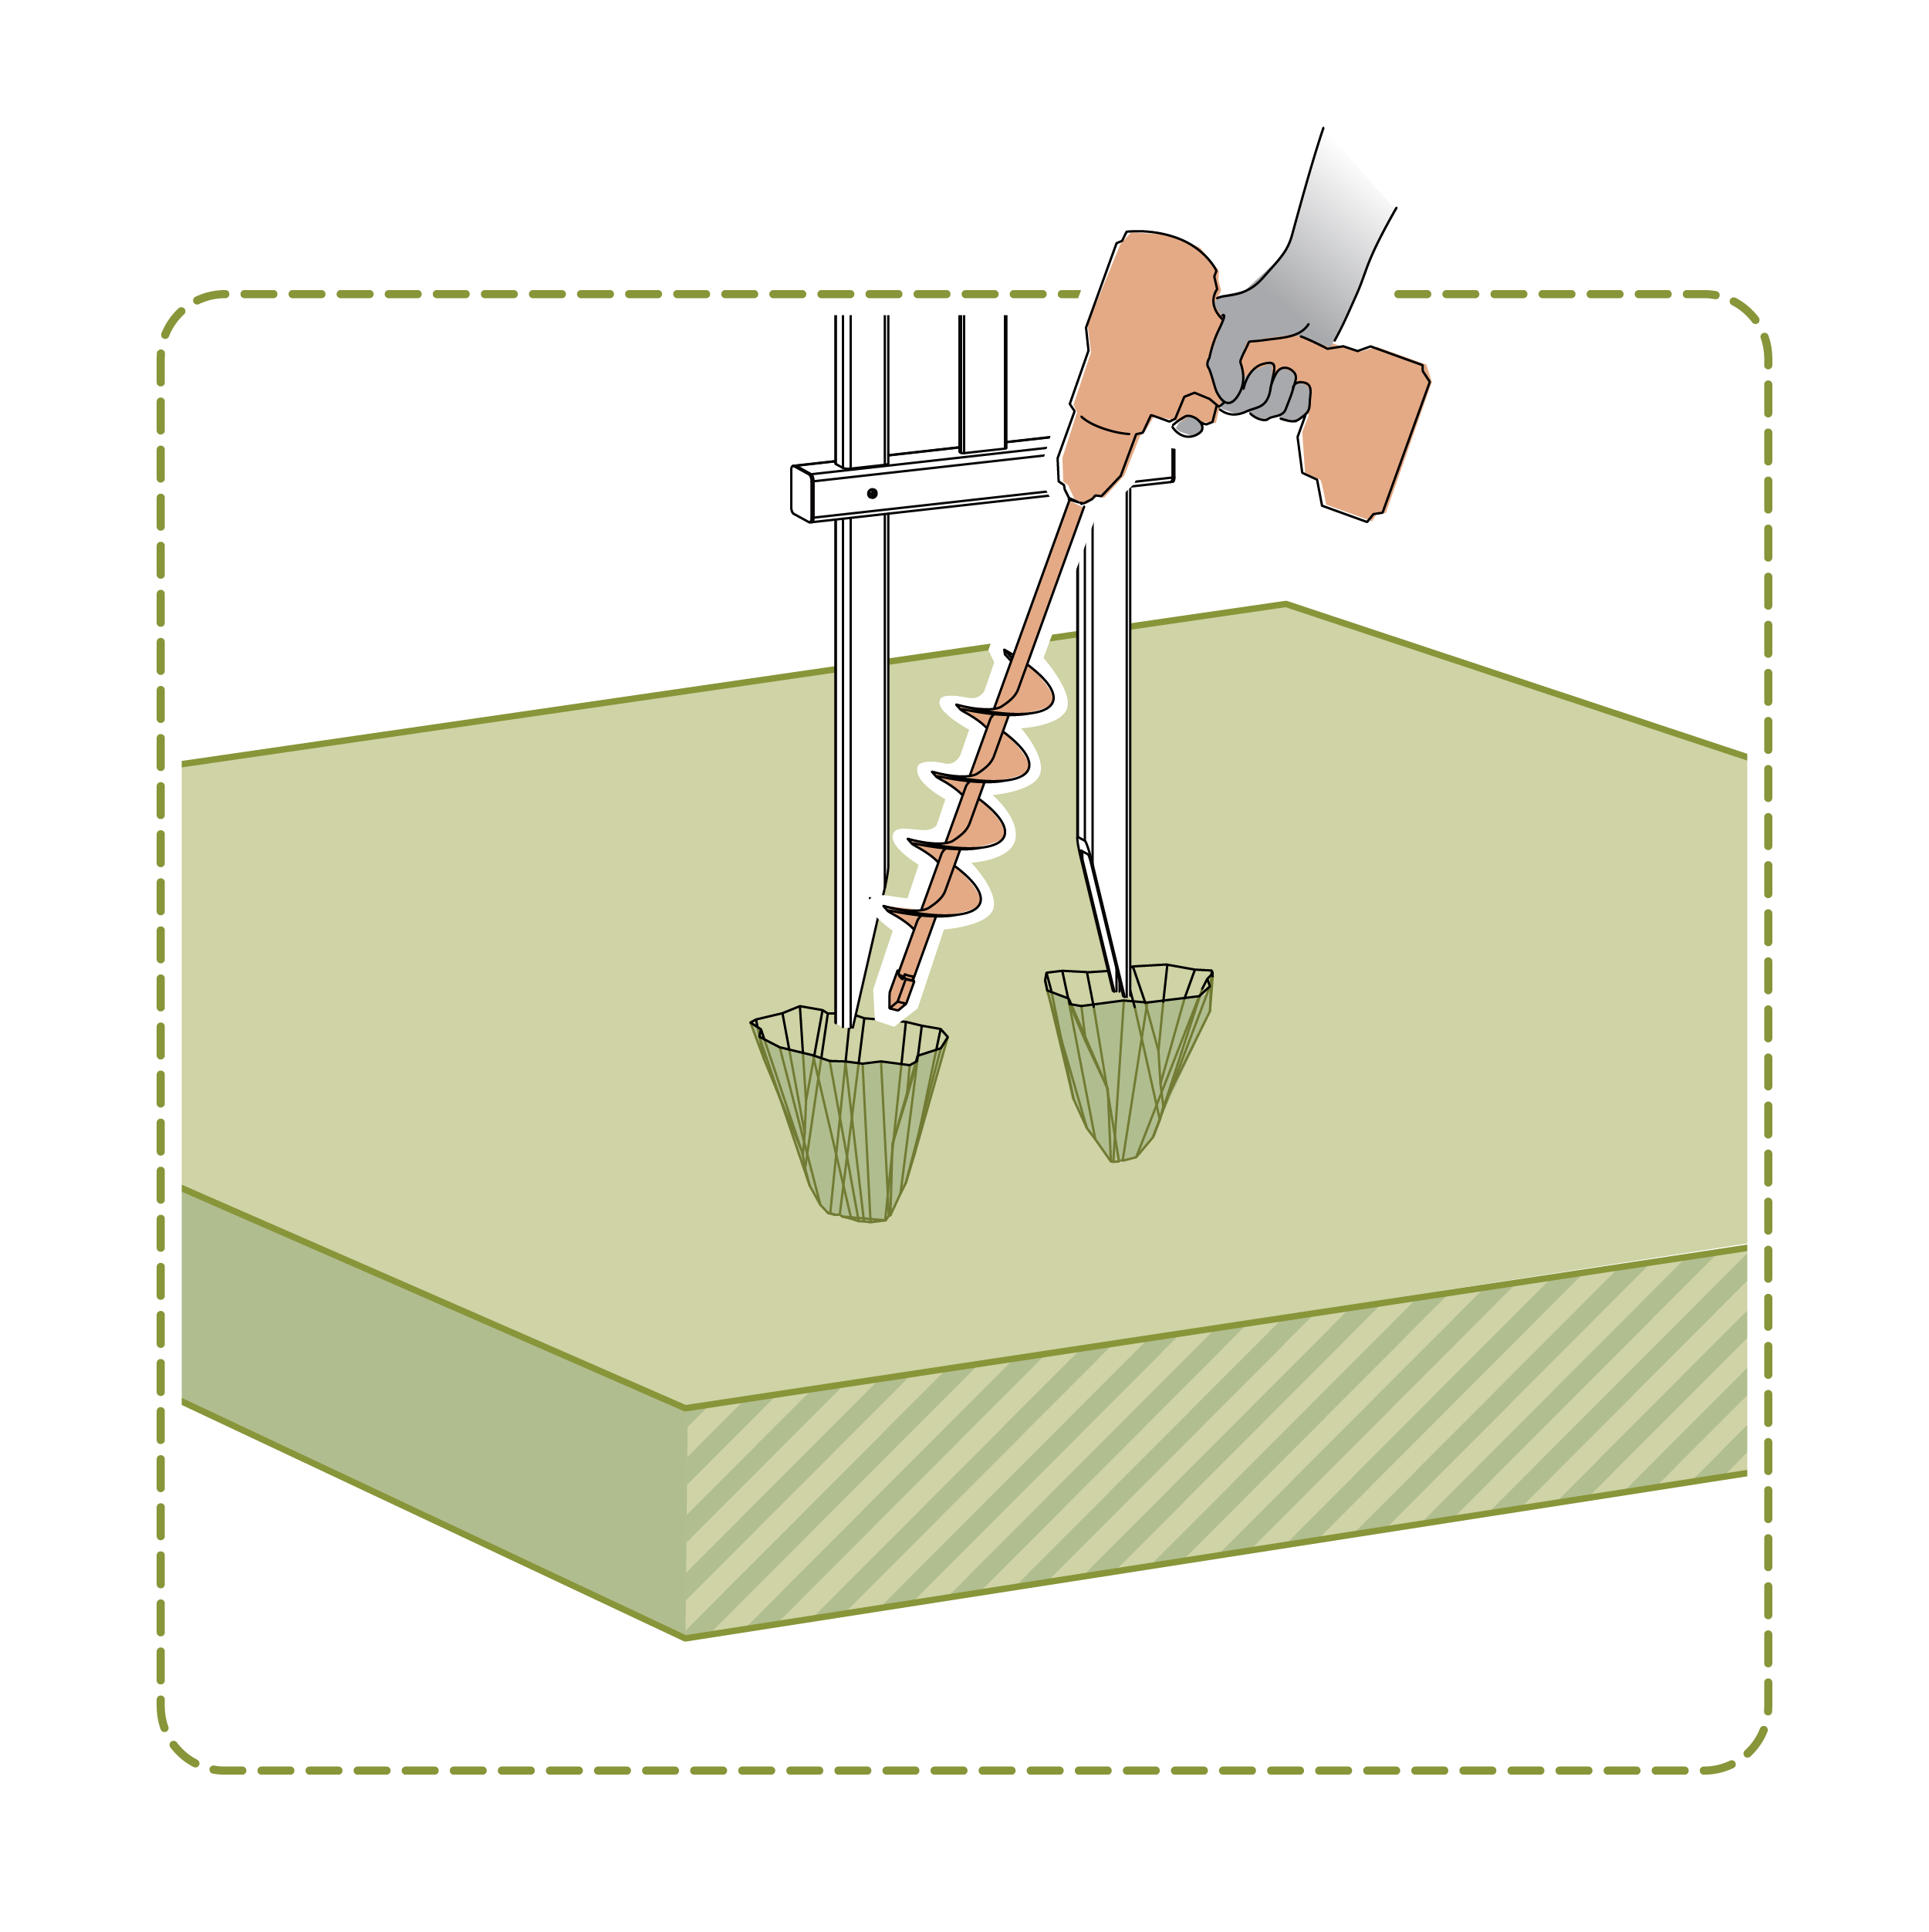
Options For Softer Ground
Step 25.1 (Option 1)

- Attempt pushing unit into the ground. Leave a 2" gap under the Bottom Rail (C).
Step 25.2 (Option 2)
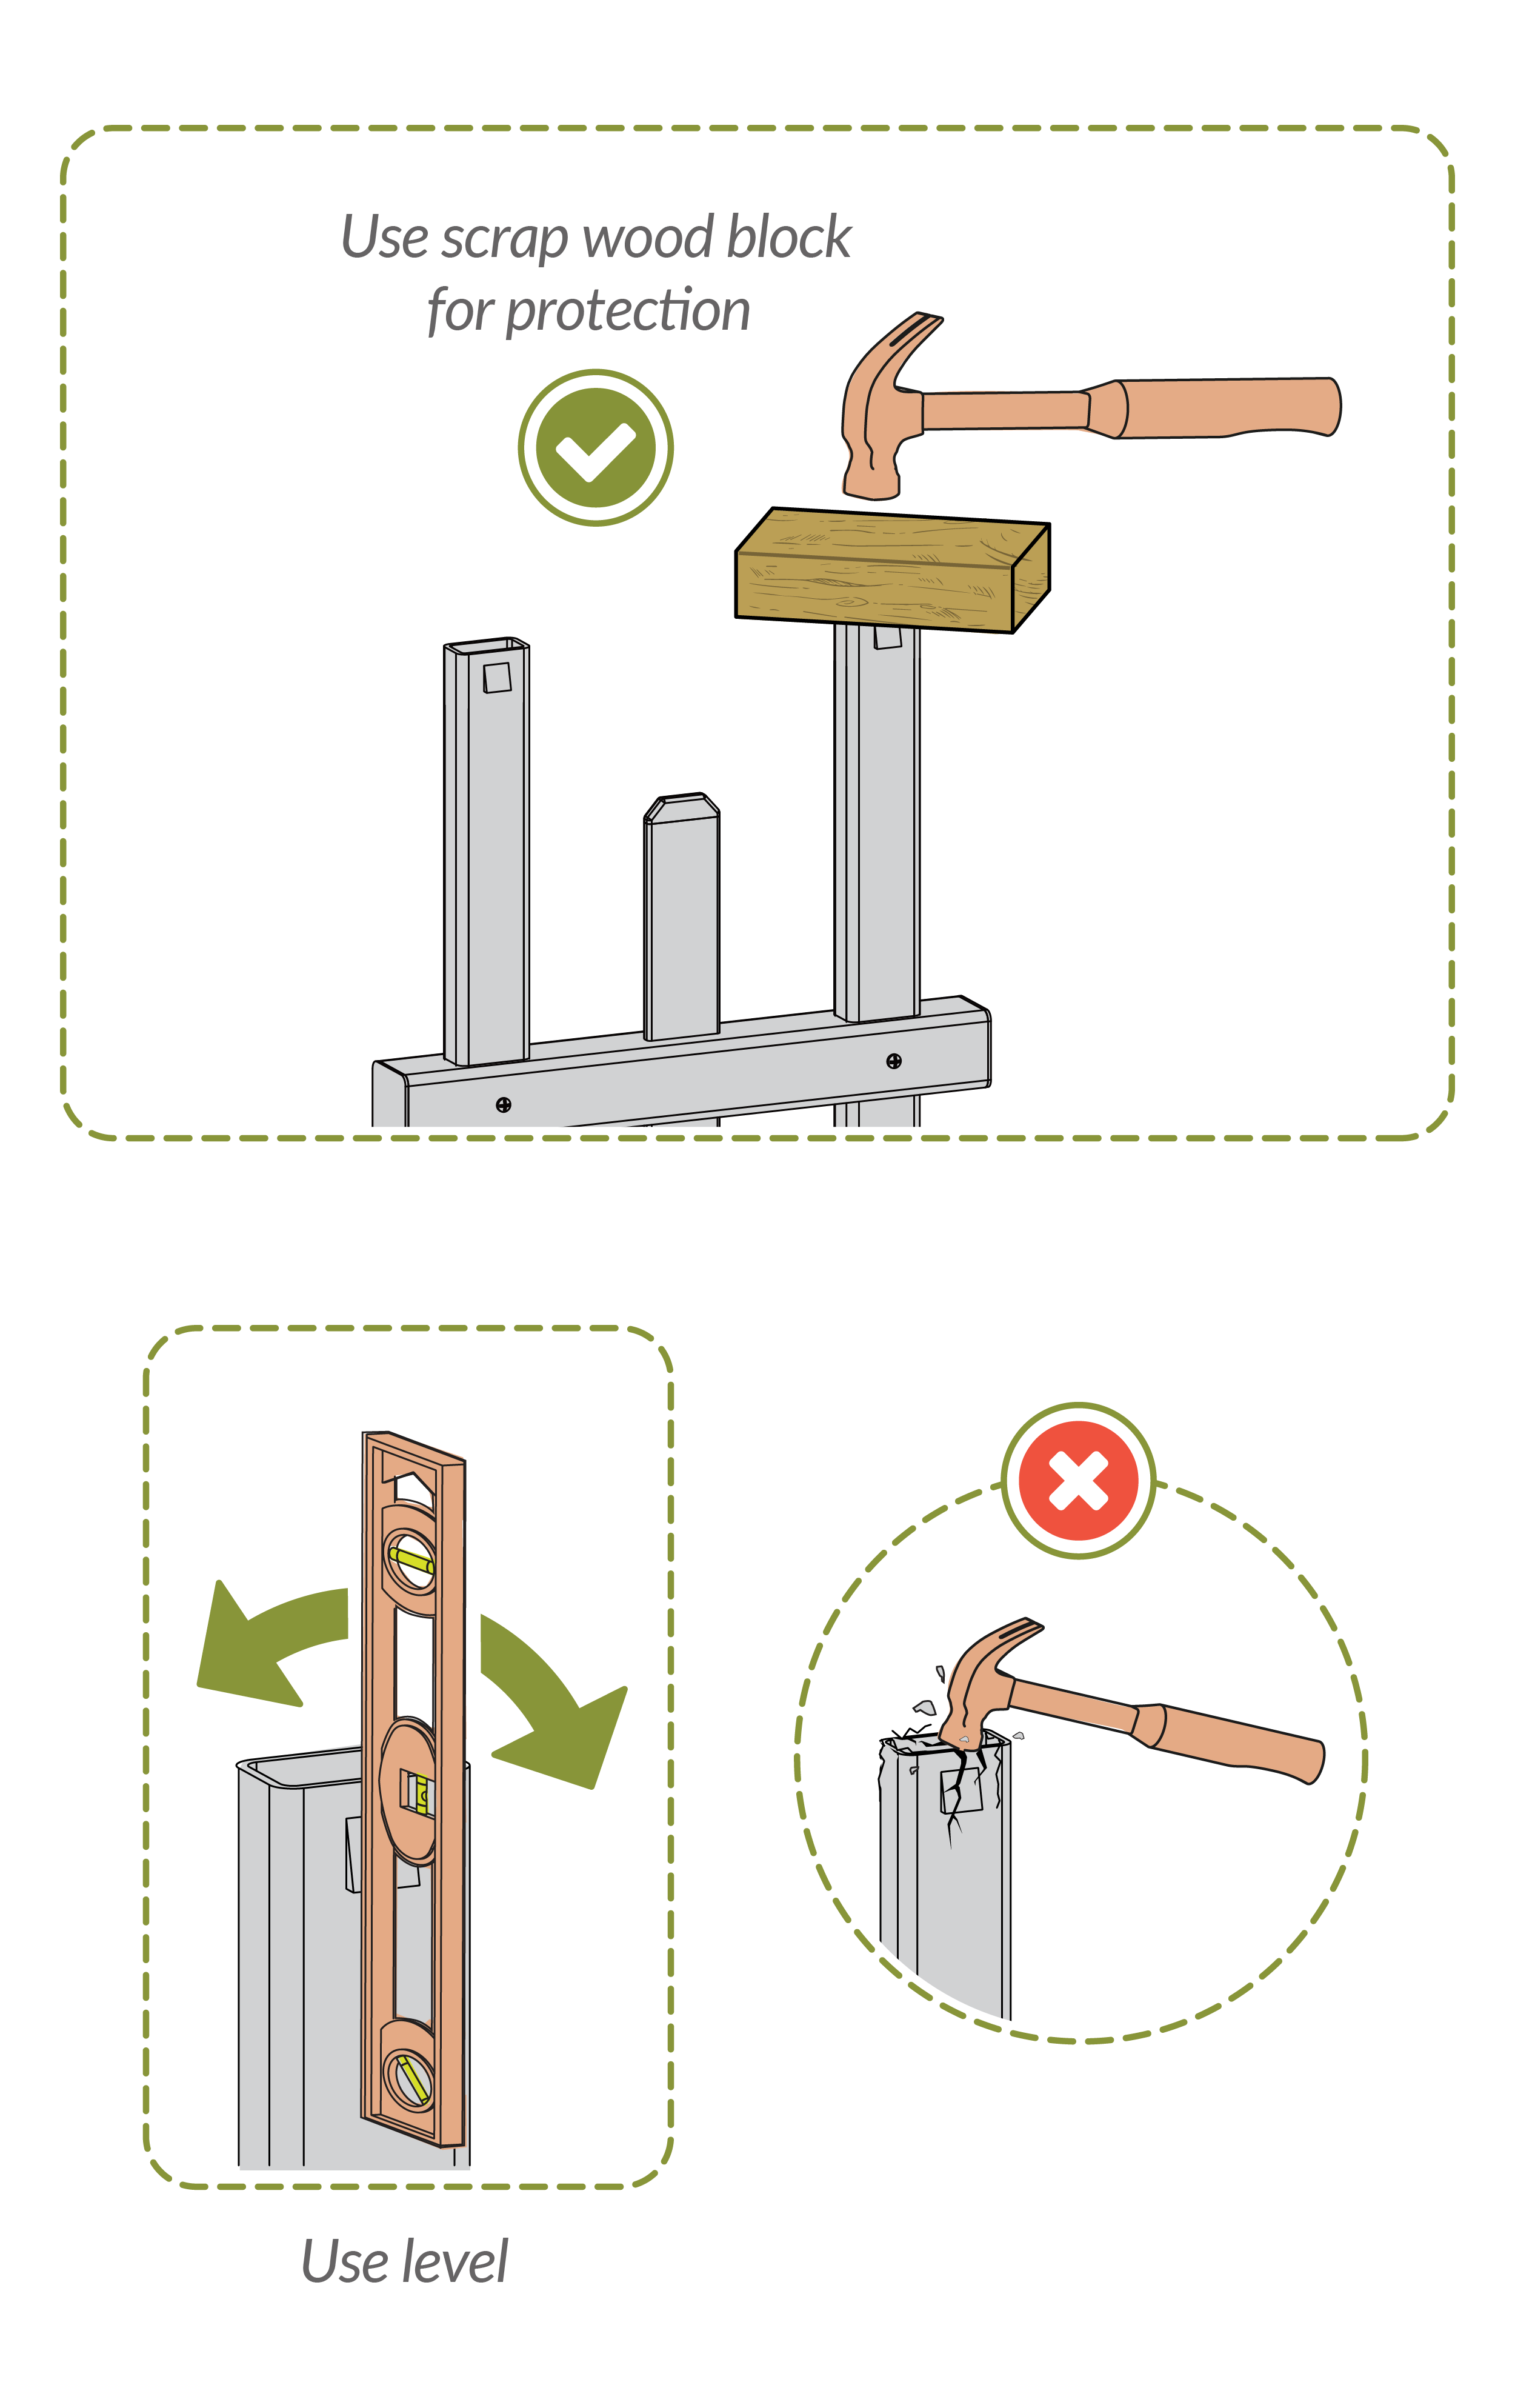
- Tap posts in using a hammer or mallet and a wood block for protection.
- Check straightness with level.
Options For Hard Ground
Step 25.3 (Option 1)
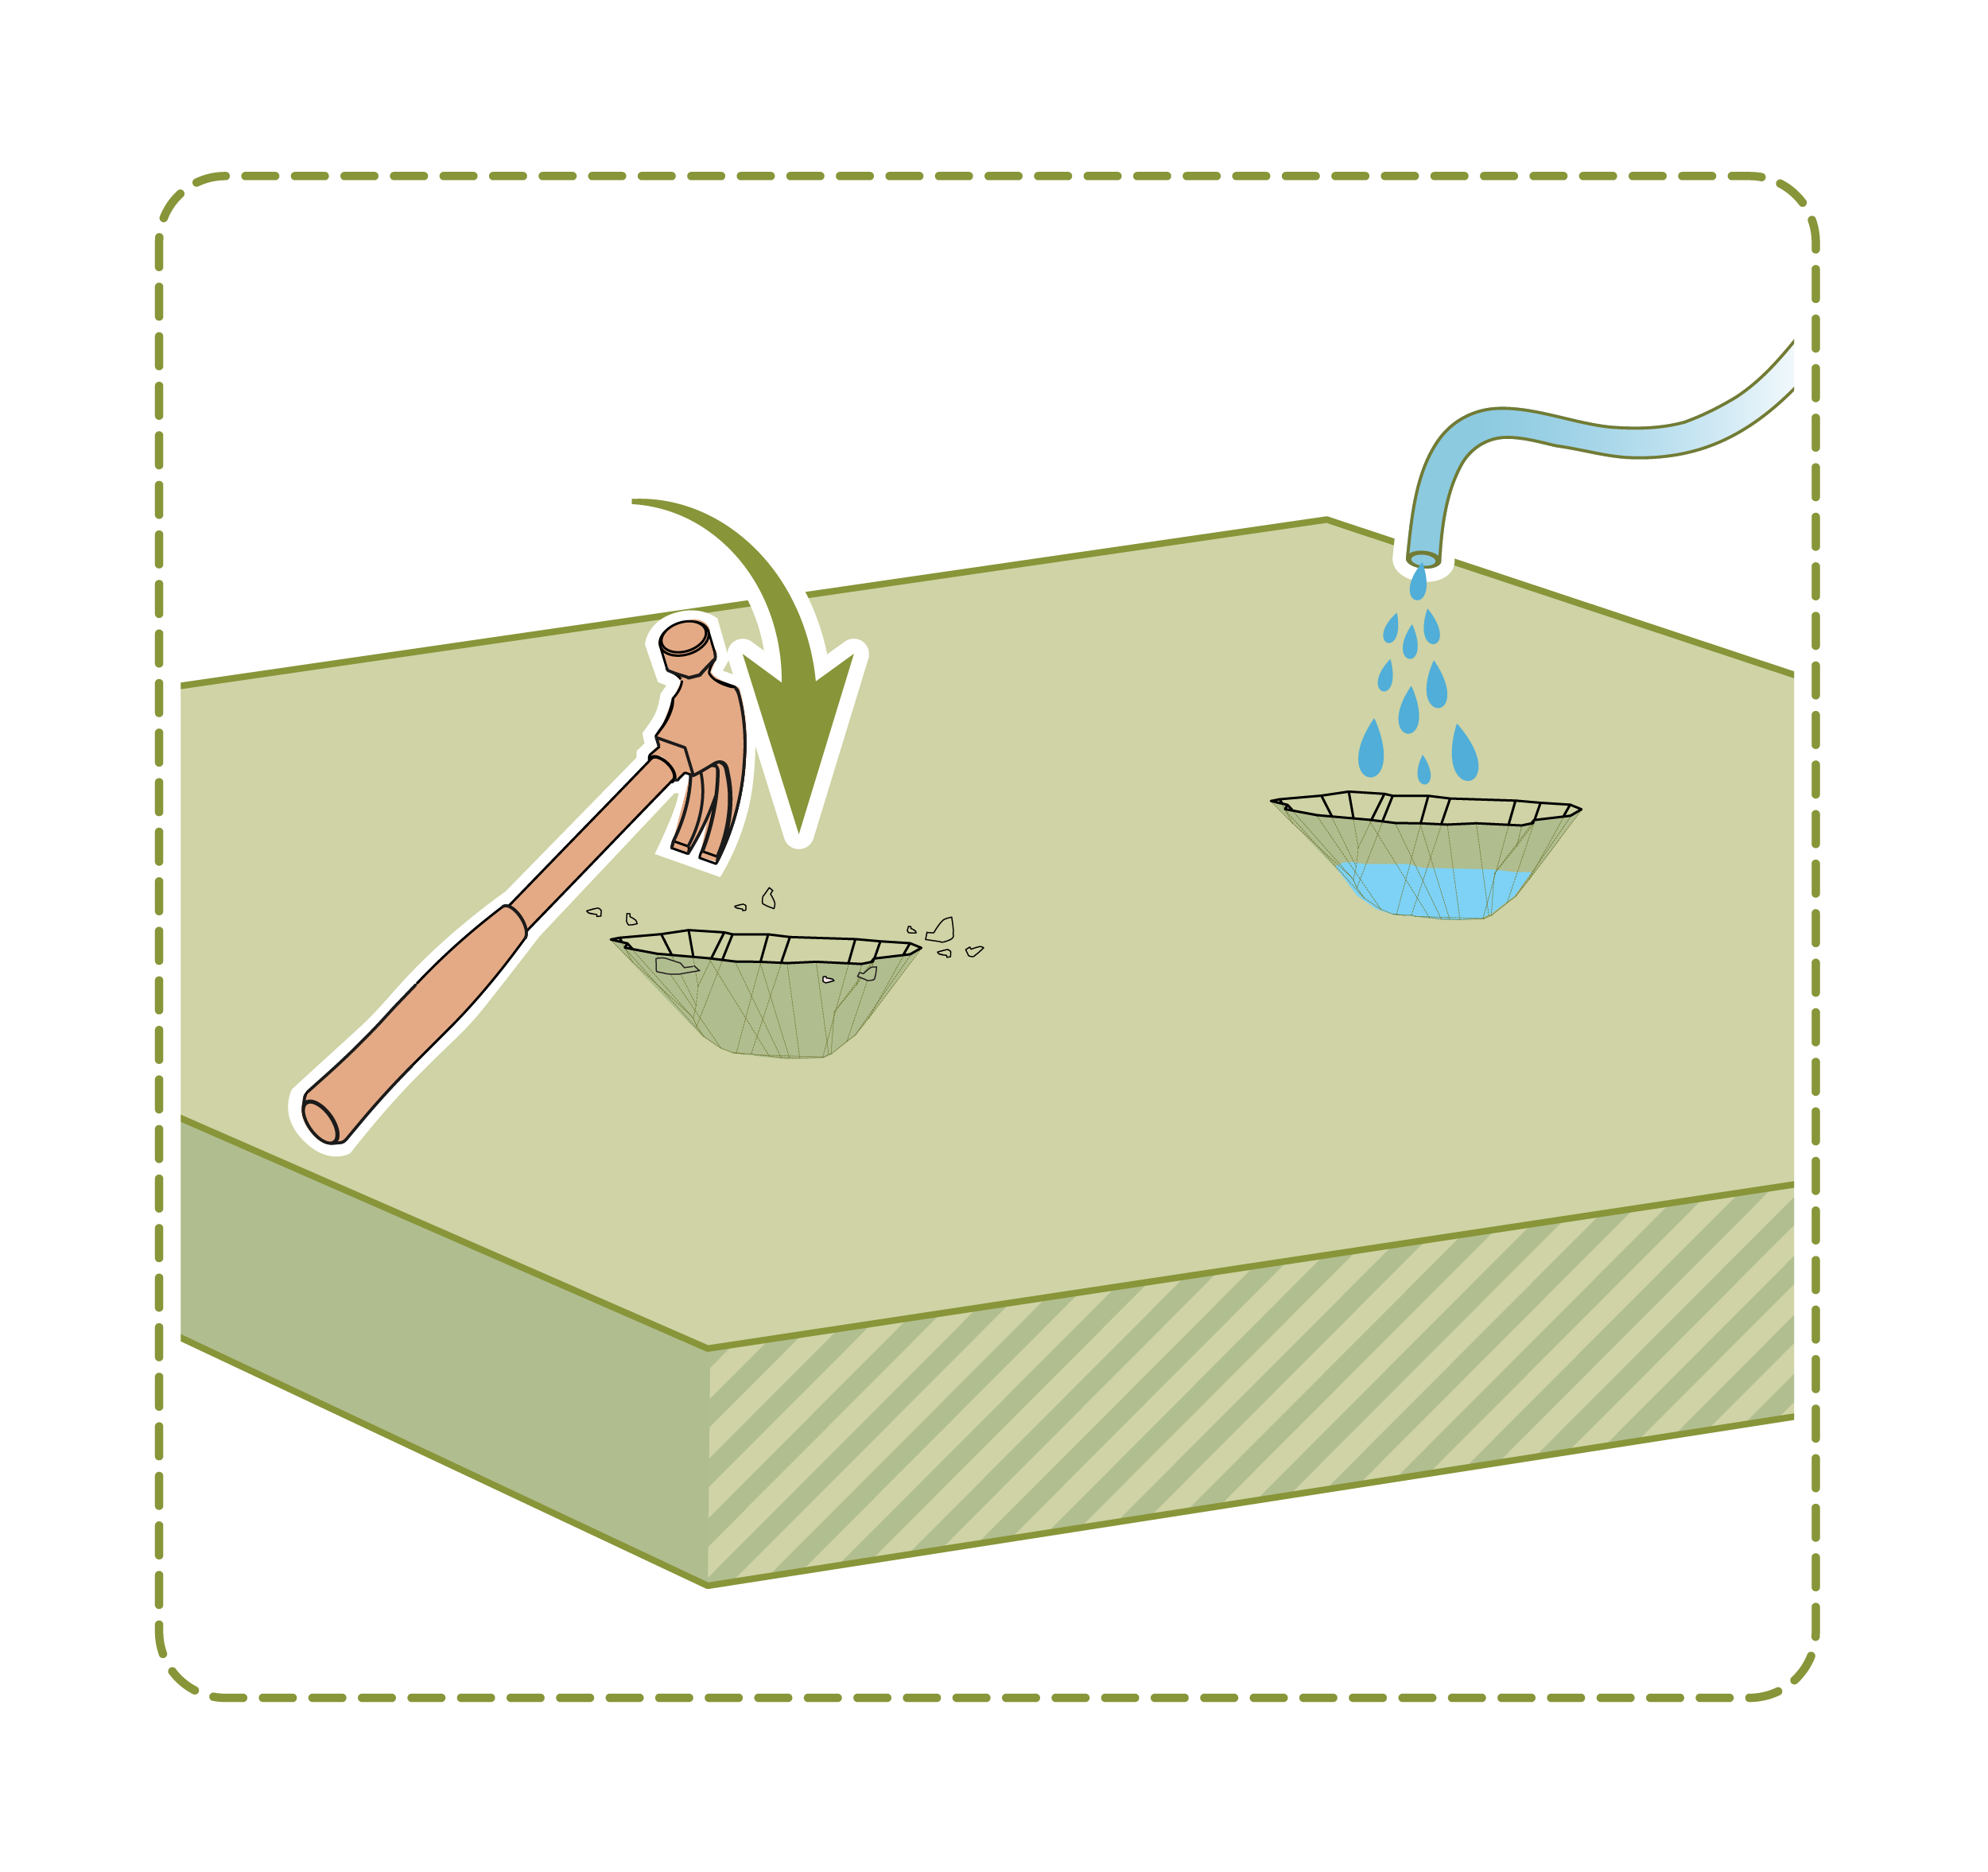
- Loosen ground with a small hand tool and saturate with water to soften soil.
Step 25.4 (Option 2)
- Use a 1½" Tulip Auger Drill Attachment to make a hole in hard ground.
Step 26
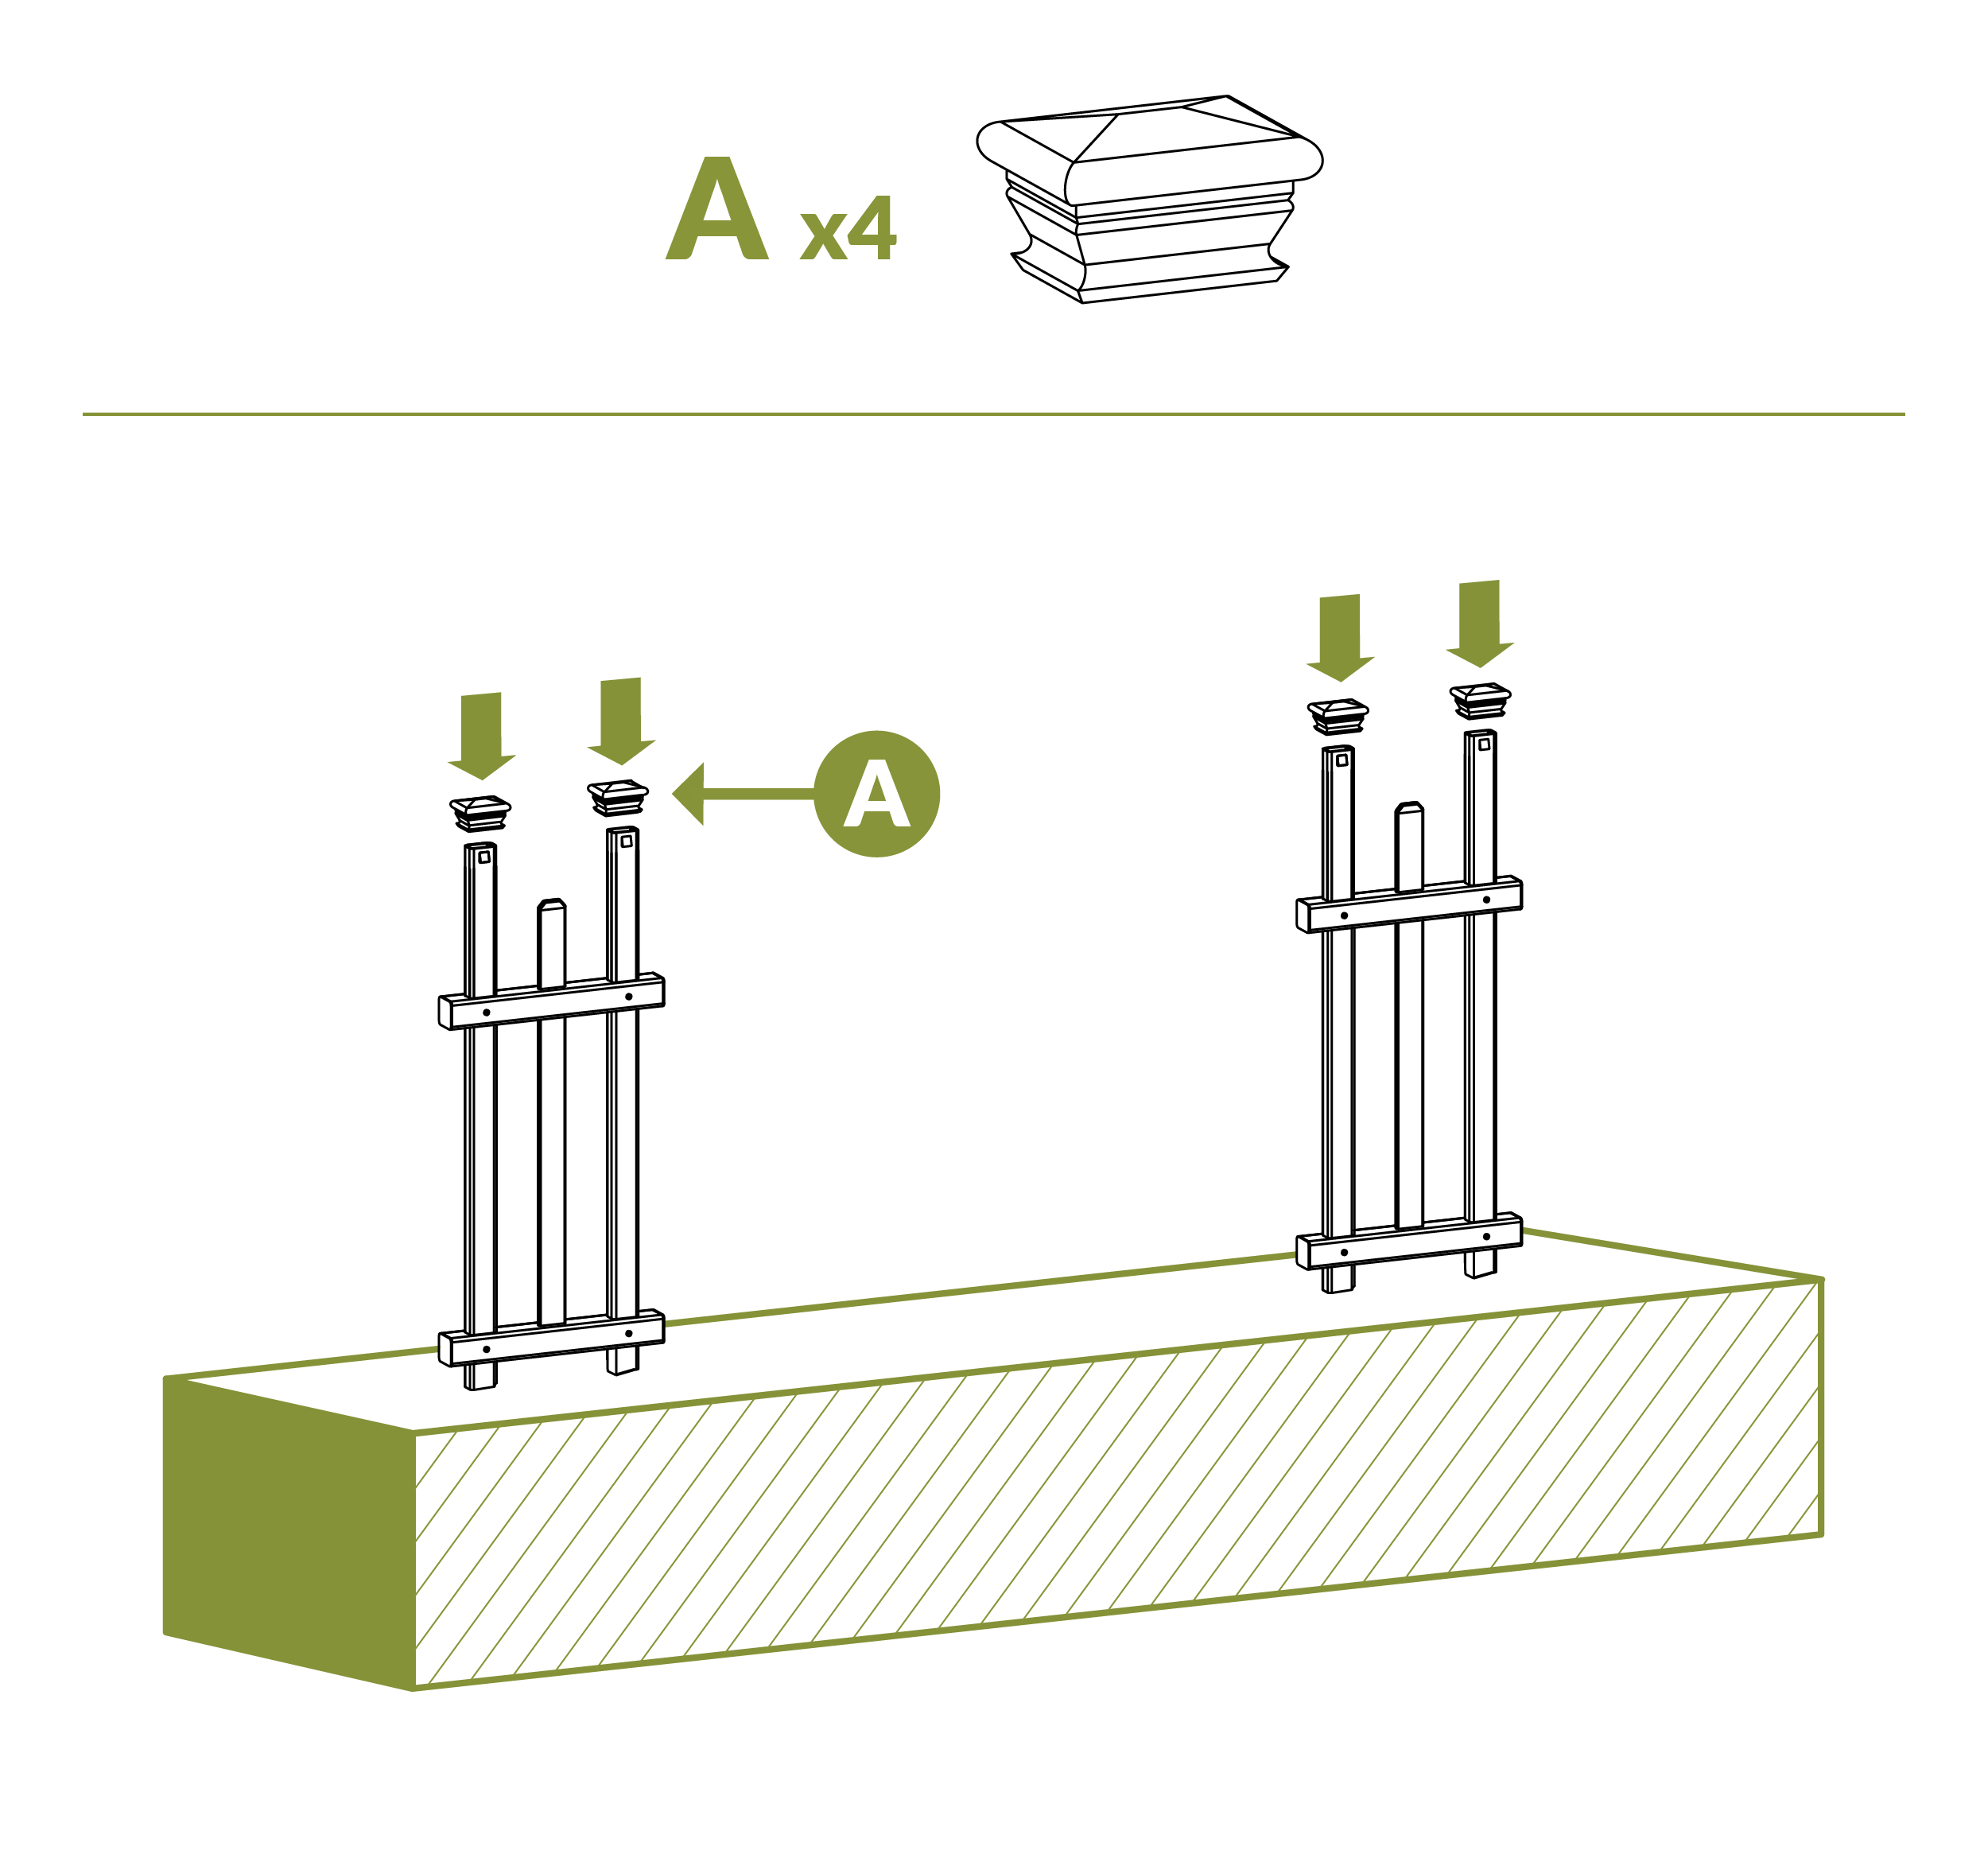
- Install (4) Post Caps (A) on top of Posts (G).
Step 27
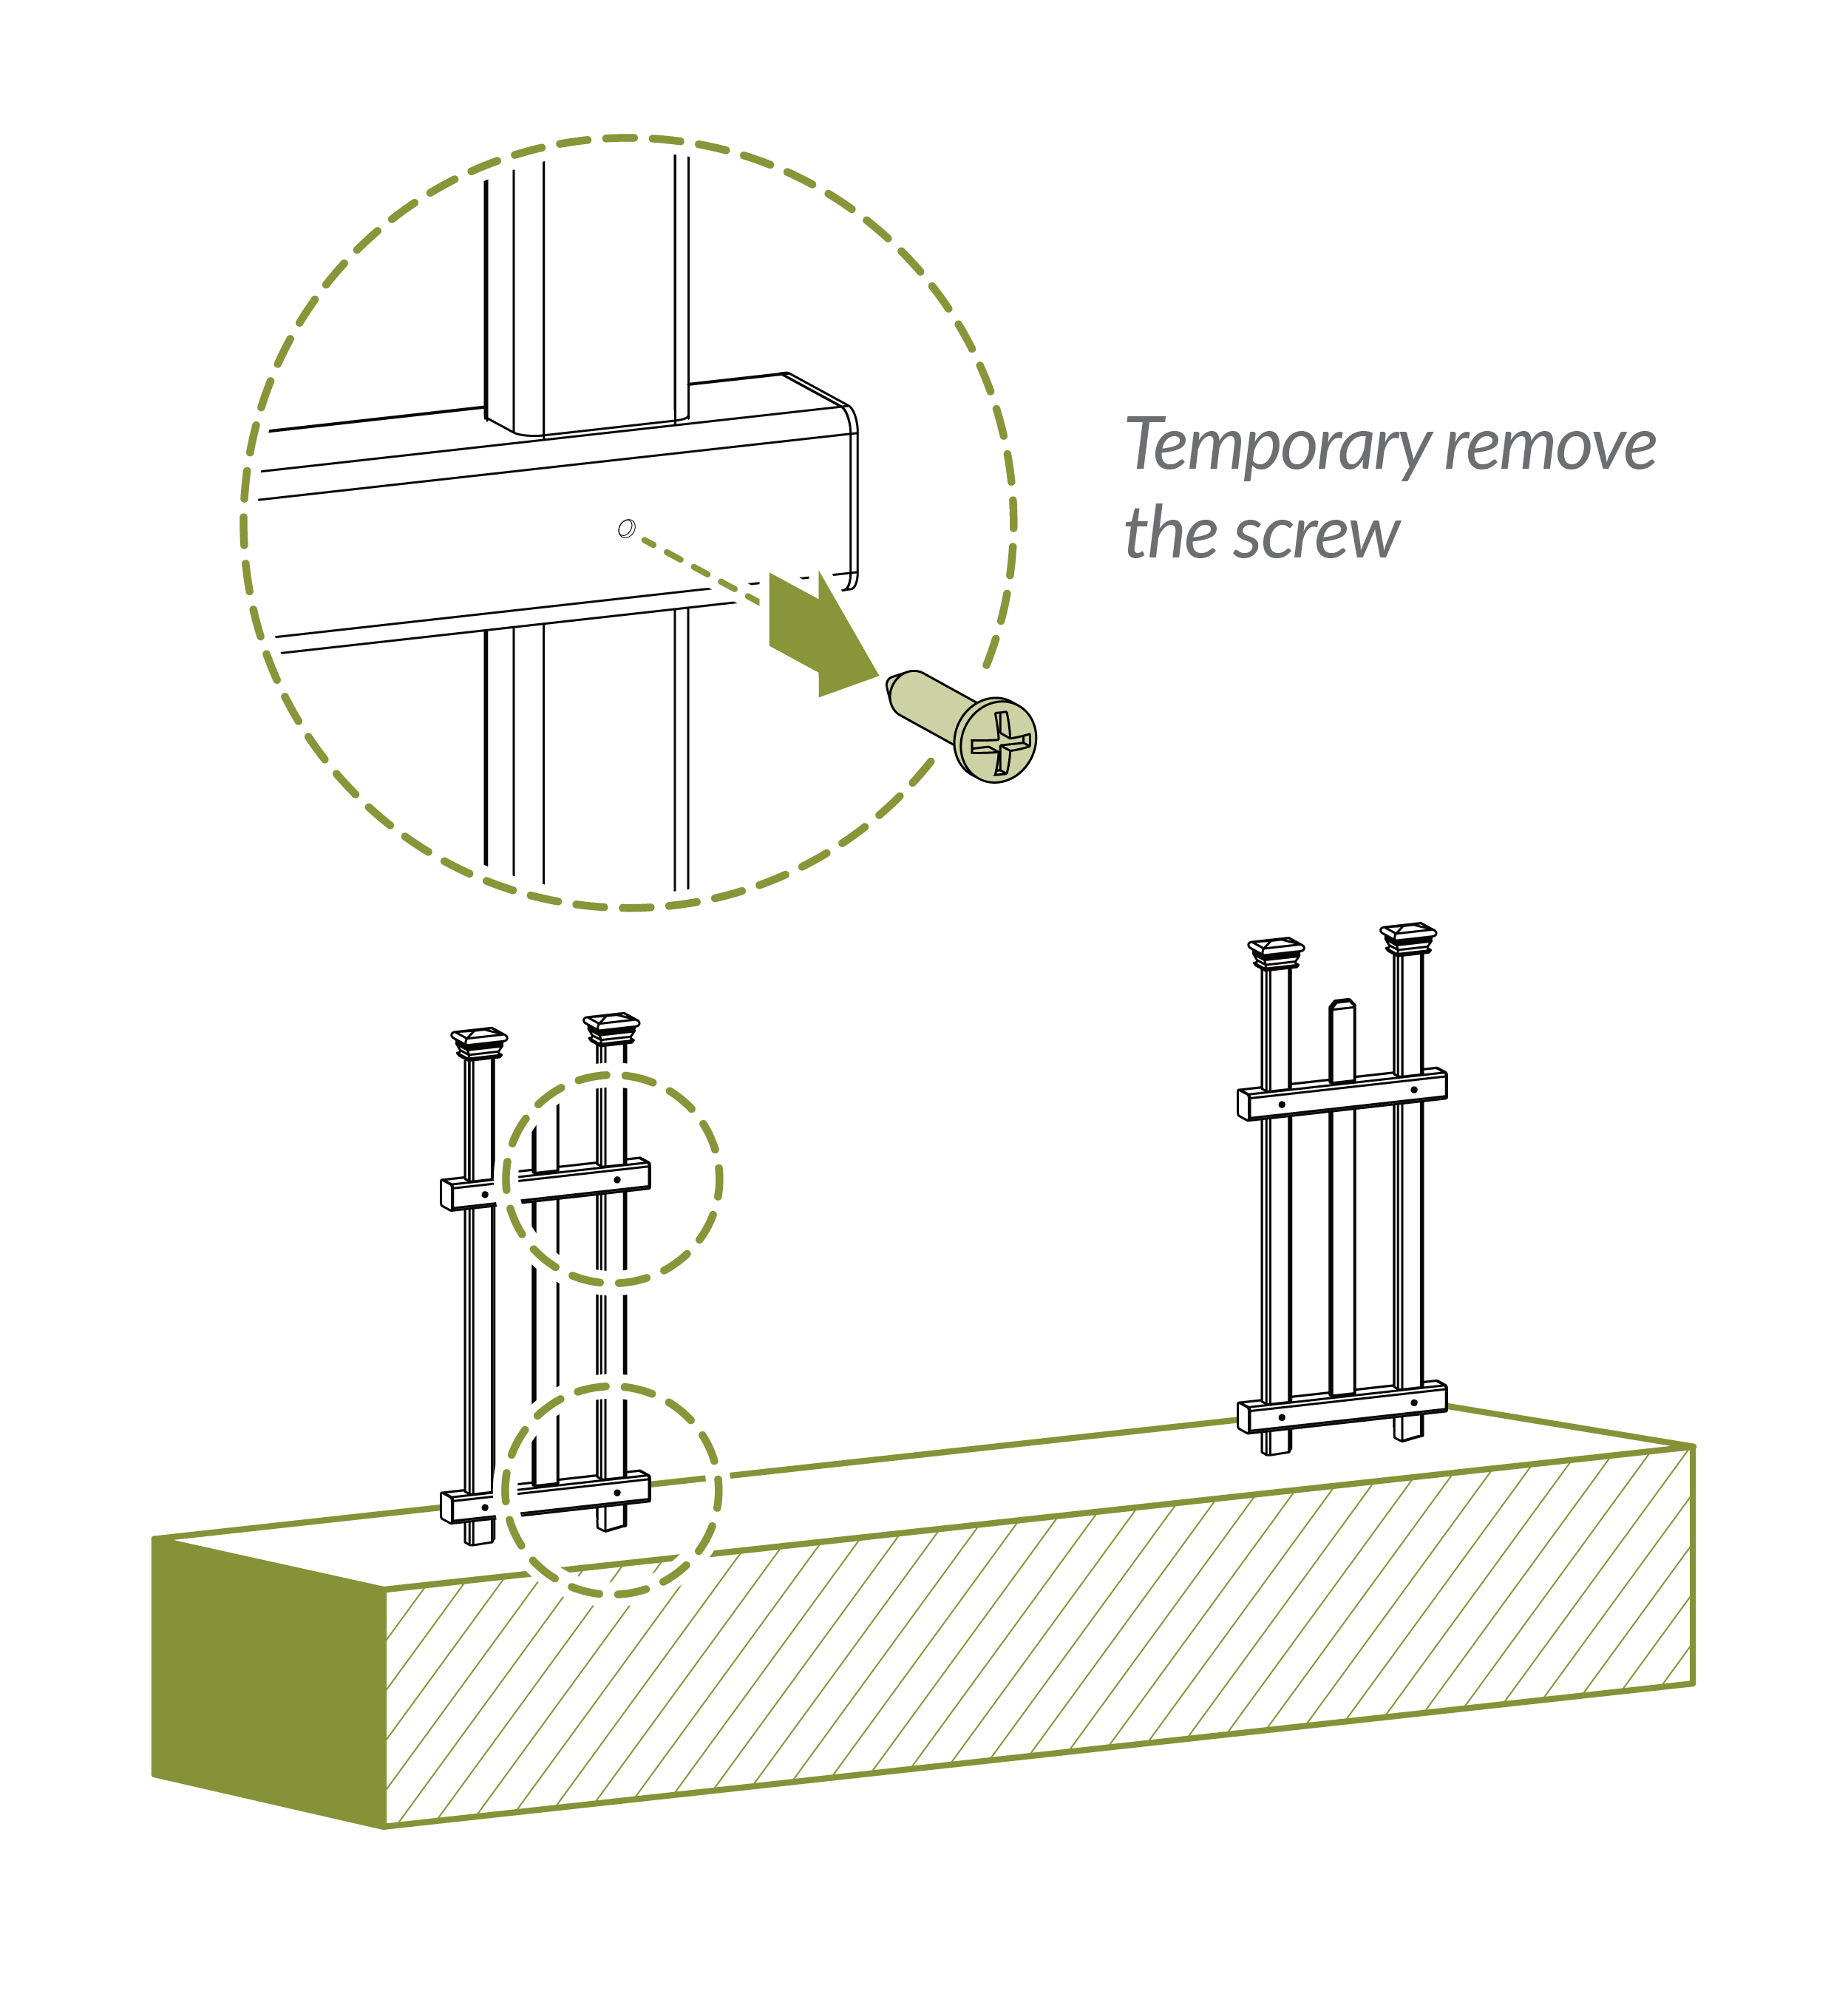
- Temporarily remove (2) ¾” Self-Tapping Stainless Steel Screws (L) from rails to mount hinges.
- These will be re-inserted after mounting hinges.
Step 28
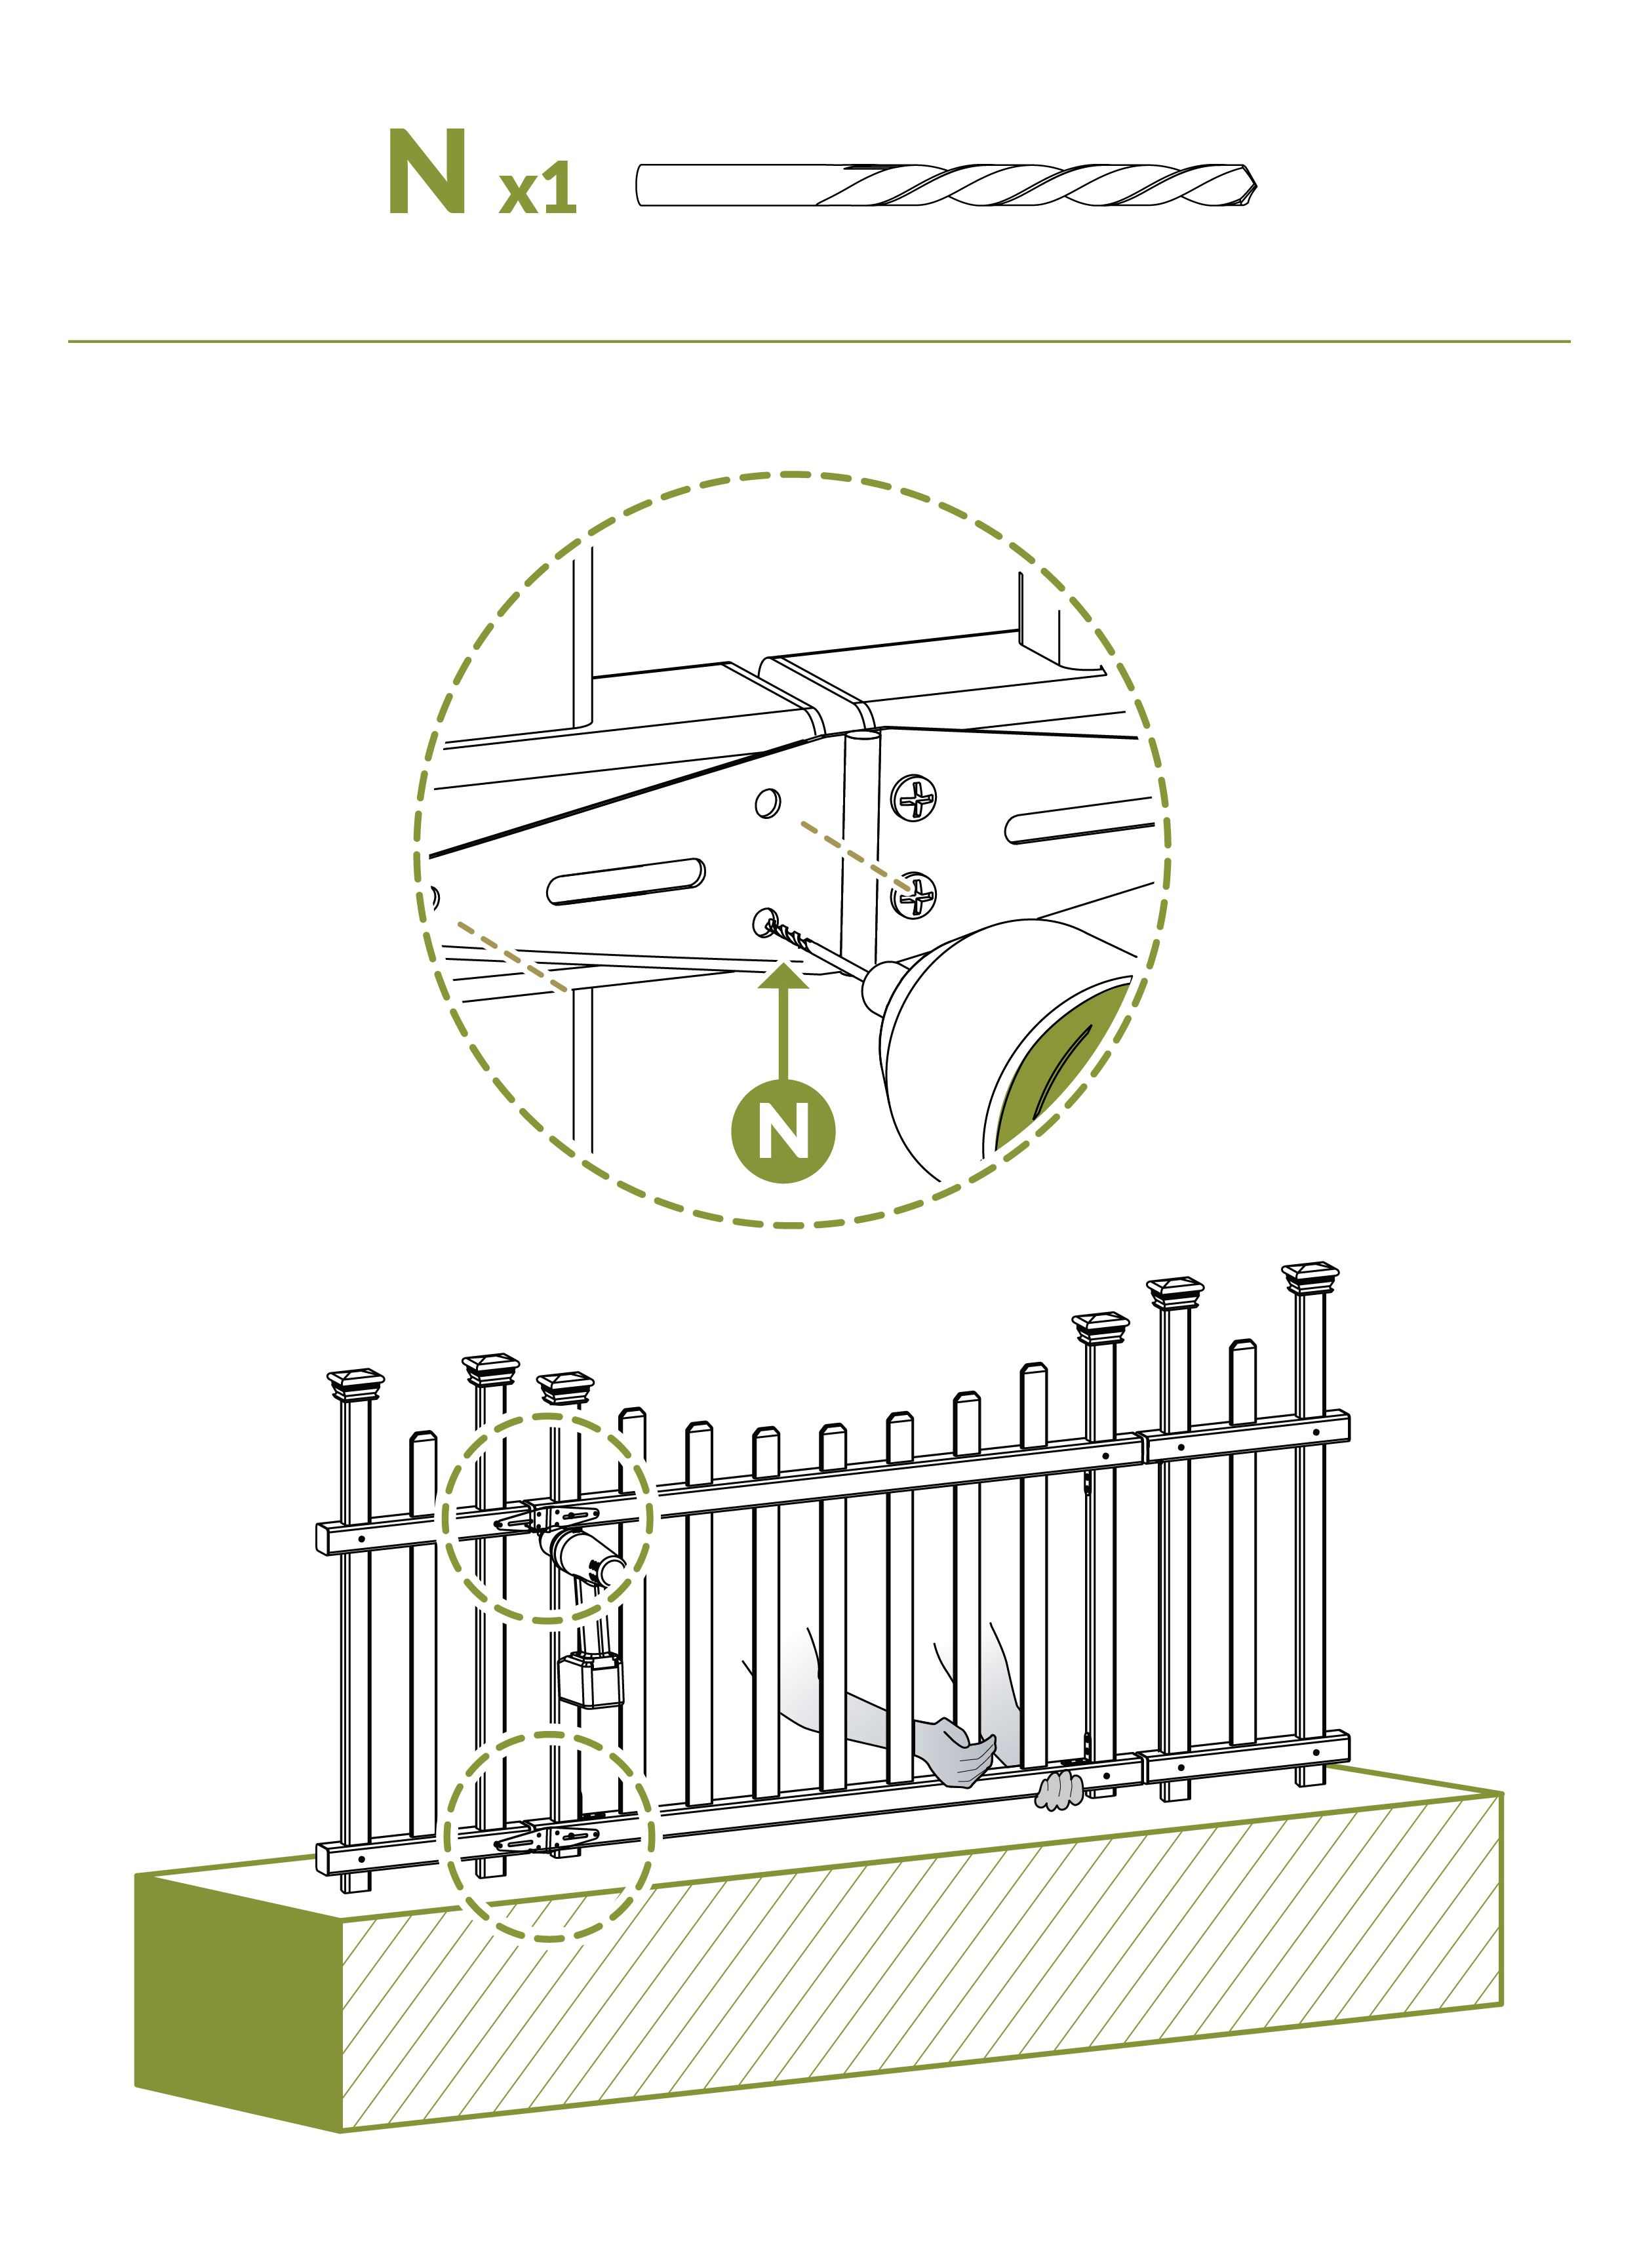
- Use 1/16” Drill Bit (N) to pre-drill holes for mounting hinges on posts.
Step 29
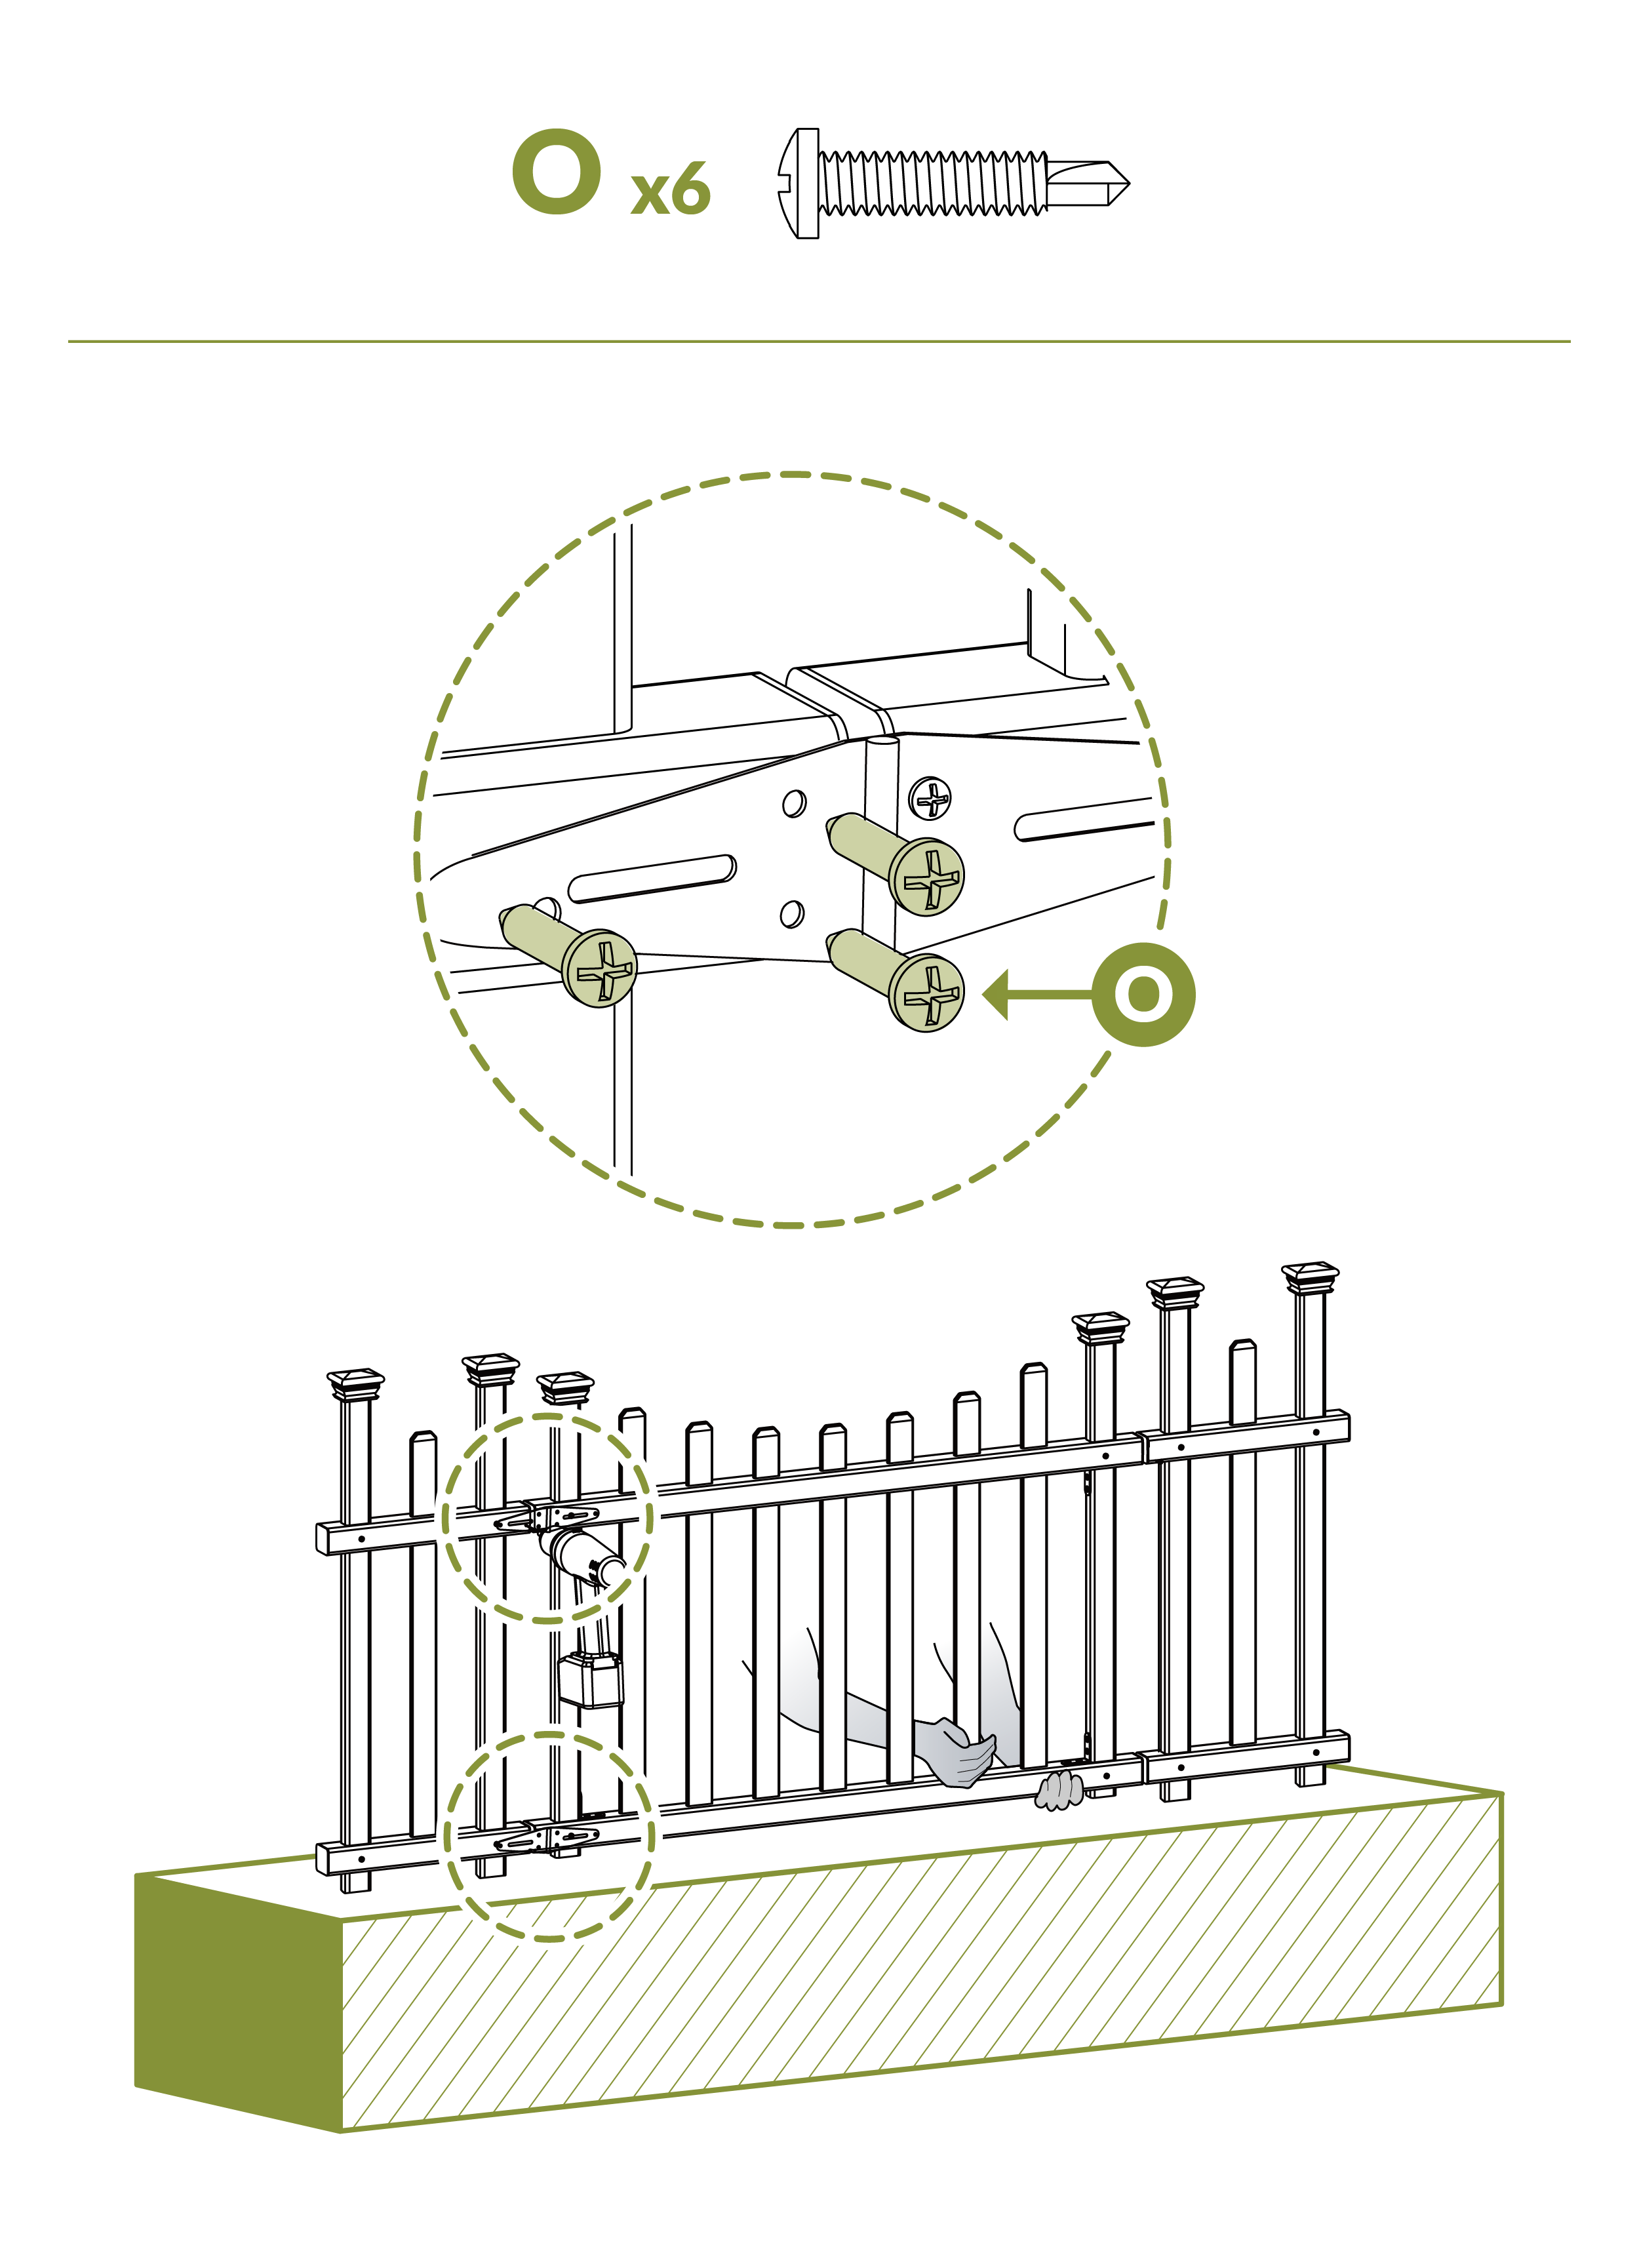
- Insert (6) ¾” Black Self-Drilling Stainless Steel Screws (O) to mount Gate Hinges (J) to rails.
Step 30
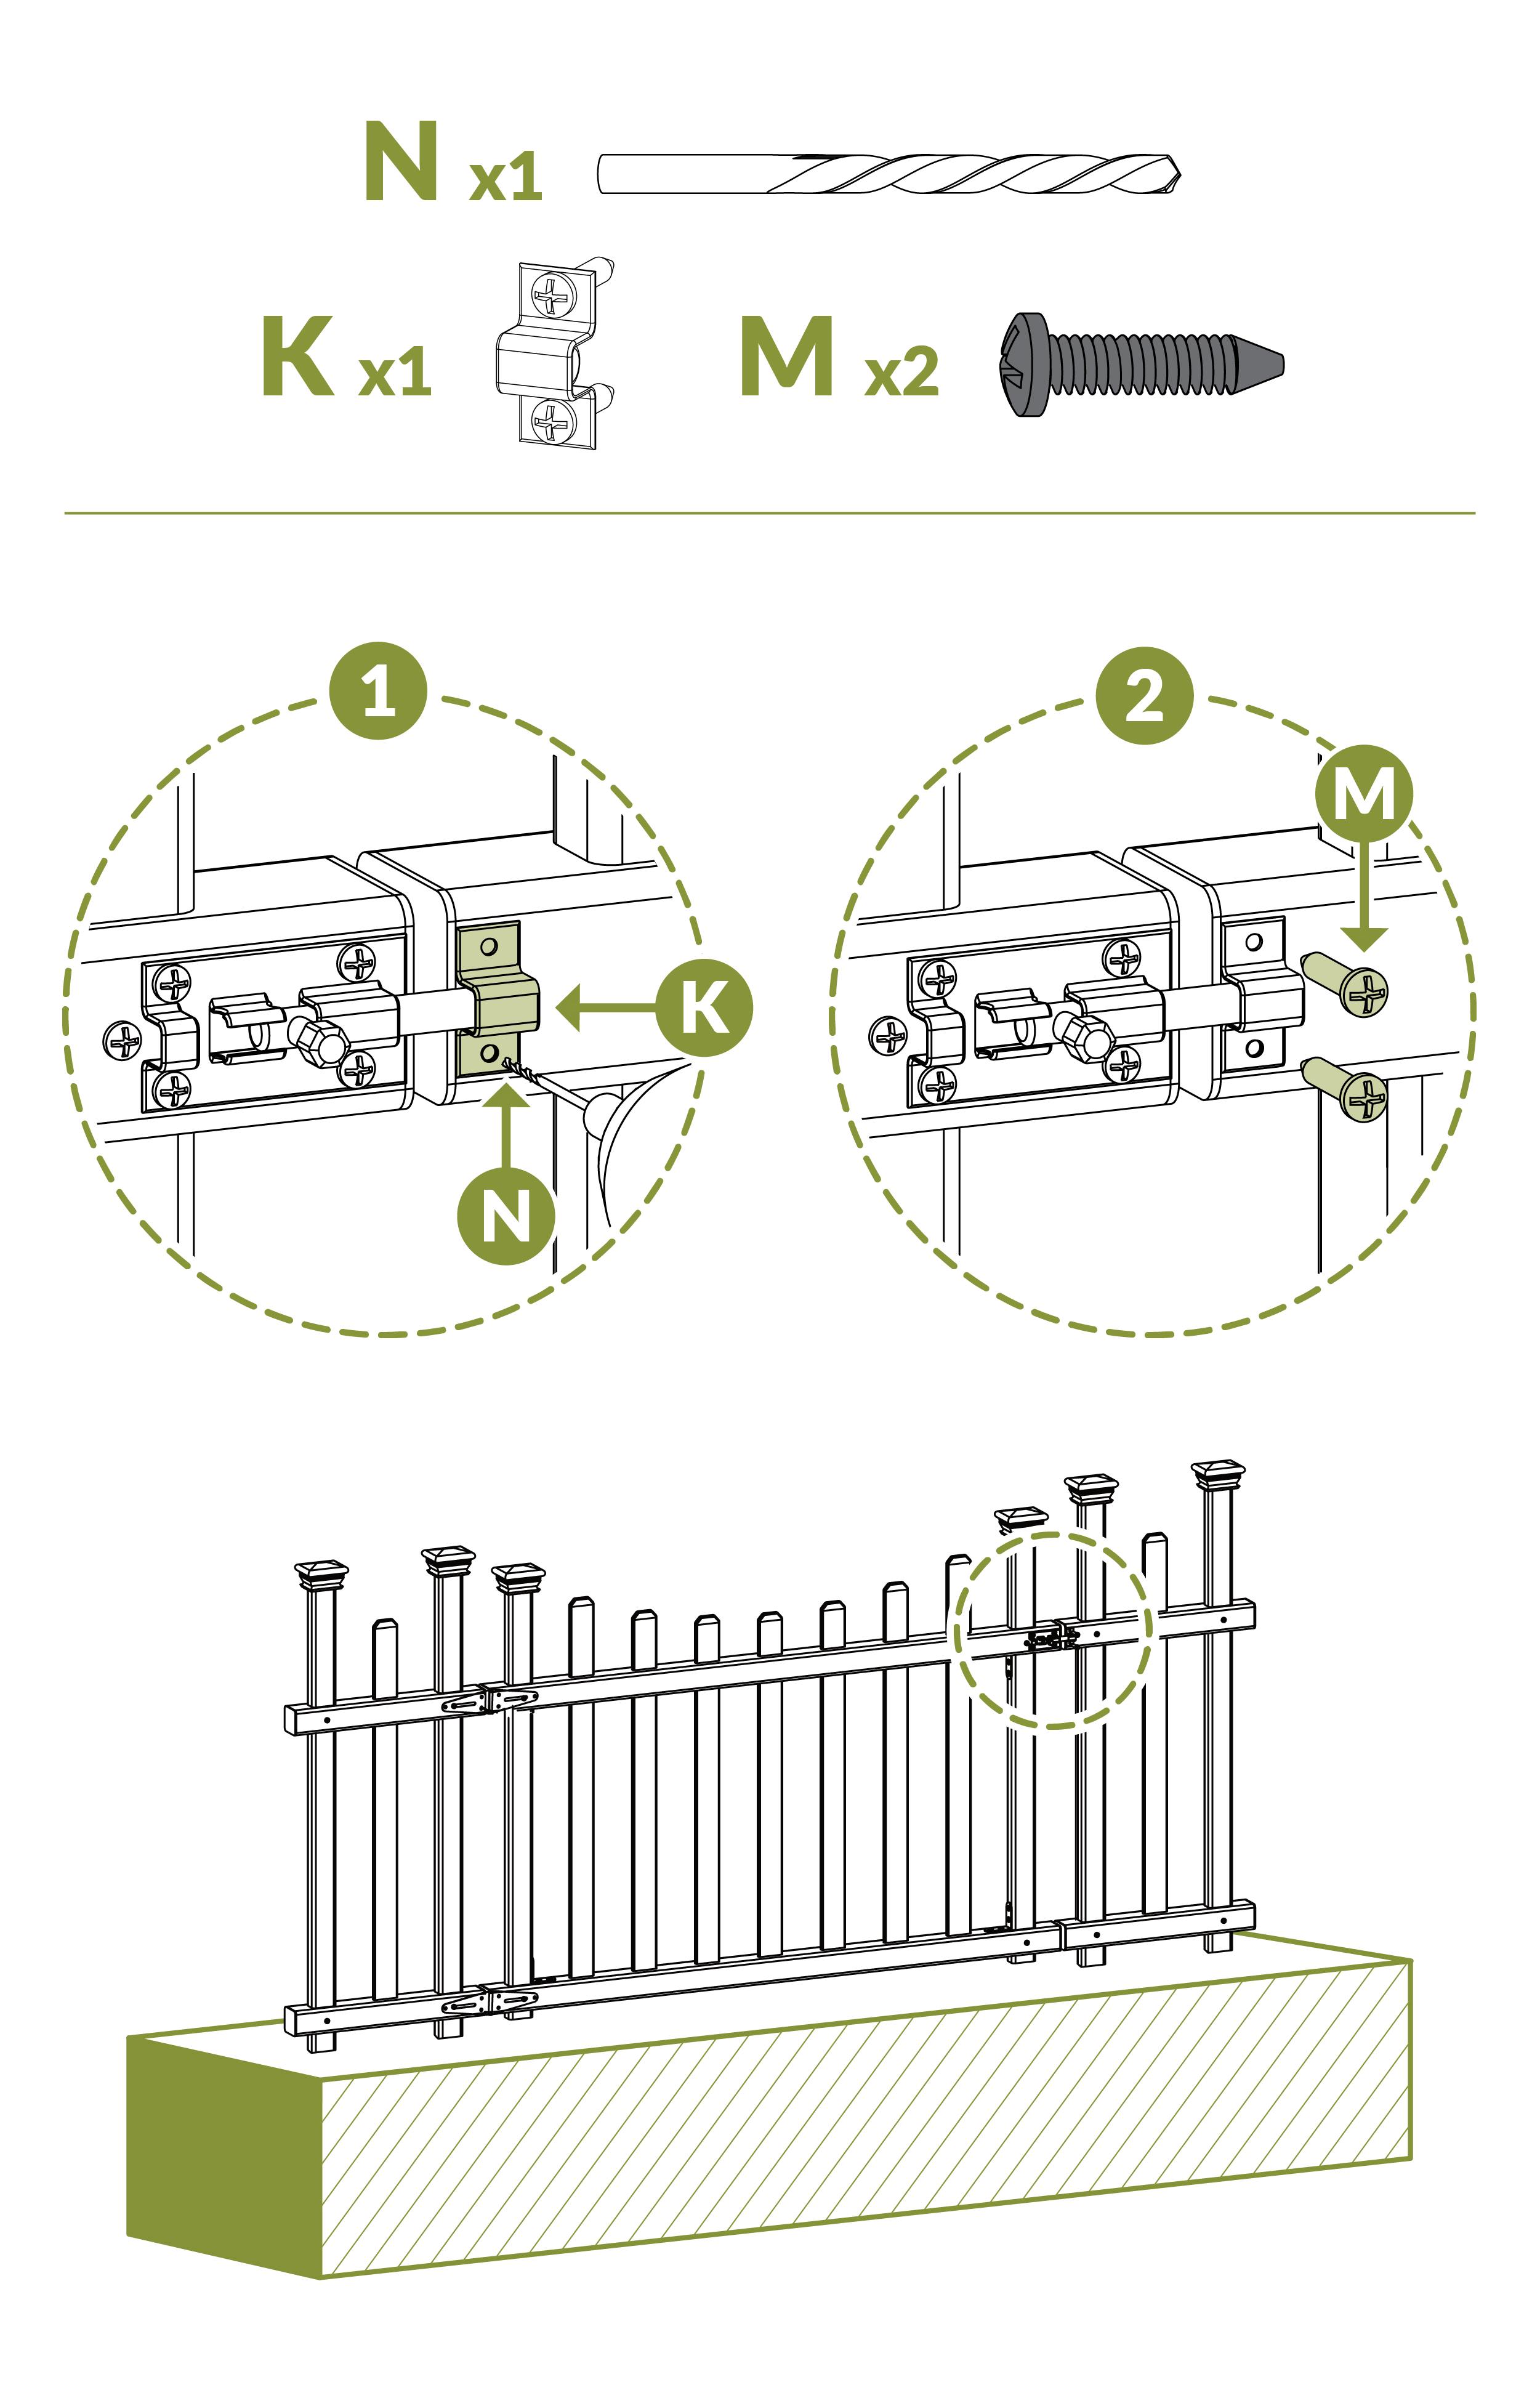
- Install Gate Latch (K) on gate by using the 1/16” Drill Bit (N) to pre-drill holes and mounting with (2) 1/8” Black Self-Drilling Stainless Steel Screws (M).
Need Help?
- Email: support@zippity-outdoor.com
- Phone: 704-892-5222 or 877-234-6196
- Text: 980-580-6508
